I love 3d printing, as in I like messing with the electronics and software. In this case specifically, both. OctoPrint is an open-source software that allows you to control your printer remotely, OctoPi is a version of OctoPrint that you can put on a Raspberry Pi and hook up the Pi to a printer. These are the things I used (minus a few) to do this project.
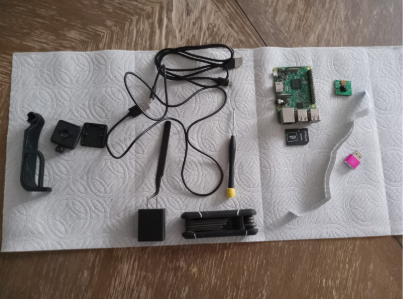
To set up Octo Print, you have to download the Raspberry Pi Imager and the Octo Pi Imager onto an SD card. There are two Octo Pi OSes: new camera stack and stable (those were the ones at the time, it might have changed). I chose the new camera stack because I want a security camera on the printer in case I’m not in the room to watch it. It should be mentioned, ideally, you should always be by your printer when printing incase of a serious malfunction, like a fire caused by thermal run away. The Raspberry Pi I am using is a pi 3b from an older project, shown below (please ignore the mess).
Once I got OctoPi on the SD card and in the Pi, I connected the Pi to a monitor, keyboard, mouse, wifi antenna, a camera, and the printer. For the camera, you can use a ribbon or USB camera, the main difference between the two is how user friendly they are; USB is the easiest, and is what I would recommend based on my experience with the two. Once connected, I did the regular pi setup, the ifconfig thing to get the IP, and then the http://(your IP or ID).local which took me to a wizard set up.
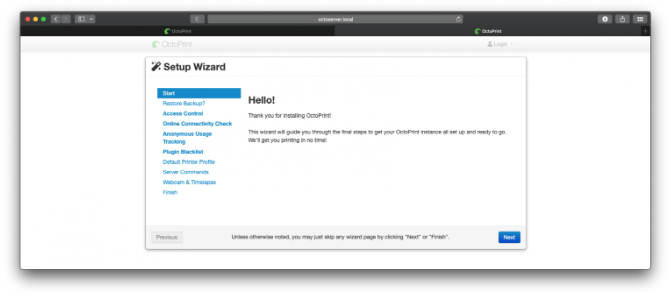
I didn’t have any backups because this was my first time. In the connectivity check, I set the 1.1.1.1 to 8.8.8.8 because it was the recommended number by the wizard itself. Then you can disable/enable the anonymous usage tracking and public blacklist program, I disabled both because I didn’t want to have either on. I put my printer’s model and name in for the printer setup. I have found that the website still works with a printer if it is a knockoff of a supported printer. The setup of the printing area size is 220*220*250. Then I left the Server Commands and Web cam settings alone because it was unnecessary for me to change them. Now that that was done, Octo Print was up and running. However, there were a few problems.
Some of the problems I ran into were mostly because of a lack of preparation in the hardware side, like wires that were too old, sort, and or broken, and the wrong length of screw for the mount, but they were all easily fixed. While trying to get the ribbon cable camera to work, I made many mistakes. For example, I had the camera in backwards the whole time and thought it was a config problem, and when I fixed the camera, it was still not detected, so I had to mess with the Boot.txt, and after that, it finally got detected. The setup was ready to be tested, and it worked. However, there was one problem, it was unable to upload STL files to the printer's SD card. Any files uploaded to the SD card through Octo print would have corrupted text and crash the printer (I tried to take a picture, but the screen was too bright), my working theory is that it has something to do with the printer being a knockoff of what OctoPrint thinks it is.
These are some small repairs I did recently that don't deserve their own info box.
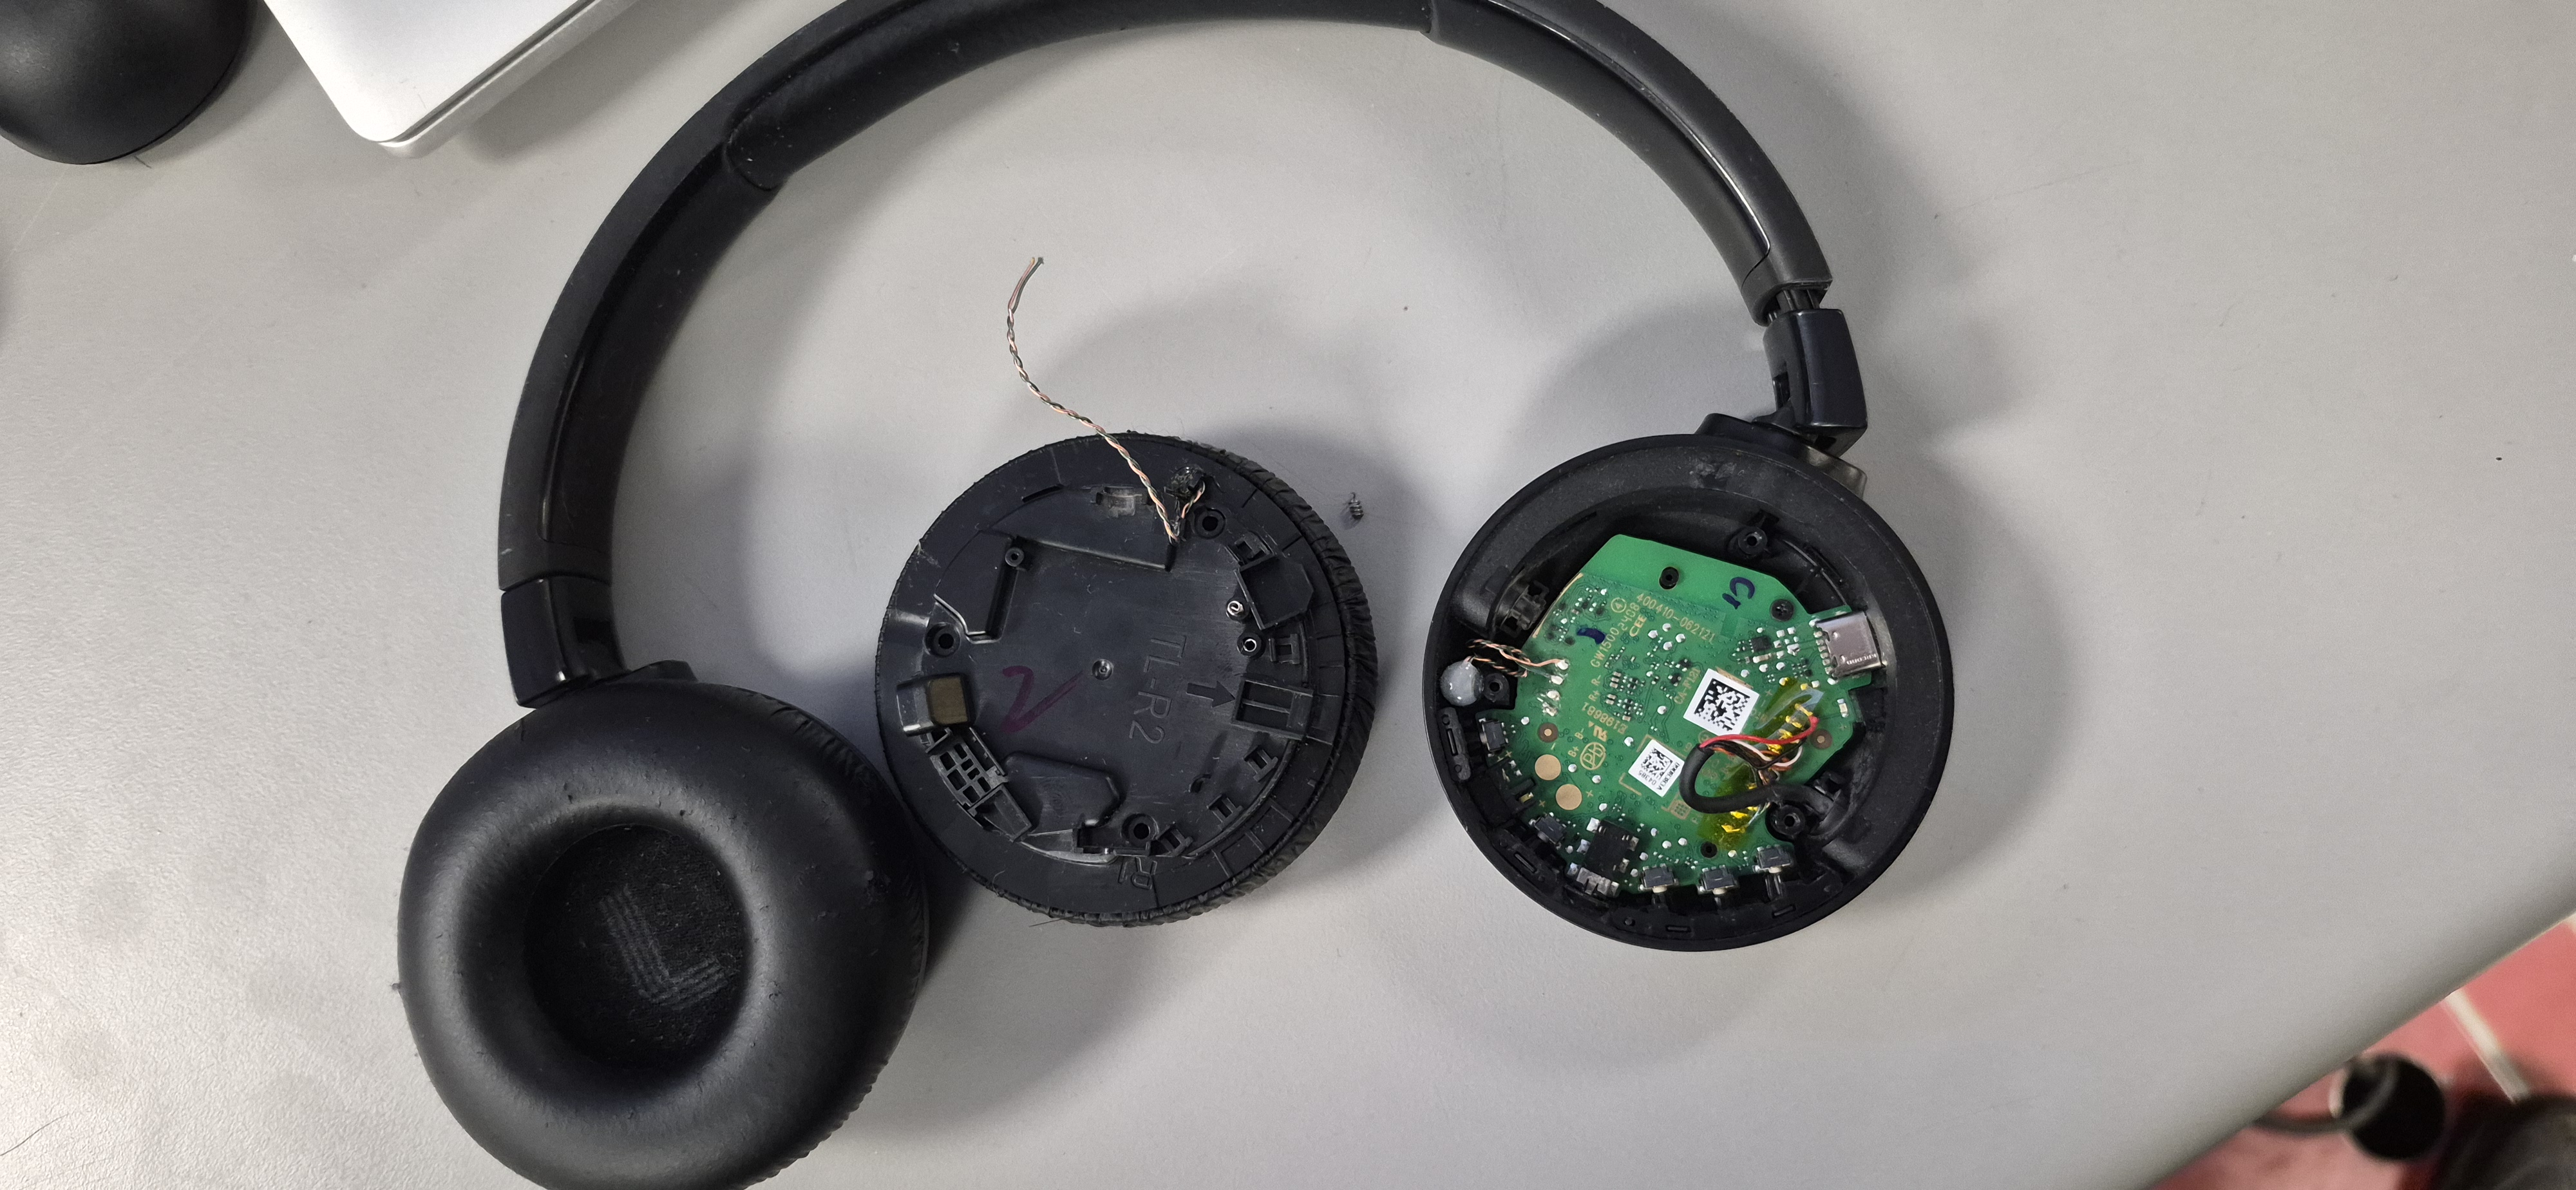
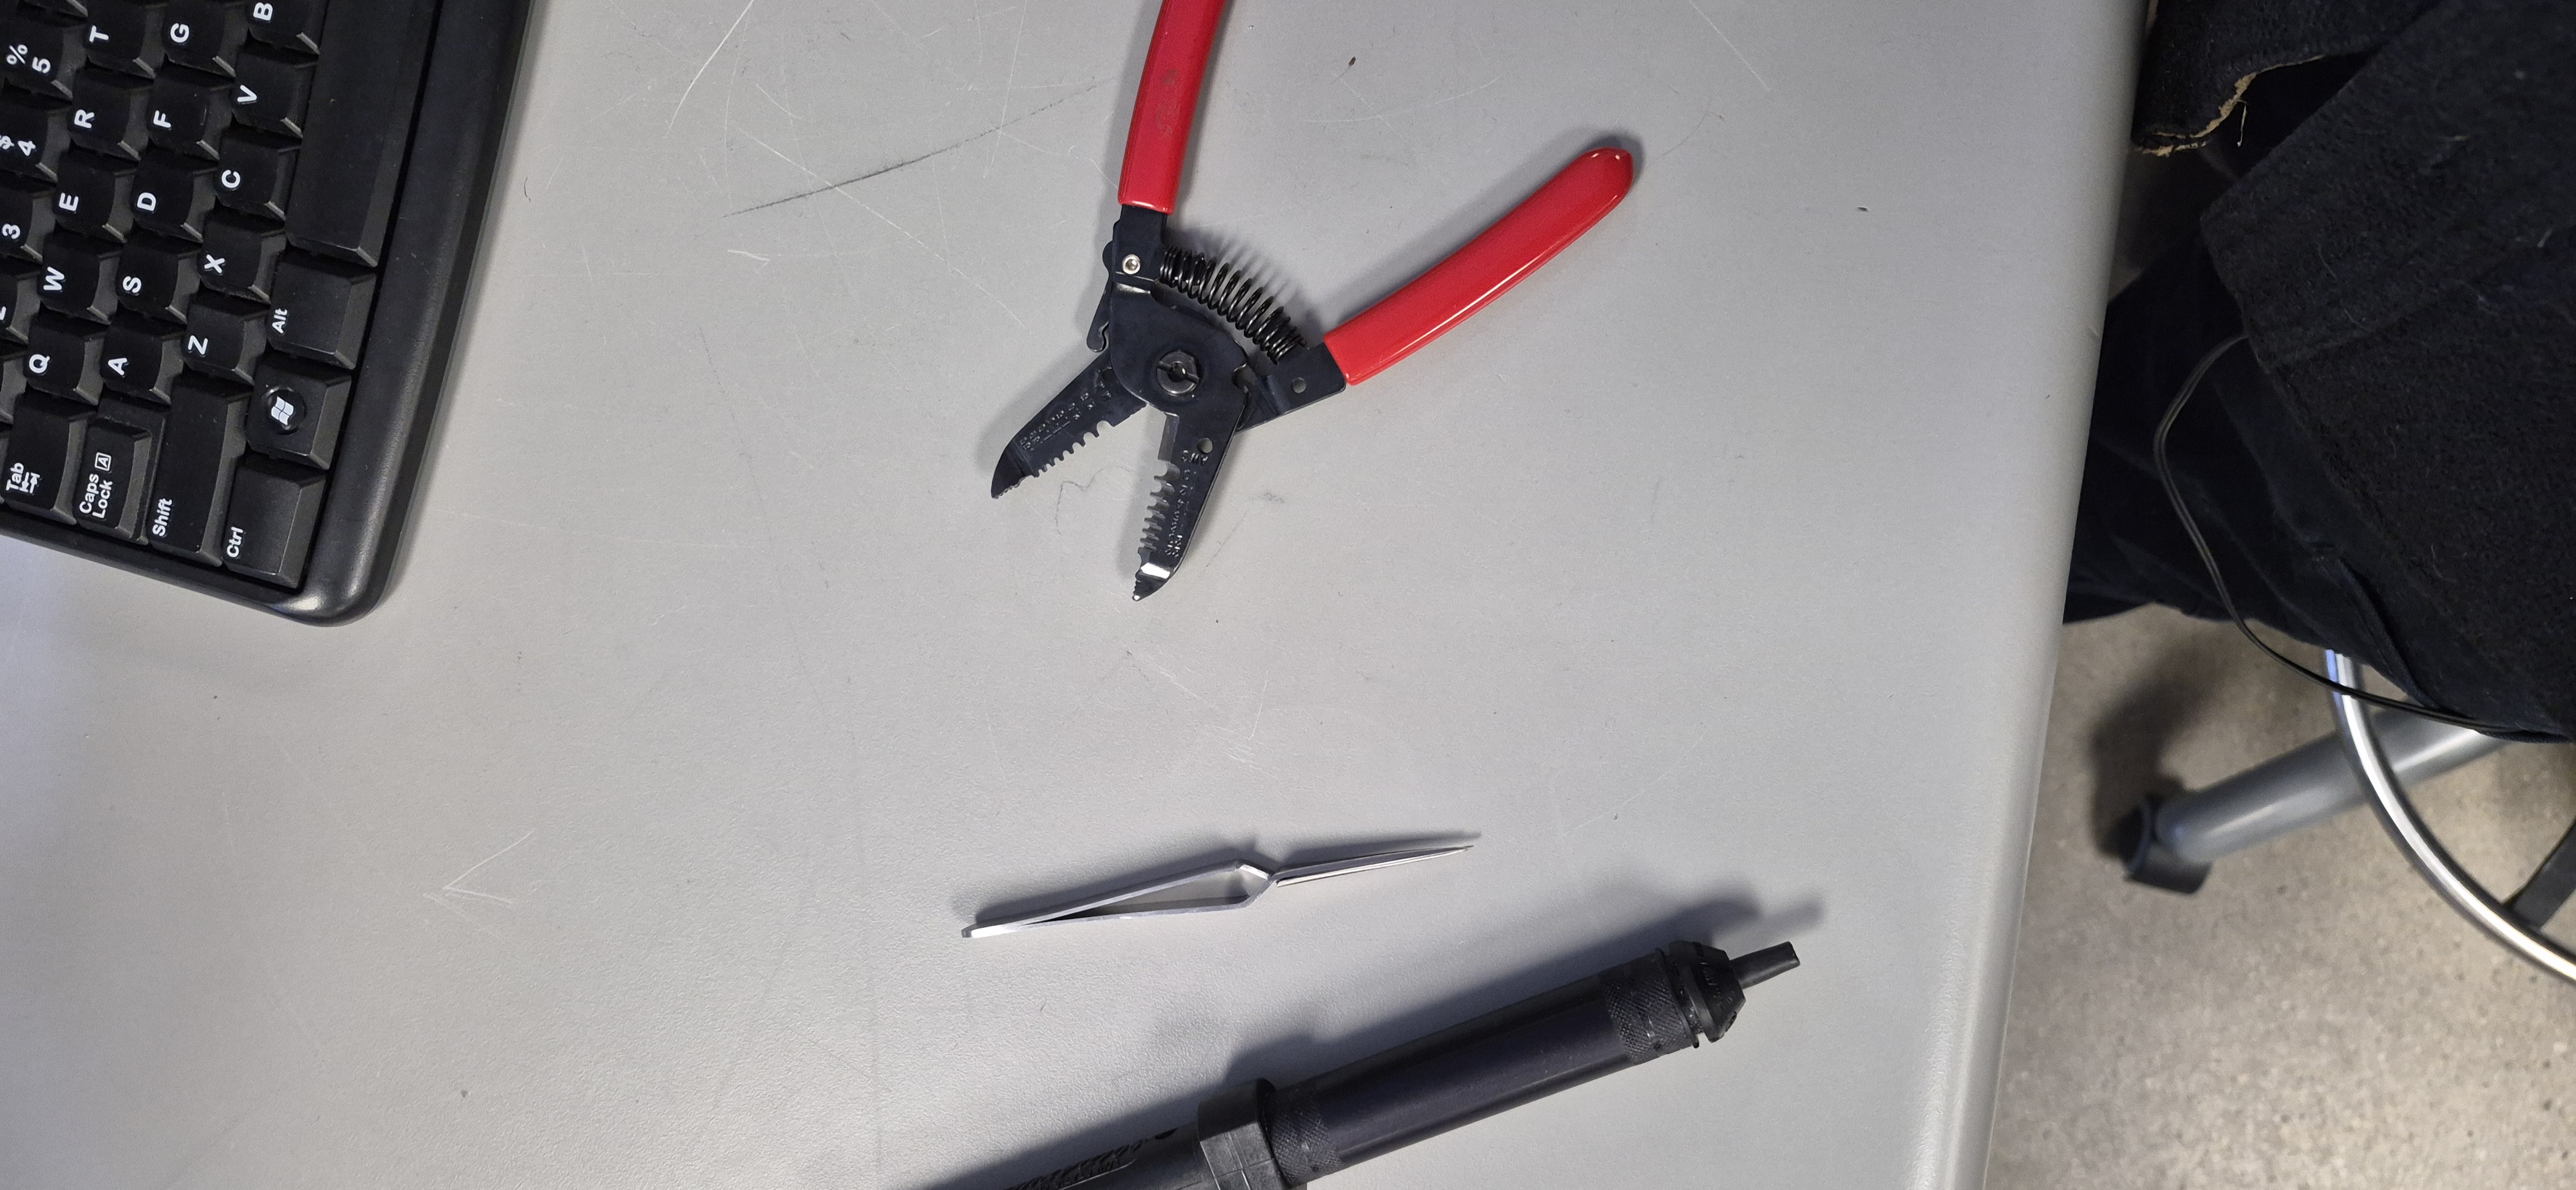
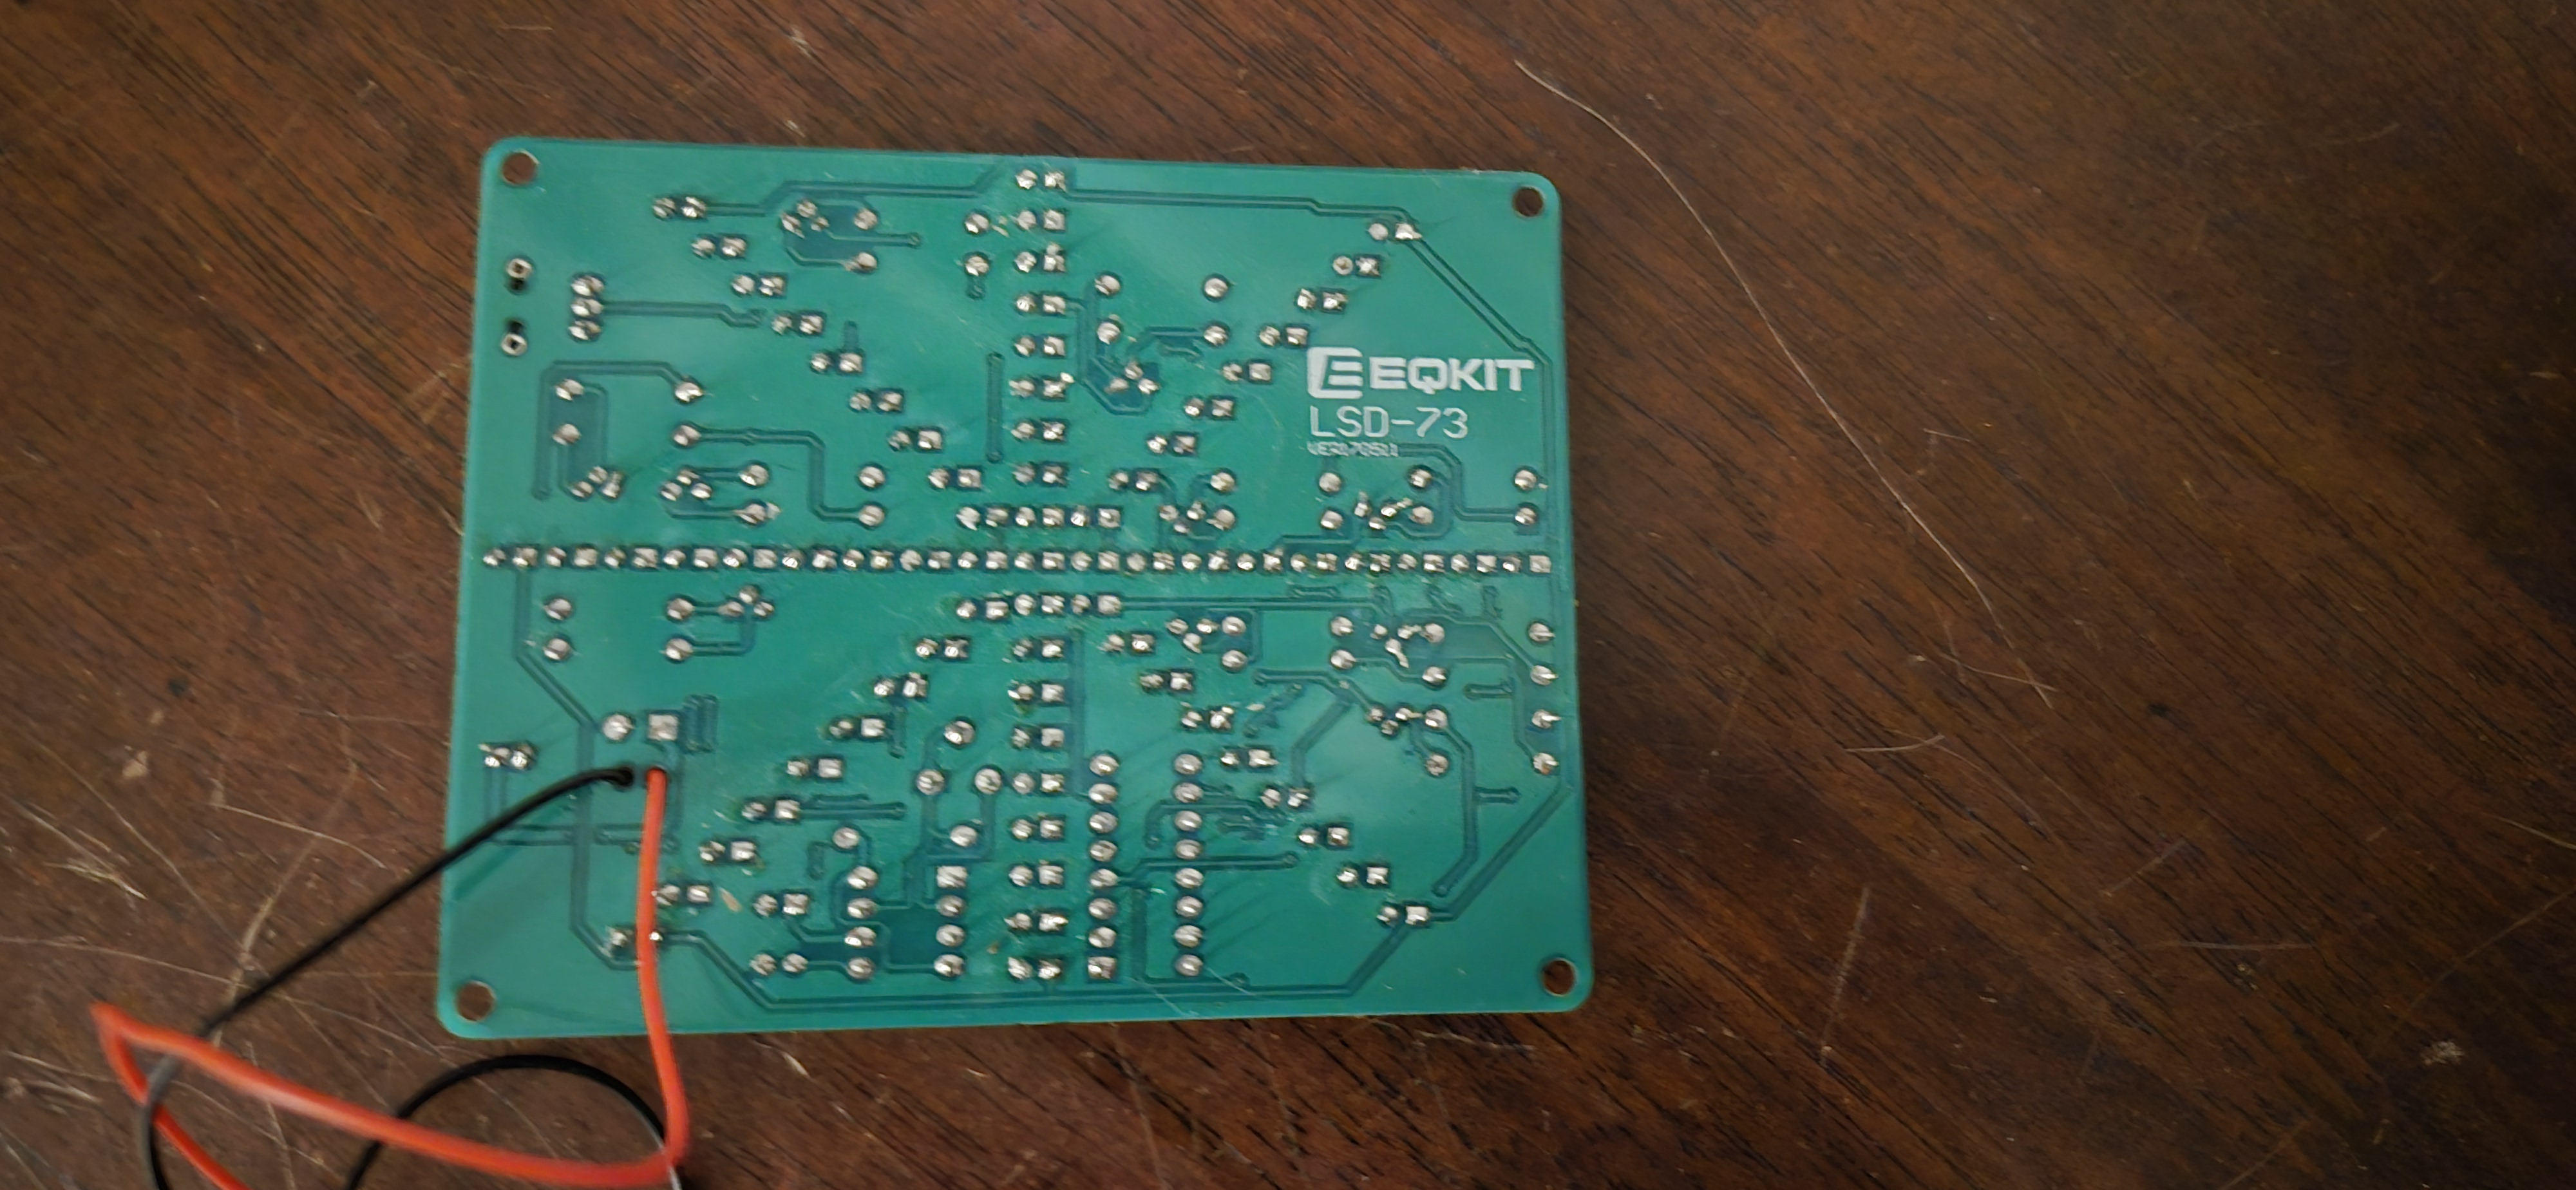
This is a pair of JBL headphones I have had for a few years. One unlucky day, while cleaning their insides, I dropped them, and something happened to rip the thin wire that connects the speakers to the rest of the circuit. Also, one of the springs that connects to the circles inside broke off. Other than the standard soldering tools (iron, flux, metal sponge, and an iron holder), the tools I used were tweezers, wire strippers, and a solder vacuum.
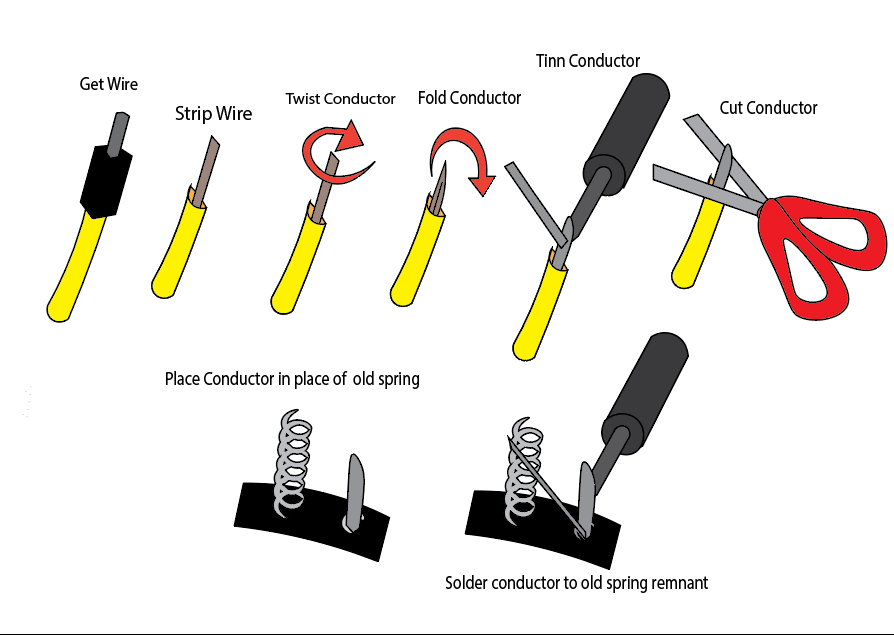
The first thing I did was repair the spring, but I lost the spring so I replaced it by stripping a wire, tinning it, then folding it, tinning it again, and lastly soldering the wire to the remaining chunk of spring in the headphones. For the wires that tore, I first cleaned the area they were initially soldered to and stripped them. The wires were surface-mounted on, so I first applied flux to the pads they were connected to and then soldered them on. I did accidentally touch the casing of a nearby cable, but it was nothing too serious. I also forgot to take pictures of the process, so I made this diagram.
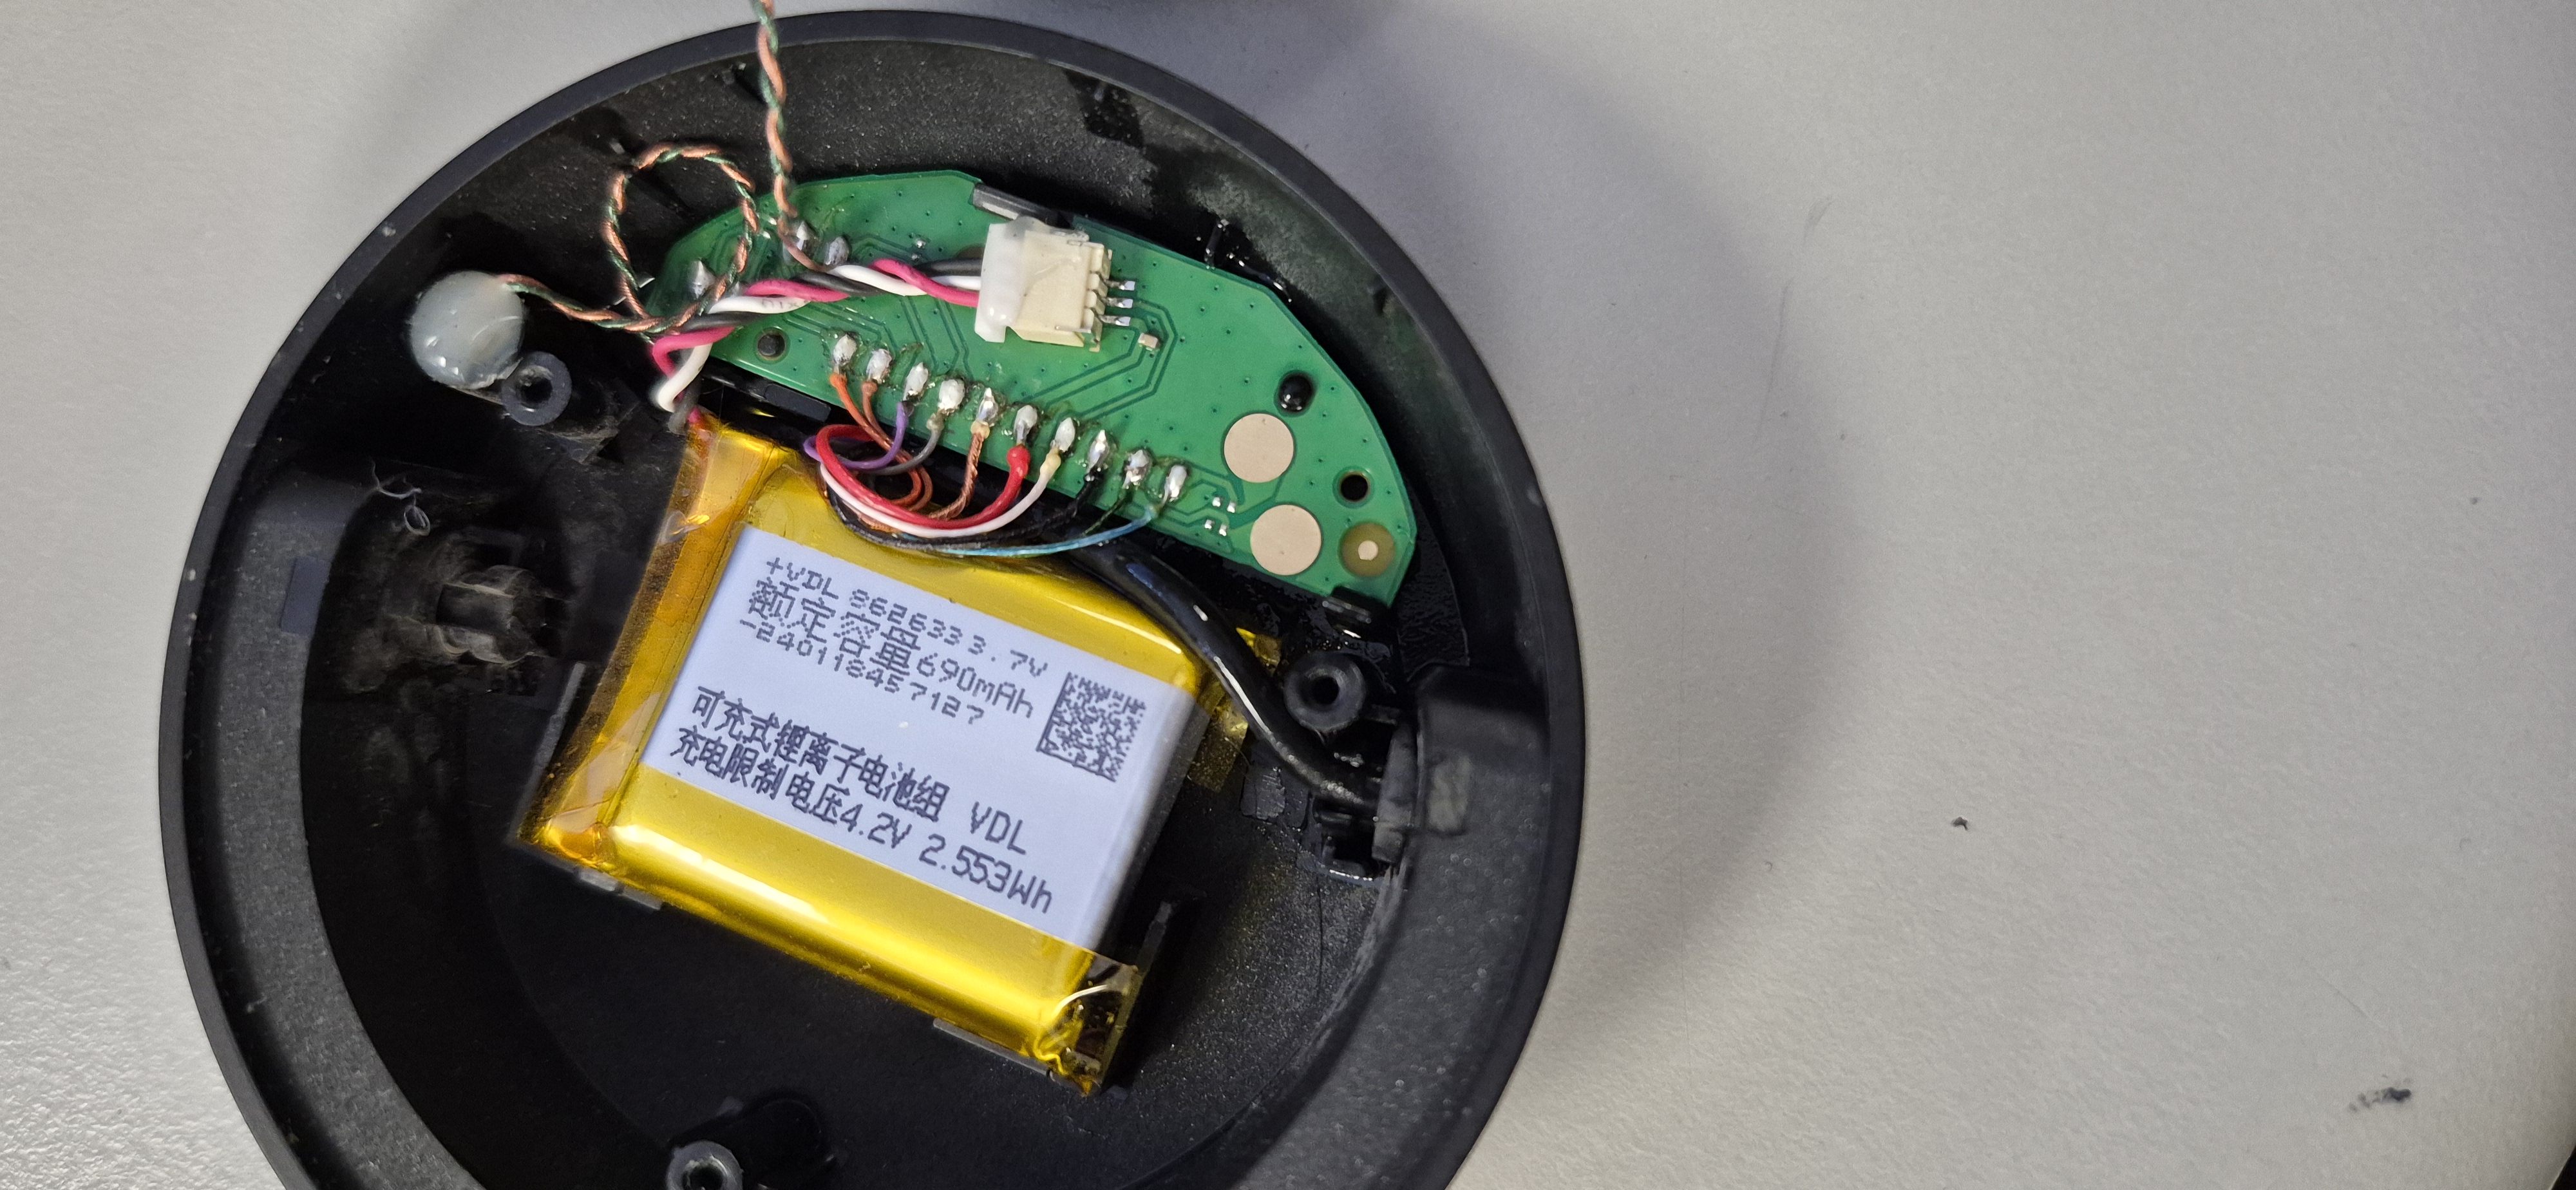
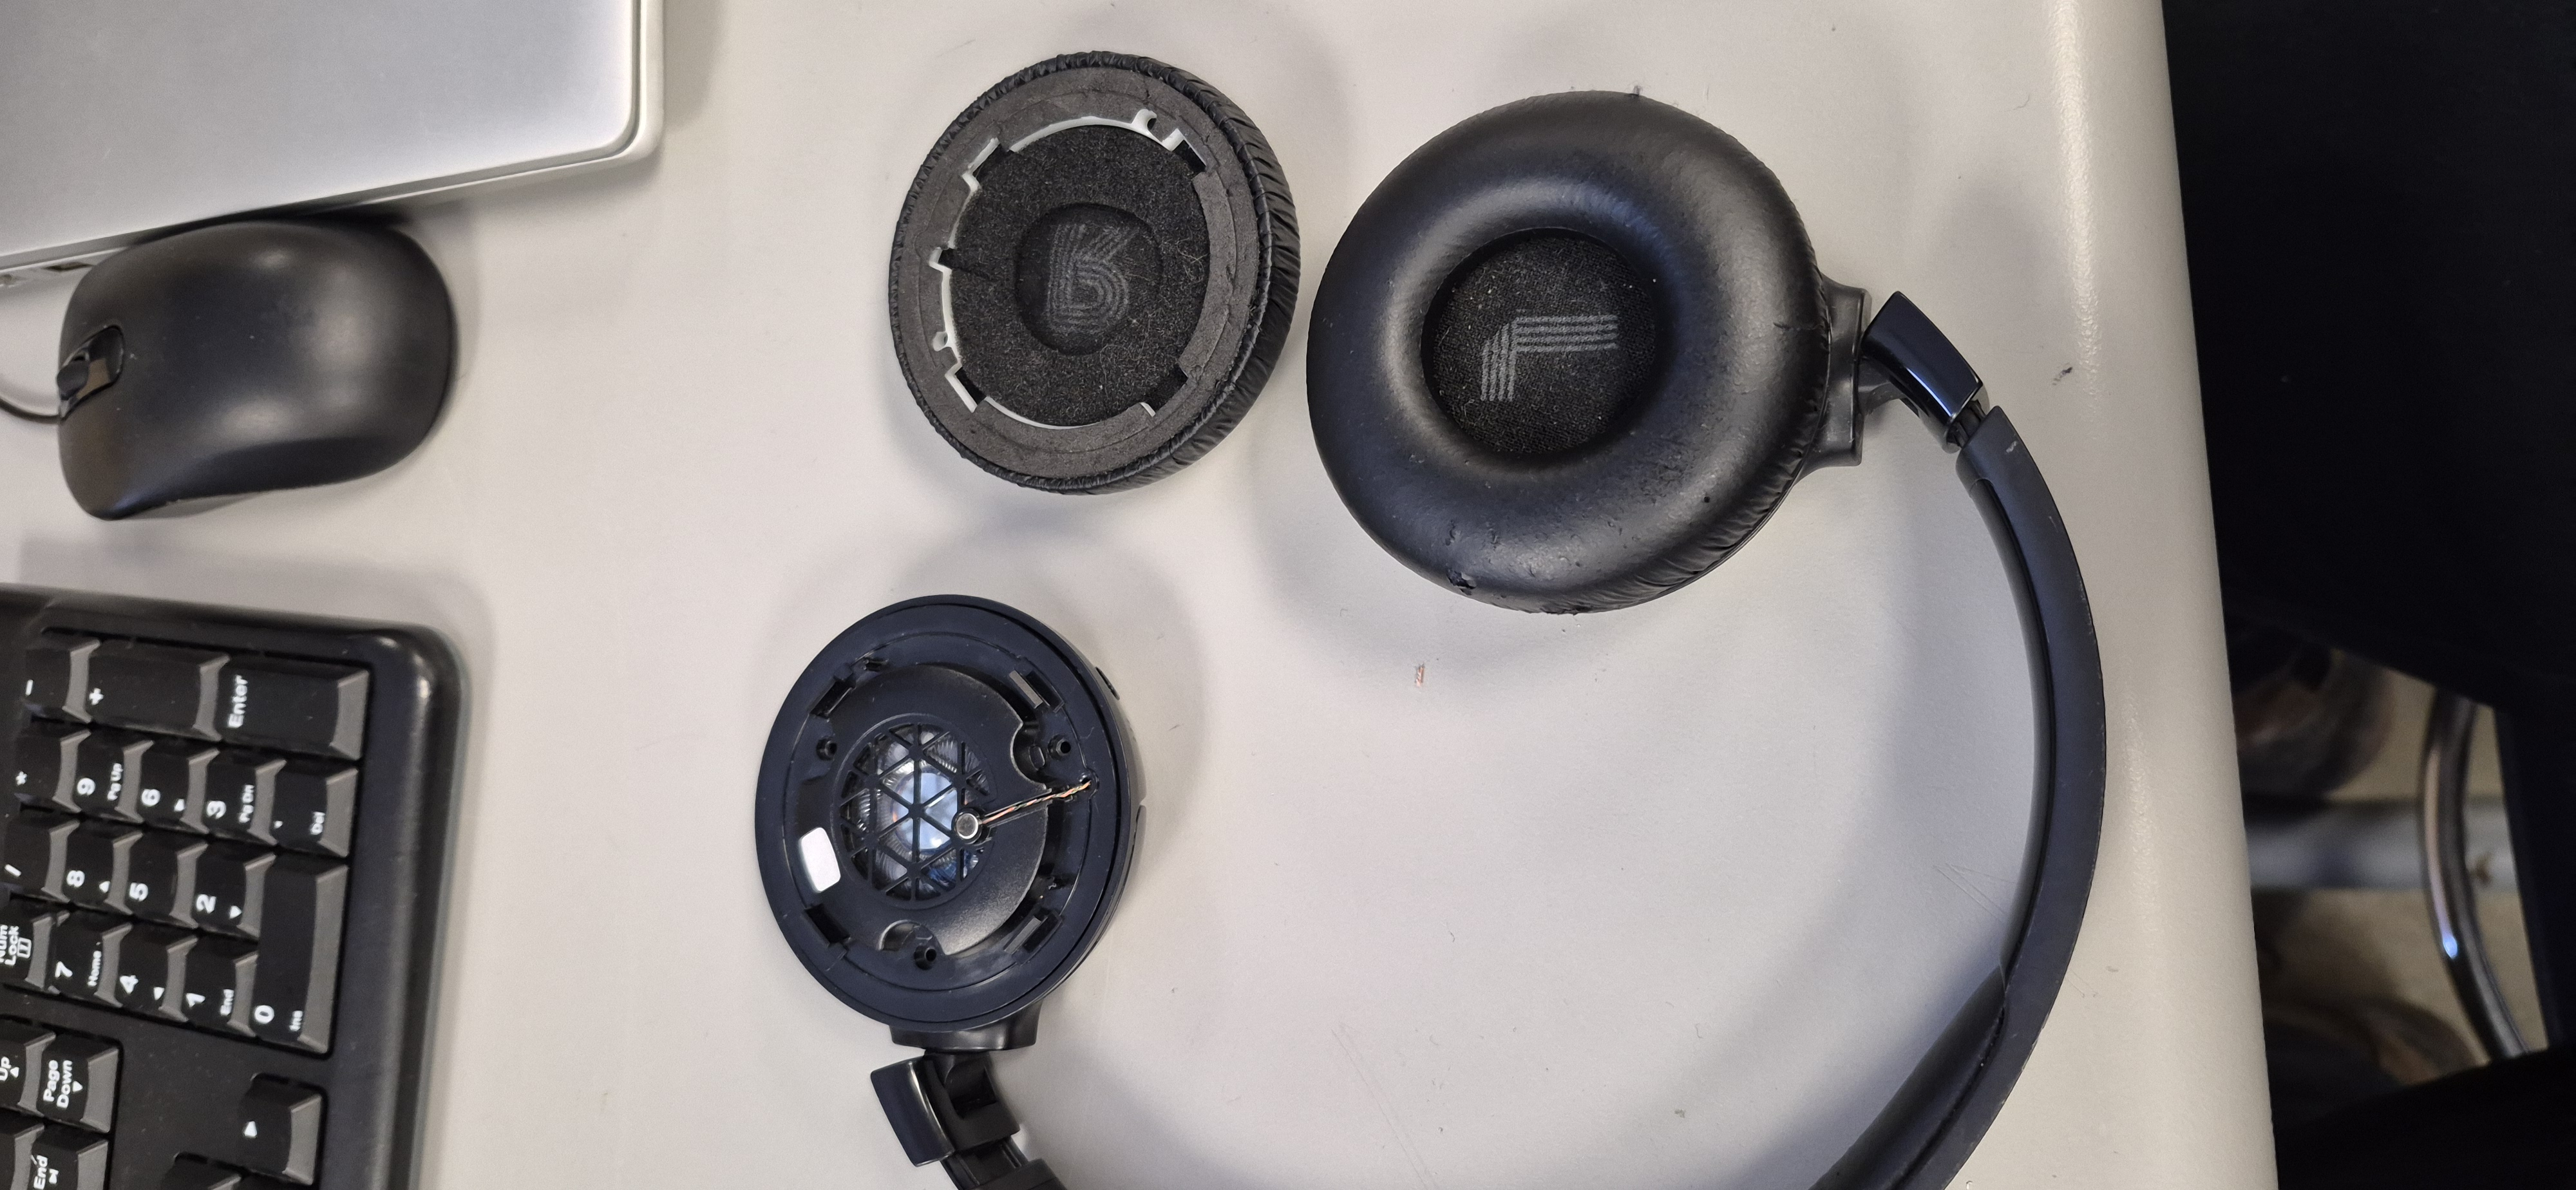
Once the initial problem area was fixed, I borrowed a charger from a friend and tested to see if the headphones worked. They were able to charge, and when they turned on the headphone that was fixed made sound. However, the other side had a small bit of corrosion on the circles that connect to the springs of the speakers. When they were cleaned, I tested them, and they started working.
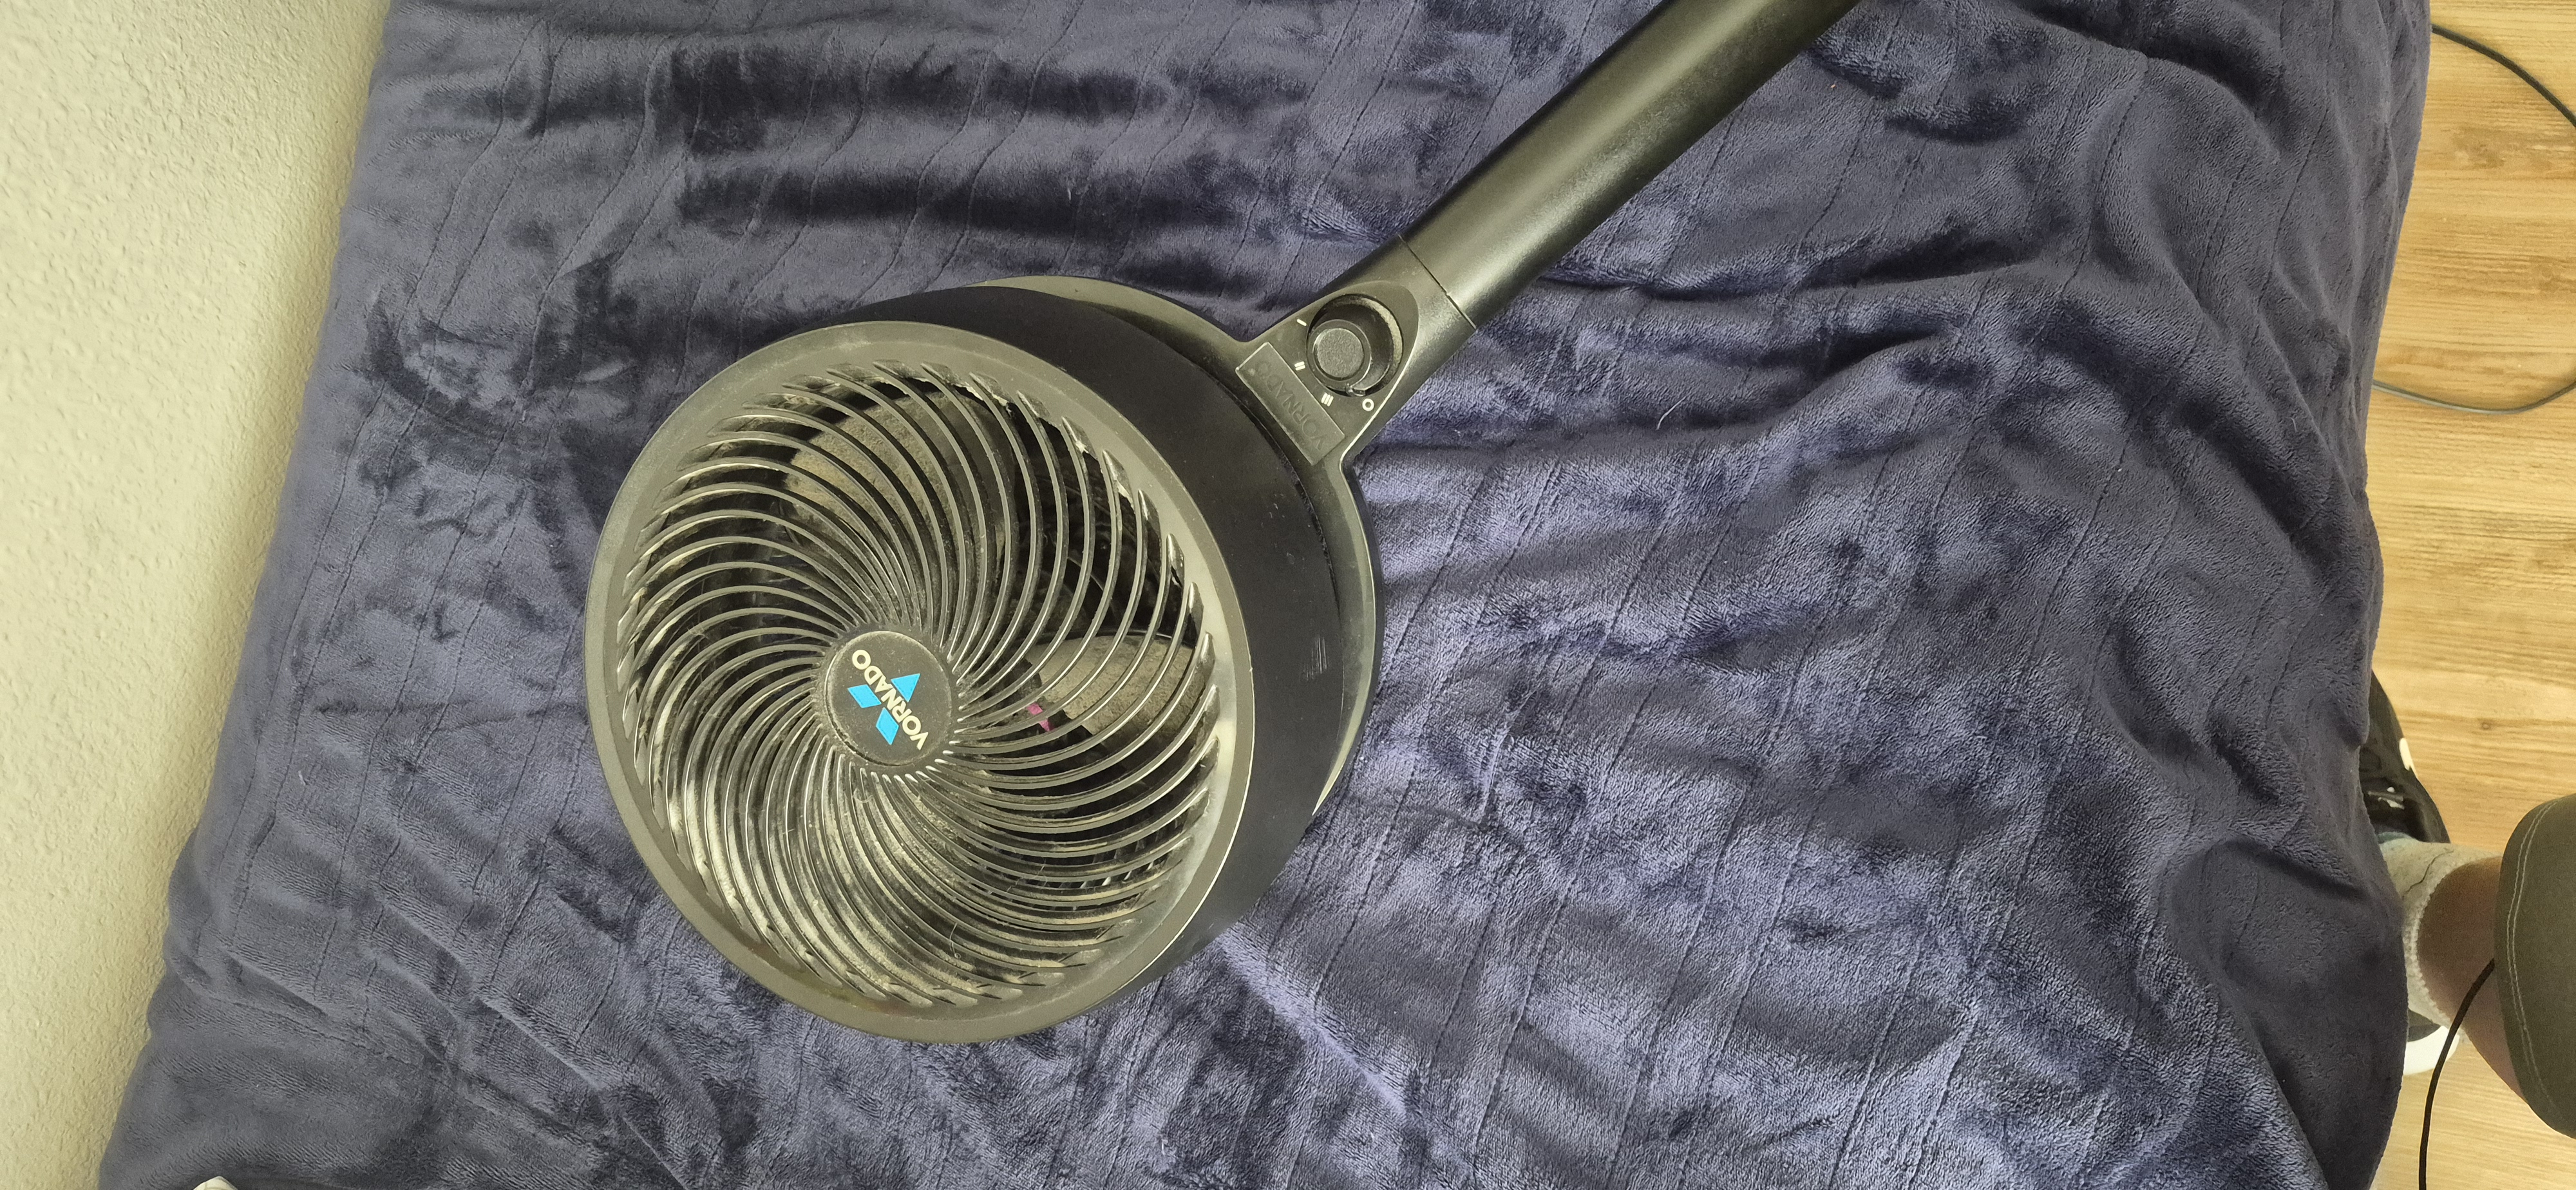
This is a fan I have had for around ten years, one day it stopped working, and I want to find out why.
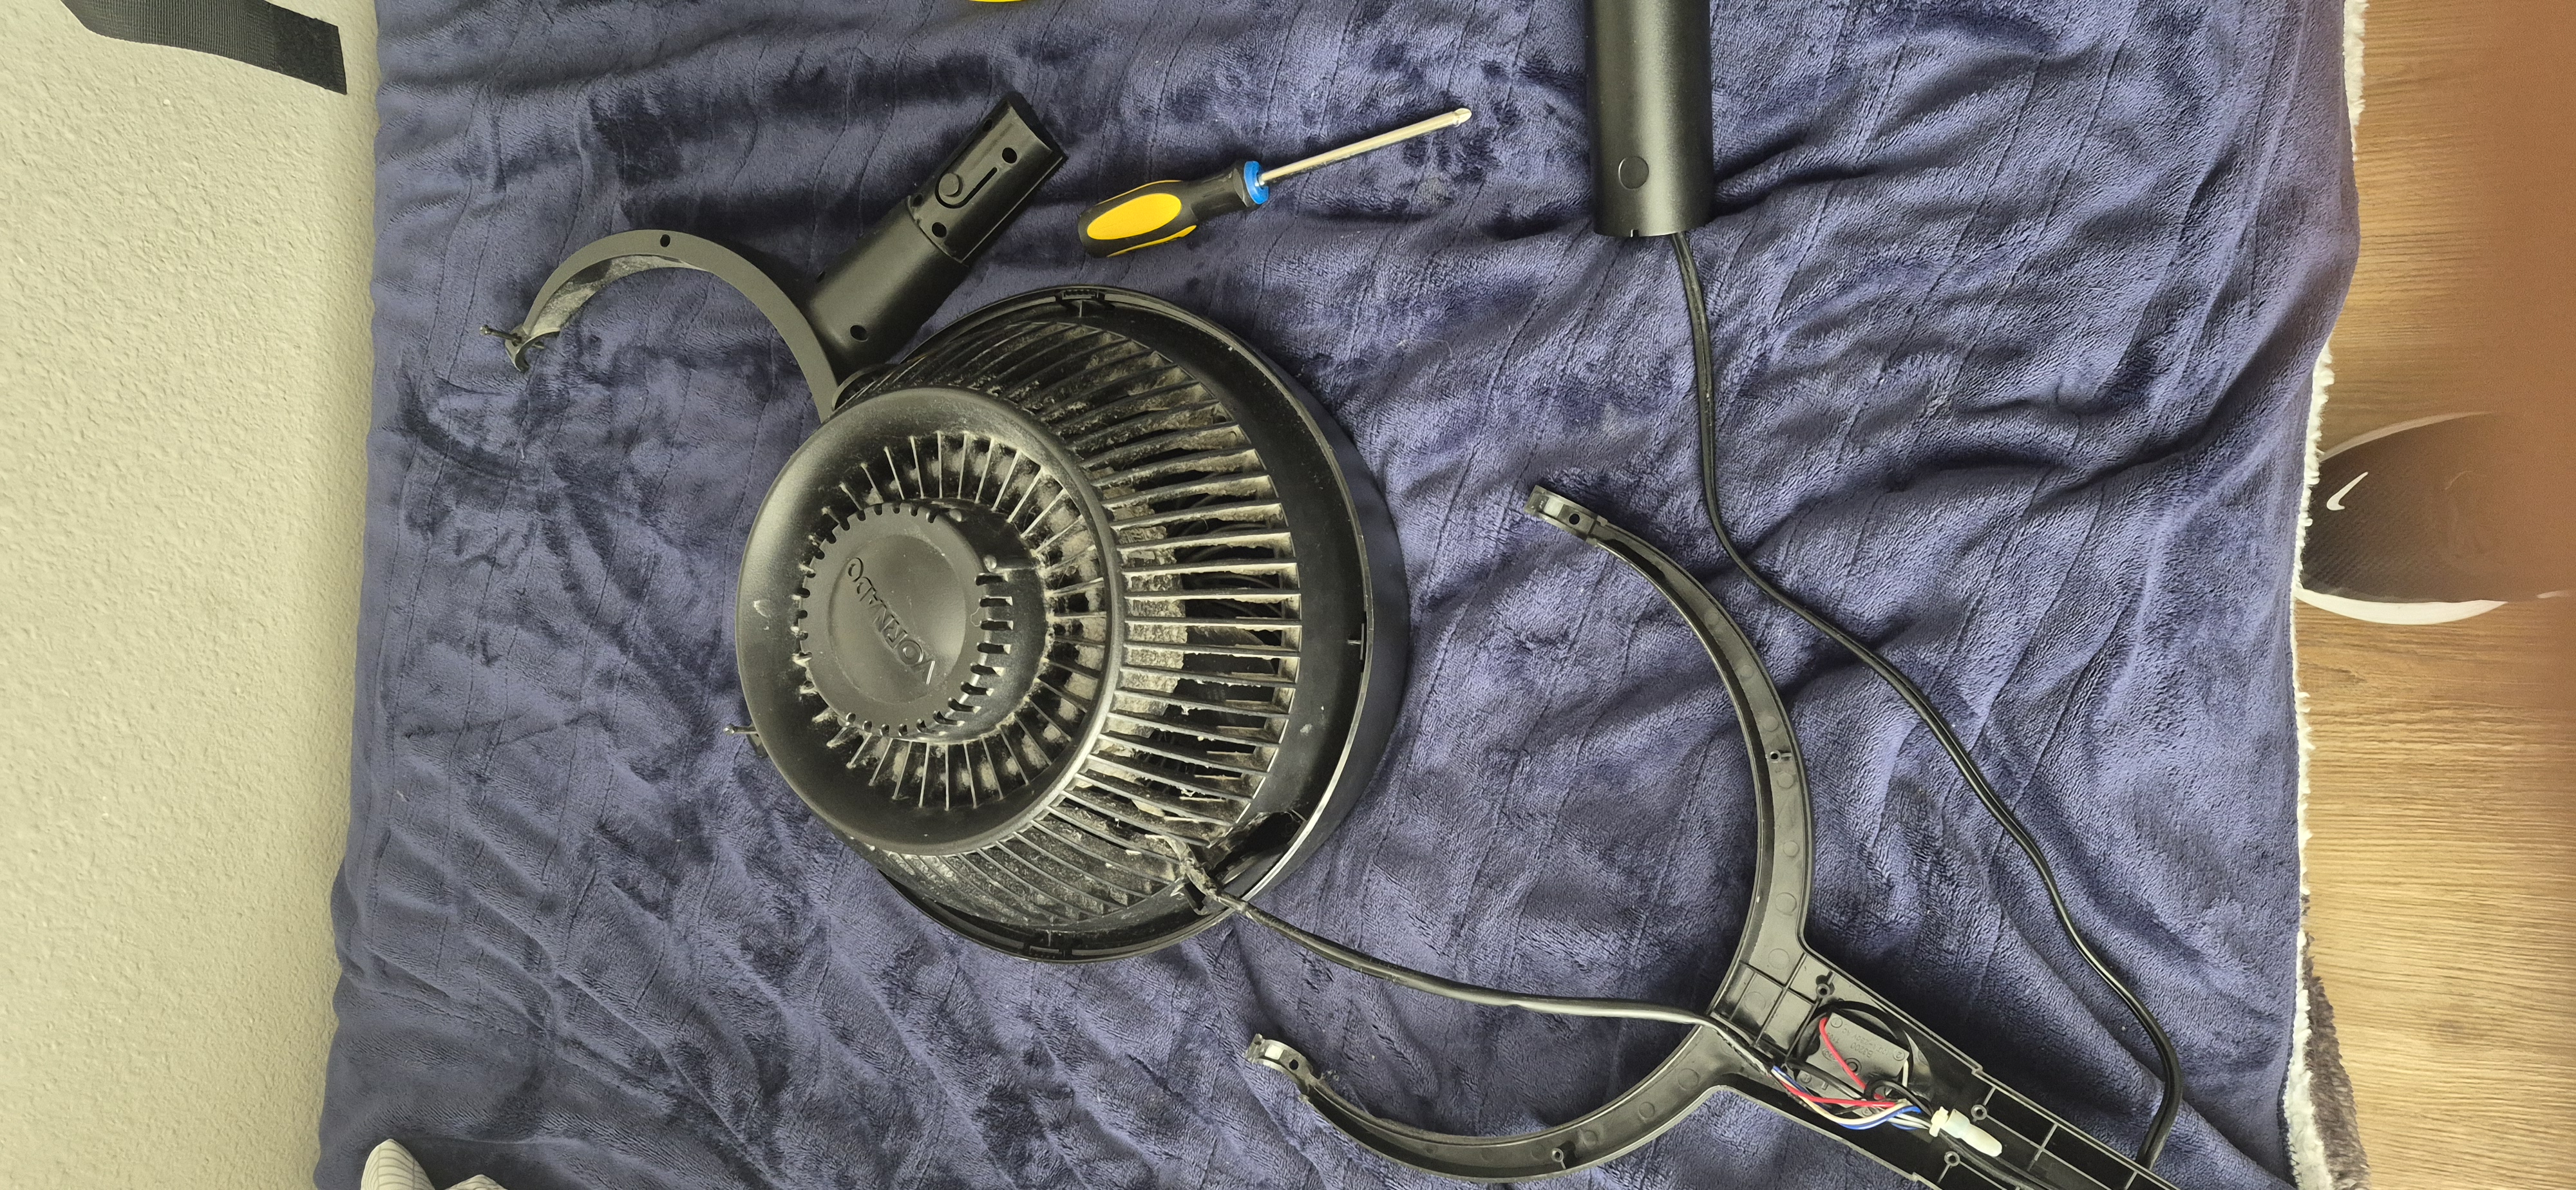
I started by taking the fan apart. While I was taking it apart, I started to notice a smell, the bitter smell of burnt electronics. This made me nervous that the fan was burnt out.
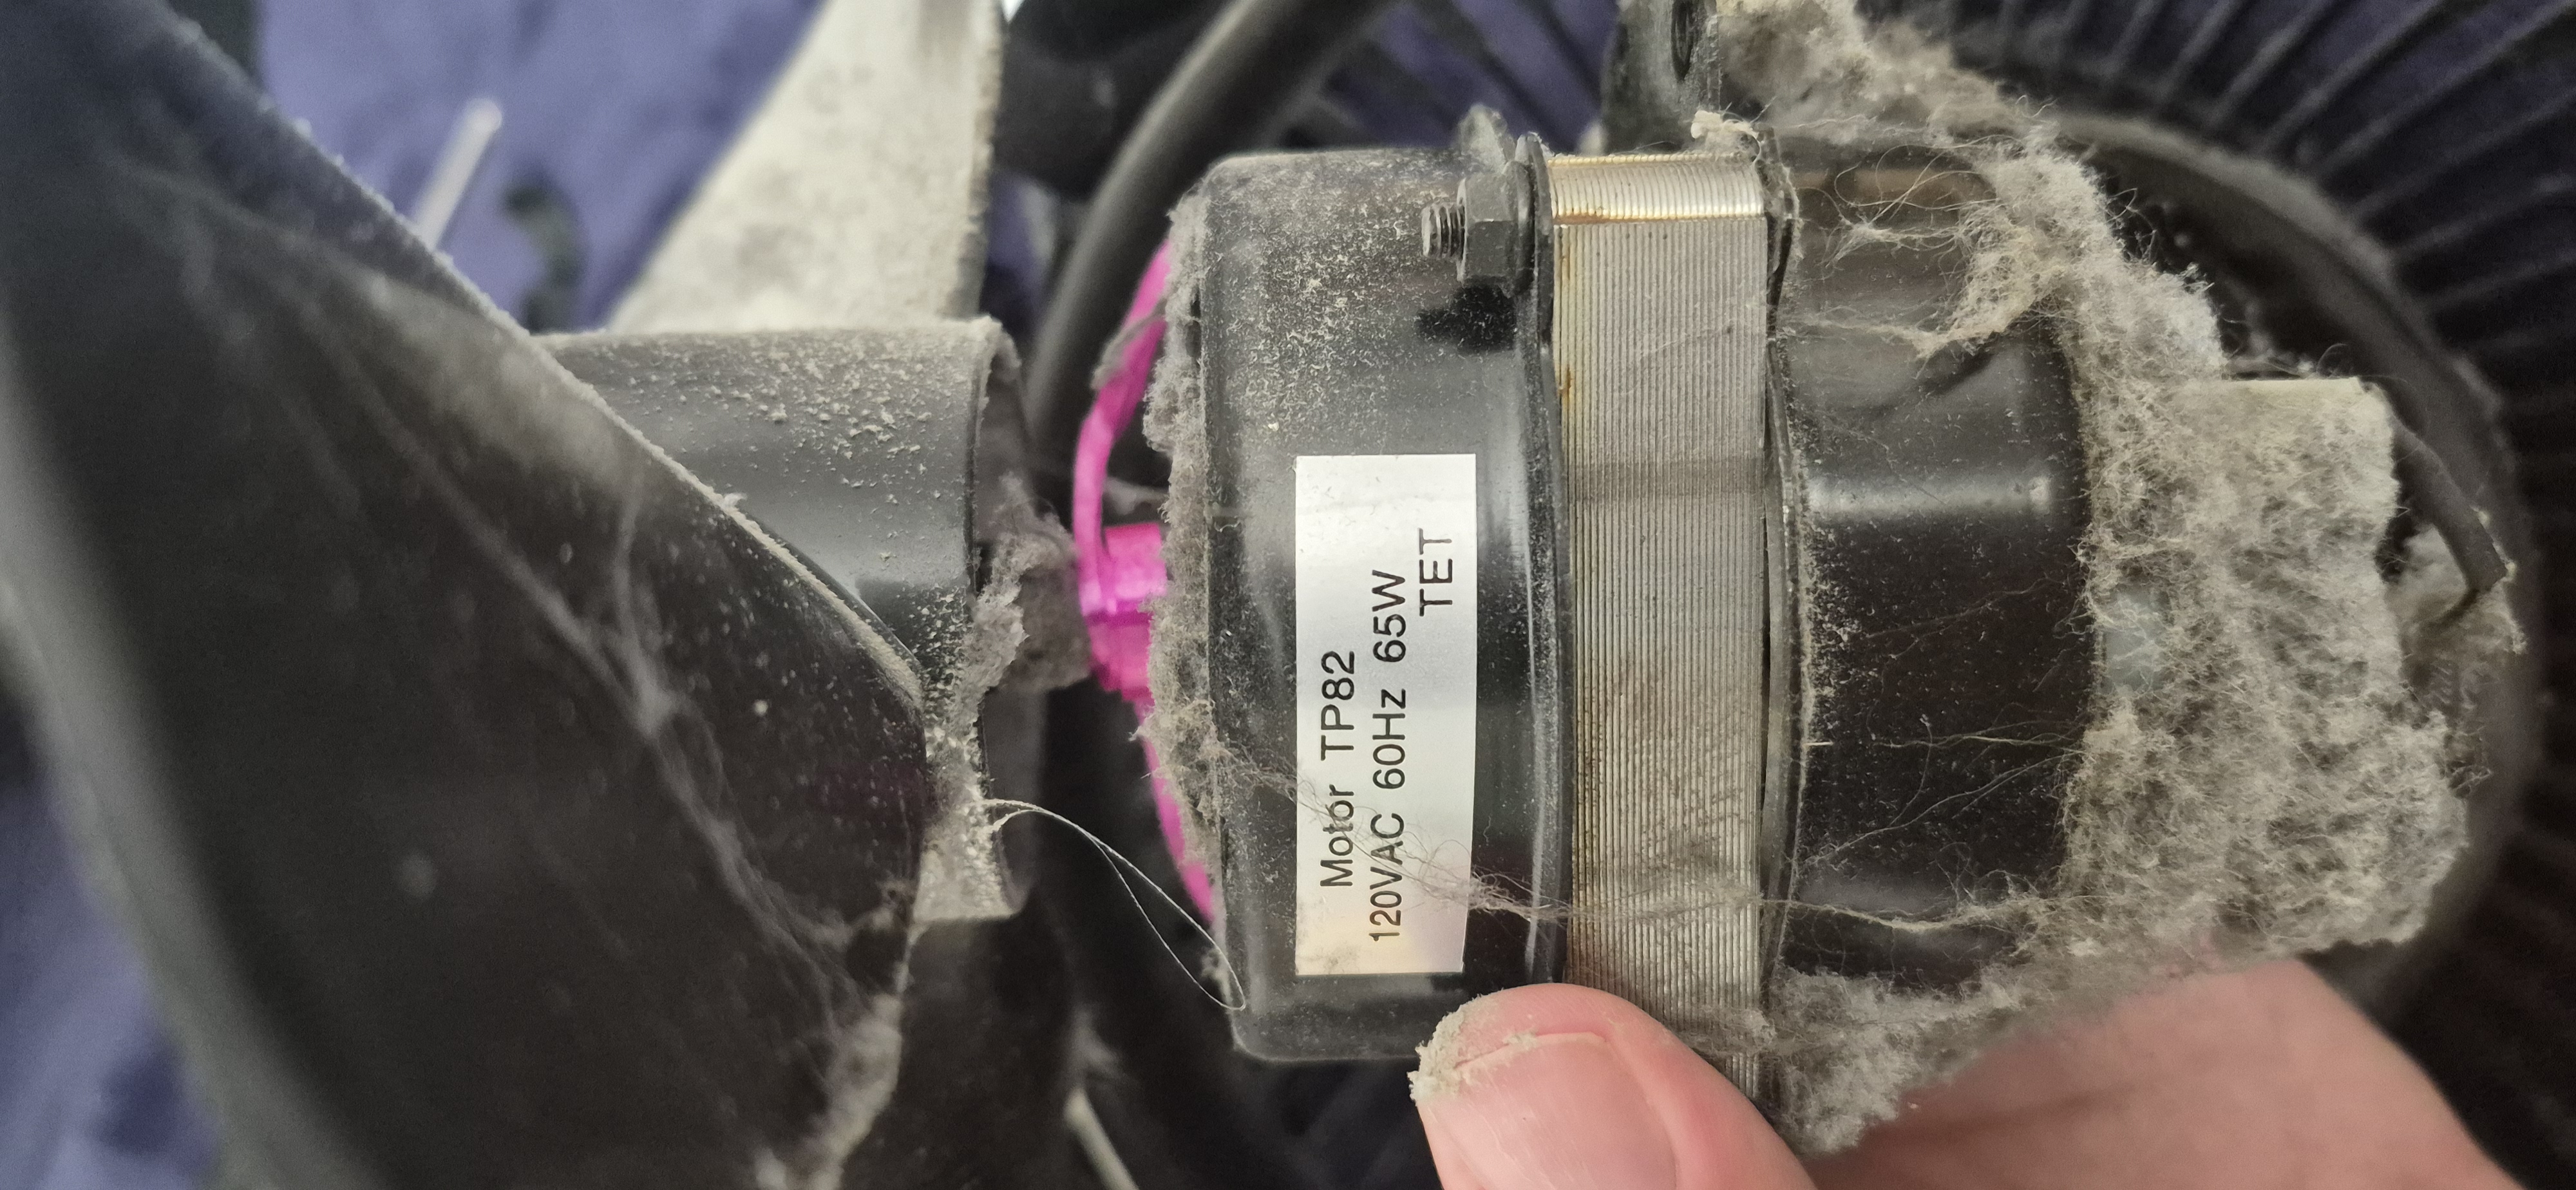
When I finally got to the motor, I found there was a pink balloon string lodged in the motor, and the smell was stronger. I decided to clean the motor and the rest of the fan, then see if removing the string would fix the issue. I didn't think this would work, but it was worth a shot.
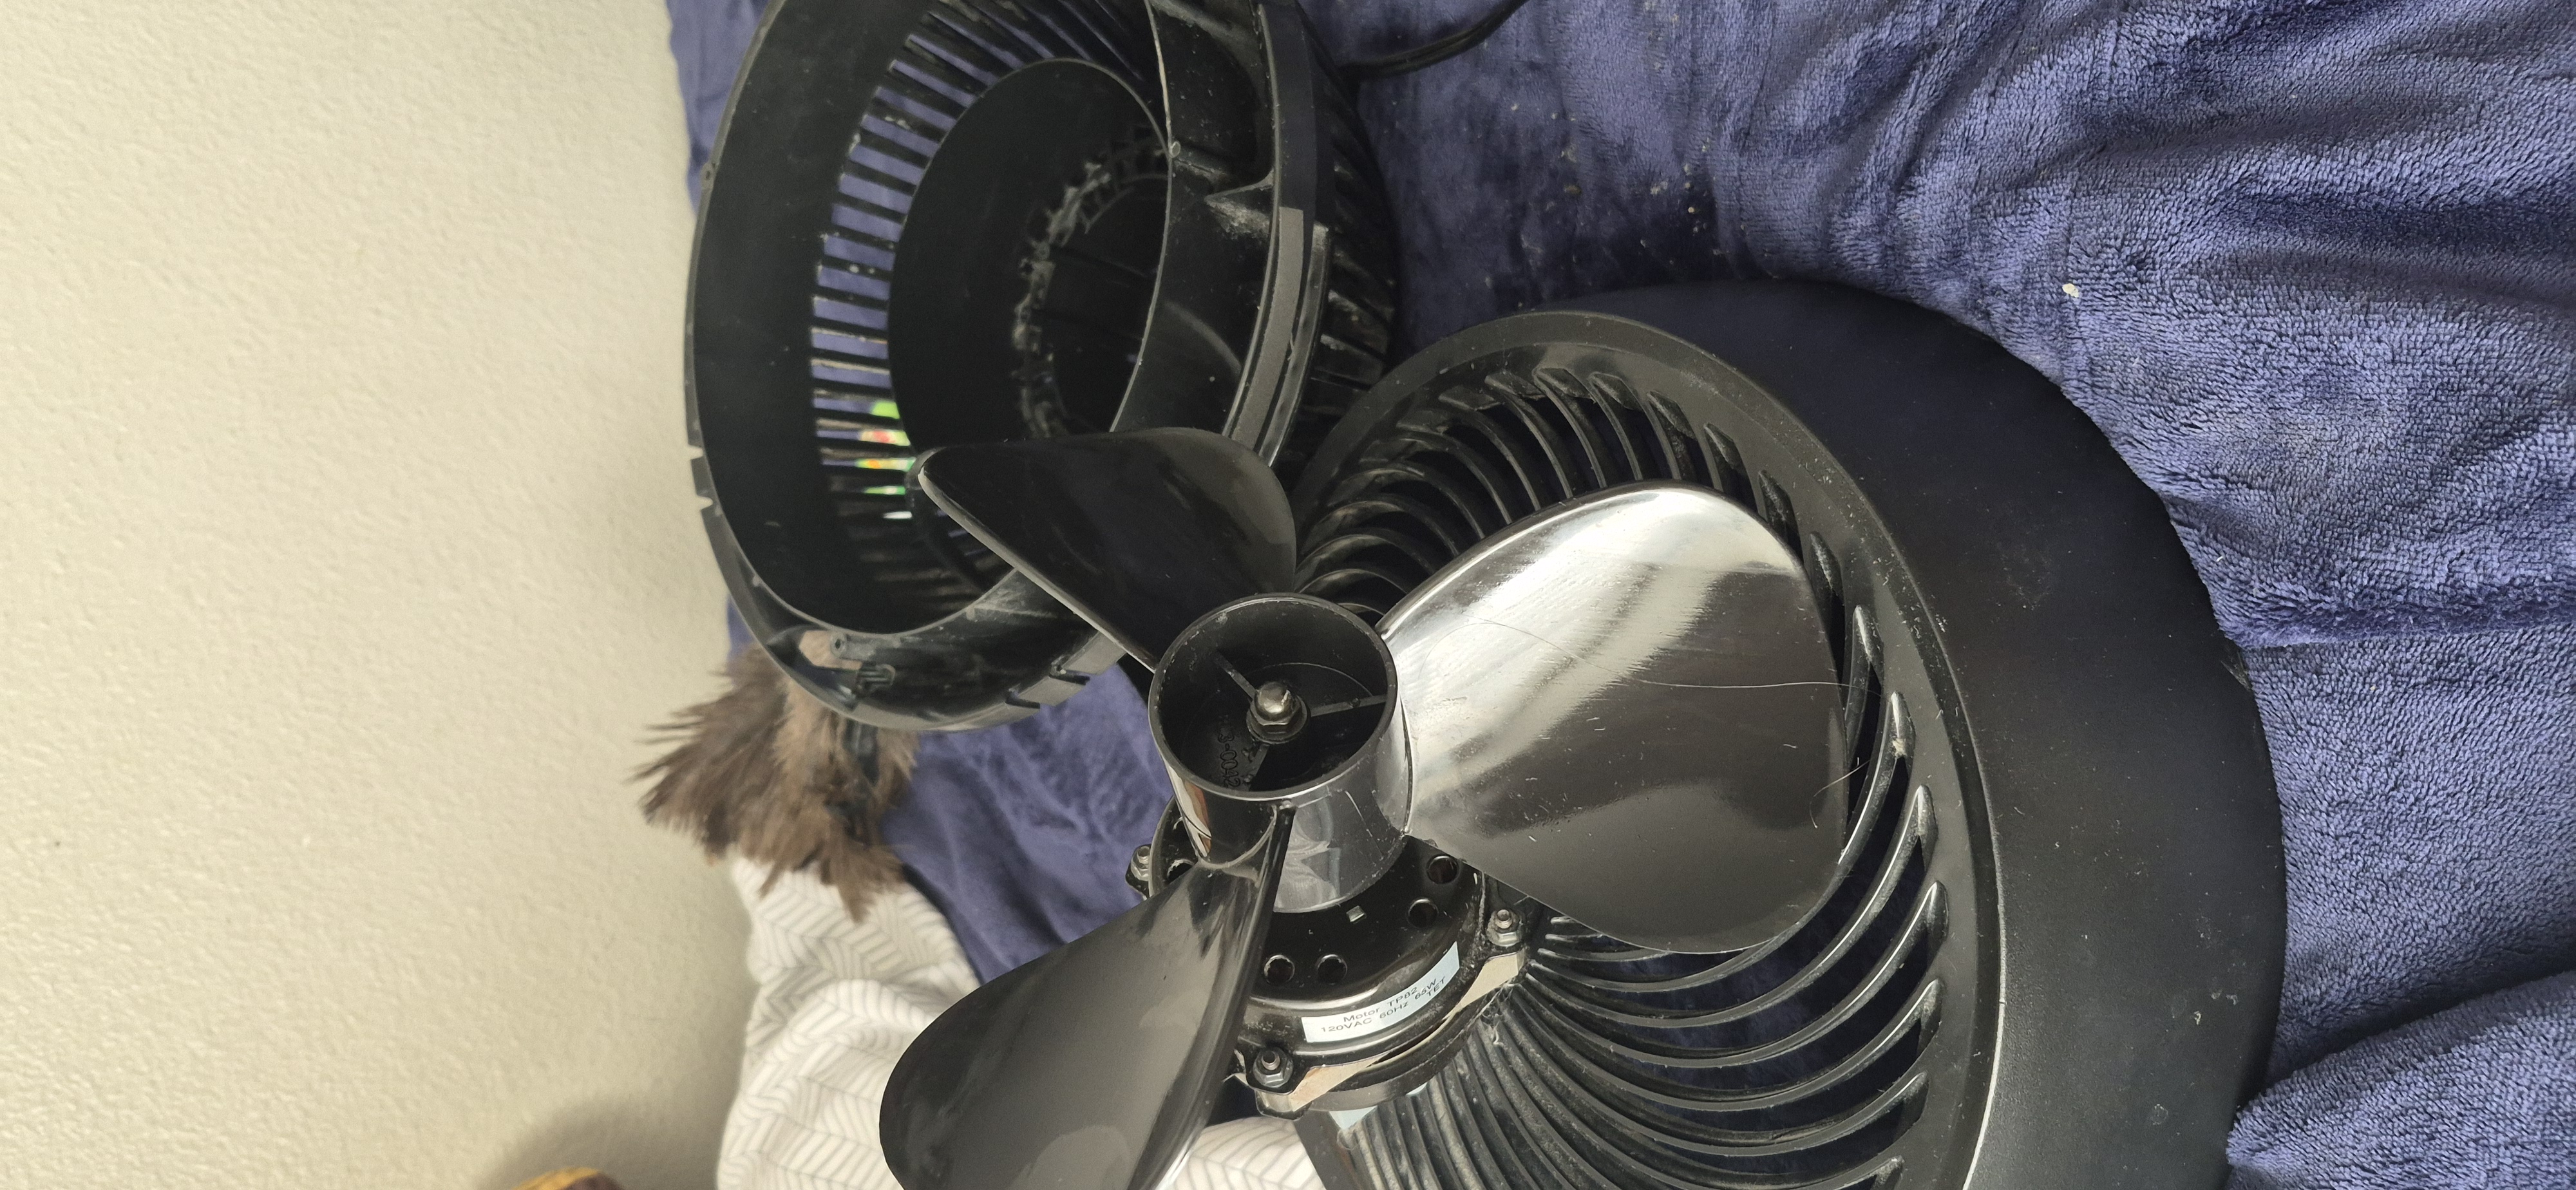
Removing the string from the motor made it turn more smoothly and move back and forth, but while cleaning it, the smell grew even stronger. I plugged in the fan, and it didn't turn on as expected :(. This fan will be left at the Reuseum to be recycled, as replacing its motor (which burned) would be a waste of time and effort. I still am not entirely sure why the fan burned. My working theory is that it burned due to overheating caused by bad airflow from the horrifying buildup of dust and cat hair, and a general lack of care for the insides of the motor.

This is a clicker game I made in Java called Nom clicker, based on an old Scratch game I made in middle school. Here is a basic rundown of how the game works.
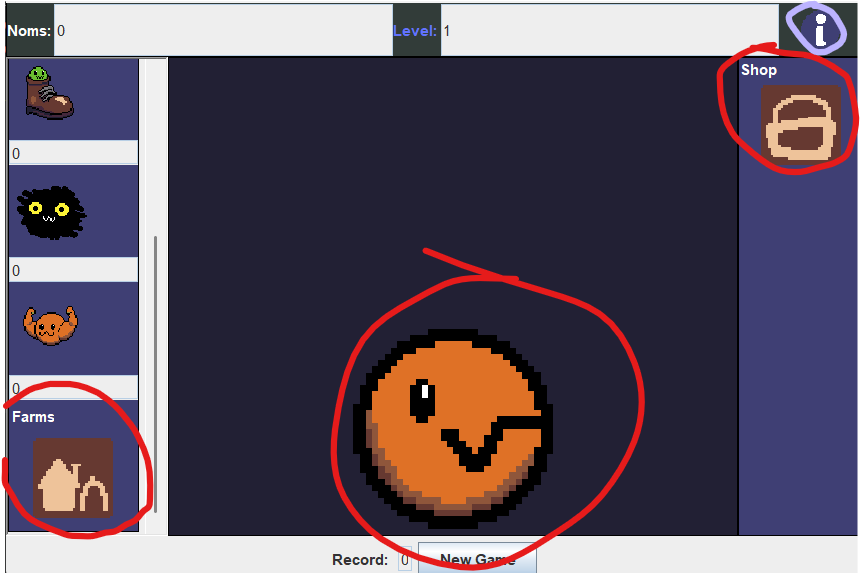
There are three main buttons to use during the game: the Nom, the shop, and the farm button. There is also an Info button in the top left corner of the screen incase you need to know what to do in the given area of a game.
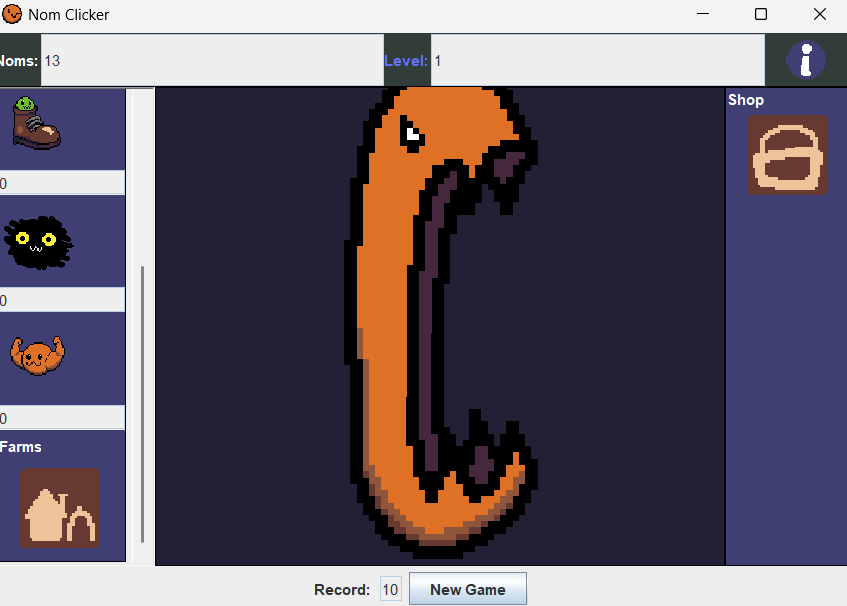
The nom button, when clicked, will calculate the number of noms it is going to add to the counter and play an animation. initially, I wanted it to be calculated in reverse PEMDAS, but Java would get mad, and it only let me calculate it in the order of PMEA. Once calculated, the counter will go up by that number and then the counter will check if it is able to level up the player.It should be mentioned that the record button checks if the nom counter is higher than it periodically, because if it were checked every time the nom is clicked, there would be issues with farms.

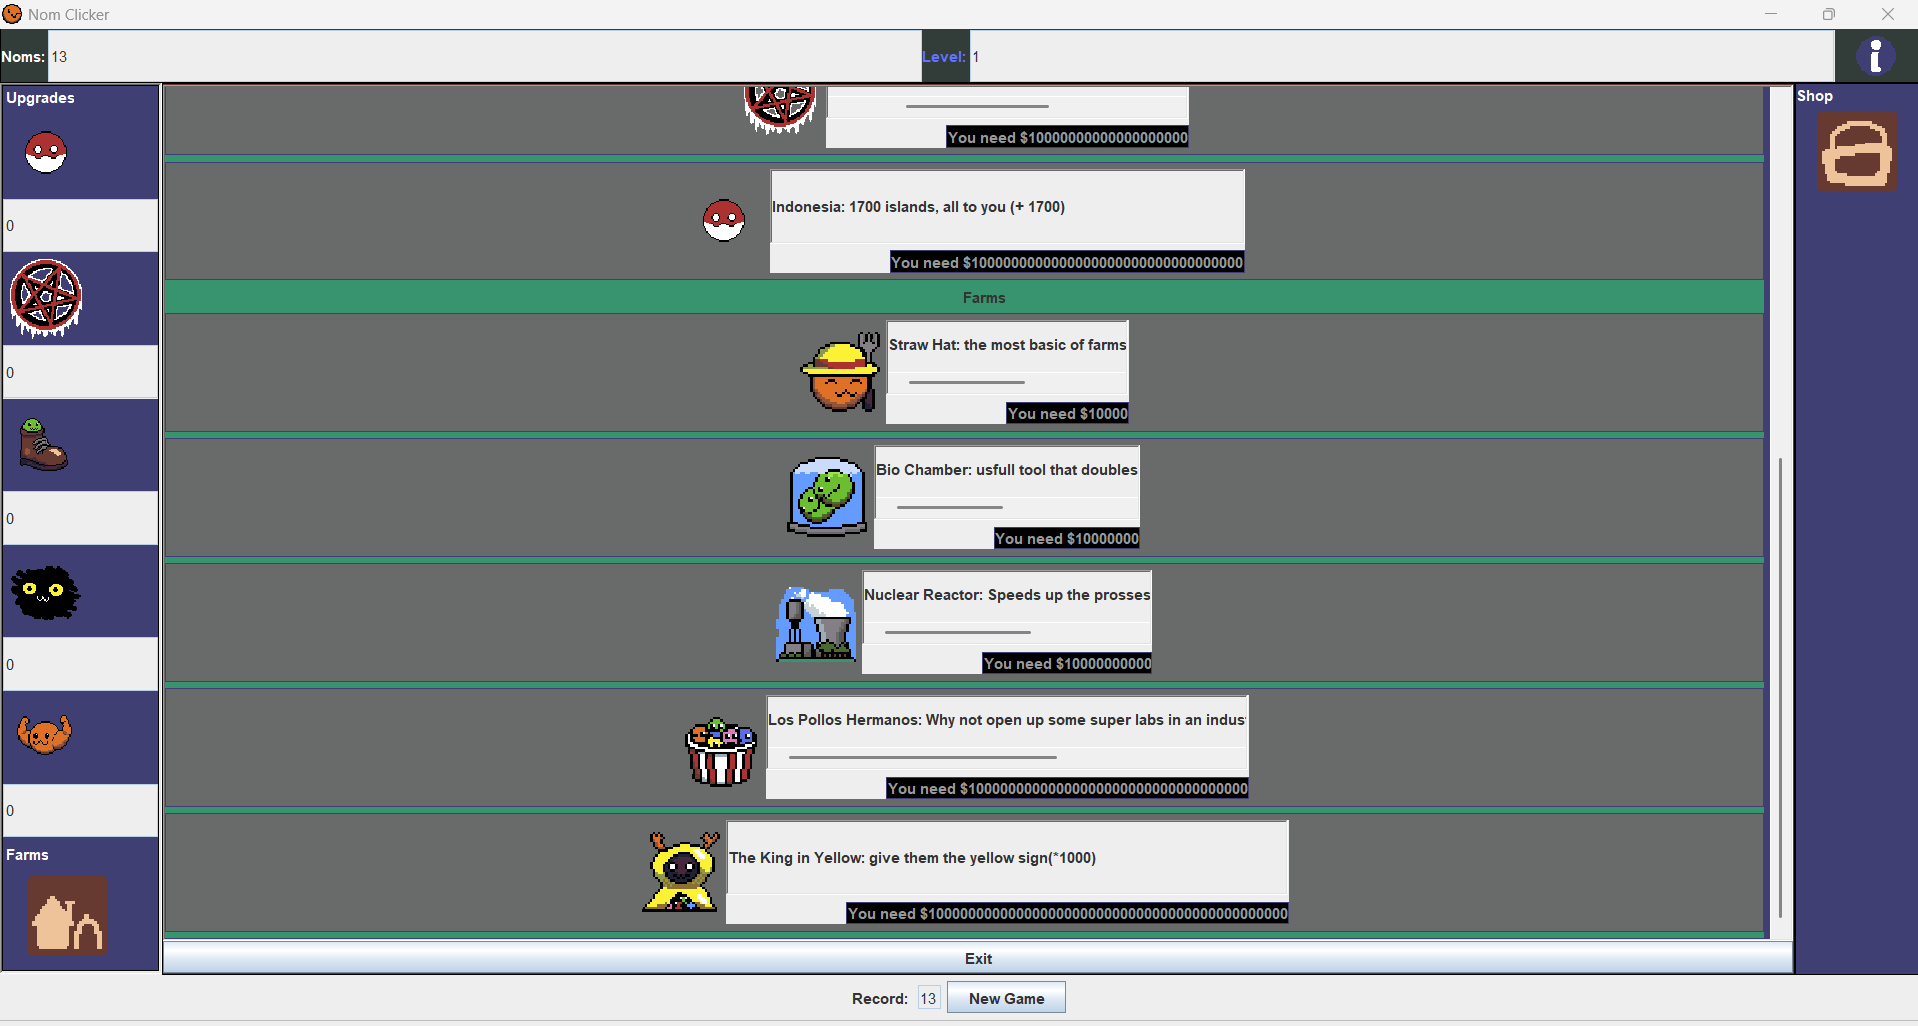
The shop button takes the player to a shop where they can buy upgrades and farms. When an item is purchased, a counter for that item will go up, and the nom counter will go down. The shop will be refreshed on purchase and will check if a player has maxed out or can't afford an item, and if they can buy an item. If I could do one thing differently with the shop now, it would be to make the purchasability of an item be periodically checked, like the record counter, but instead it would be each button of the shop checking instead of having to make the player refresh the shop manually.
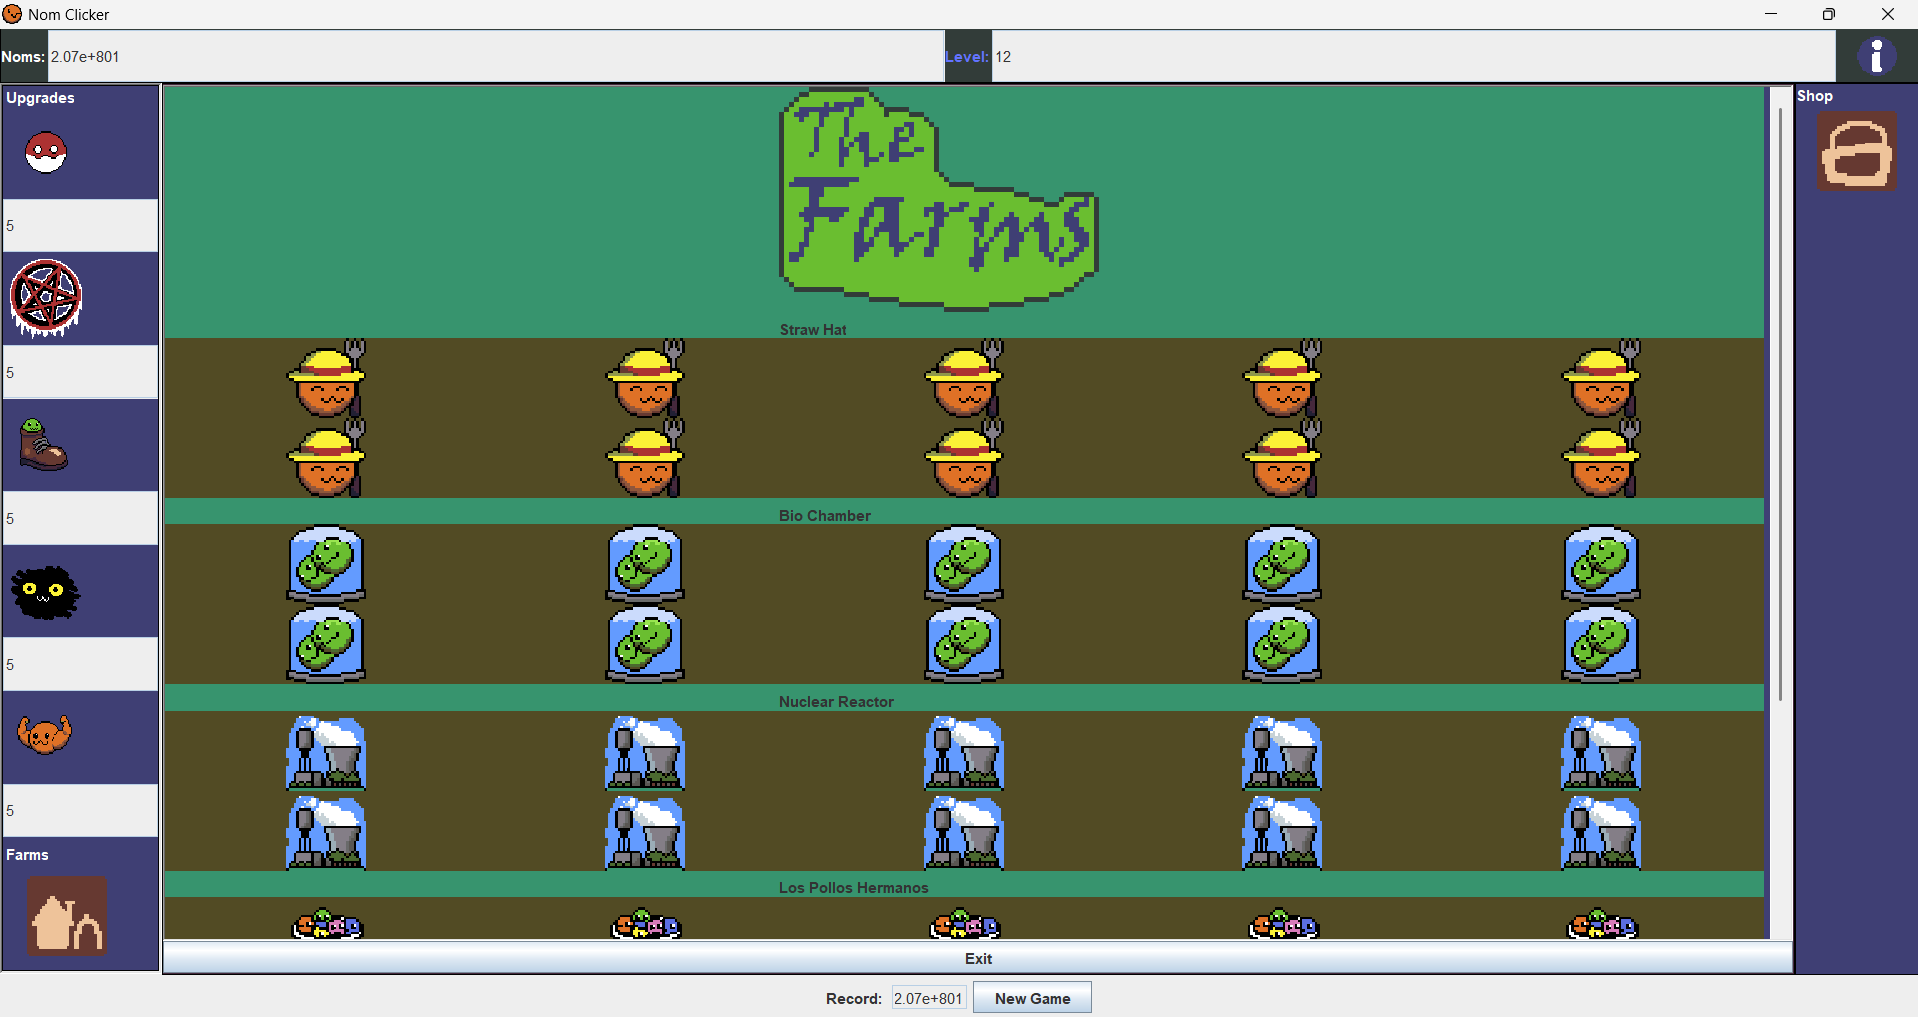
The farm button takes the player to an area where their farms are visually laid out. The layout was inspired by the grandmas and mines from Cookie Clicker. Farms act together as an auto clicker. Each type of farm has its own function similar to the player, the straw hats are the base, and everything else affects the straw hats. Farms are affected by the level. After a given number of clicks determined by the level, one group of farms will be randomly selected. Each farm will roll a random number from 1 to 10. If the number rolled is less than a threshold (that will be determined by the level), the number of votes will go up. If there are more votes than half of the farms, then one farm will be removed, and if 100% of the farms voted yes, then half of the farms will be removed.
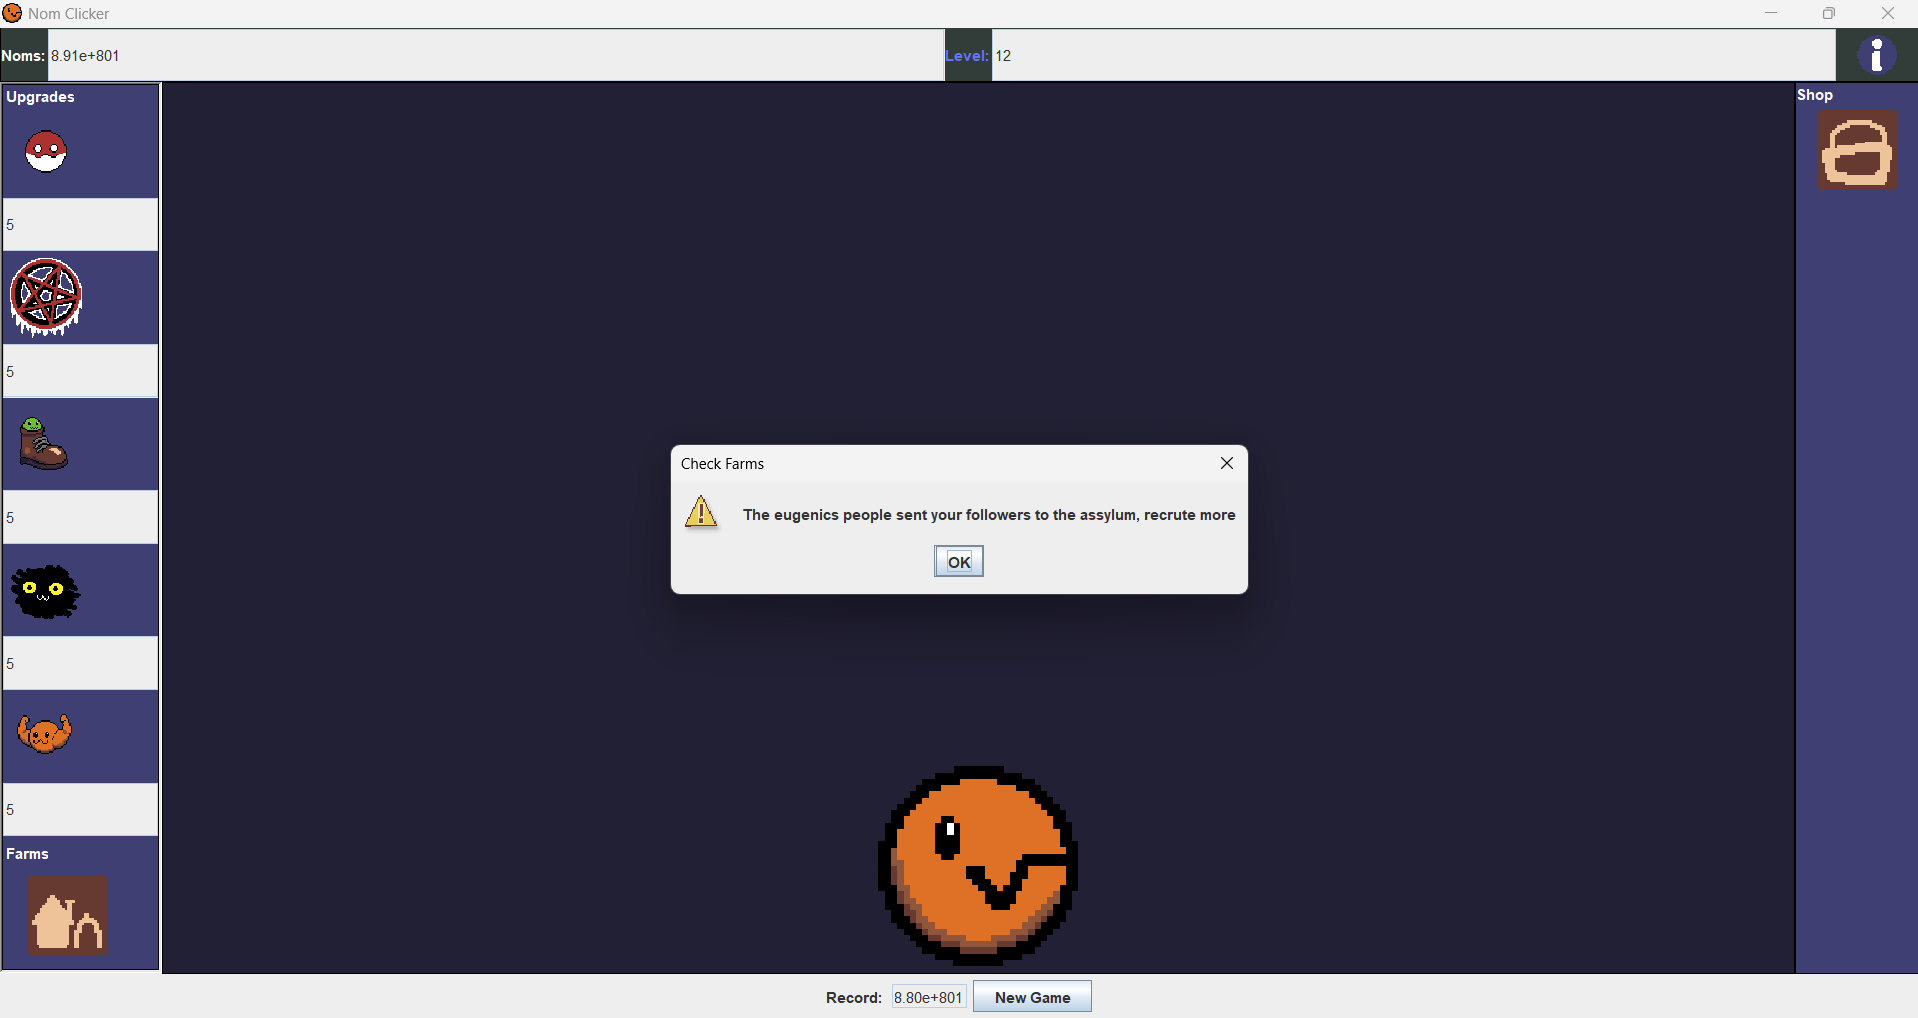
When the voting process results in a loss, the player will be alerted in a way that give the player a clue on which farms revolted, usually in a way that references the inspiration the farm's art and name. In the example above, it is an alert that a King in Yellow farm revolted, which is hinted at by a reference to how some characters in the short stories would be sent to asylums after reading The King in Yellow, and a reffernce to the era The King in Yellow takes place in, the late 19th century, early 20th century, when eugenics was common practice hospitals and asylums. You can check the damage of the revolt in The Farms area and replace them in the shop.

As you can see there is now a missing king. This is where I should mention there is a bug; the revolt system only works after the player has looked at the farms tab. If a player wanted, they could go the whole run without looking at their farms and, as consequence, never have to replace them. I believe this bug occurred because the revolt void is in the Farm.java class, when it would have been more effective to put it in the ClickerGame.java class instead. I forget the reason why I didn't do that.

After the player is bored of the late game, they can press the new game button to start over and see if they can beat their old record. If I still had the motivation to keep working on this project, I would make it so the records were kept in a CSV file; I would make it so the current record is only kept when the new game button is clicked, I would also make it so when the new game is being set up, if there is nothing in the CSV file or there is no CSV file, the record would be set at zero and if there was no file, it would get its first value at zero. I would also make a new variable named something like "PreviousRecord" and have the game check if the "Record" variable was larger than it or not and then act based on that. I would also have to do something to get the previous record out of scientific notation if it is large enough to be in that notation.
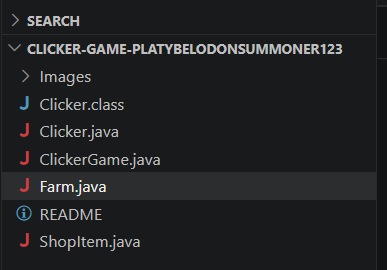
The Game is made up of four main programs, "Clicker.java" the file that holds the main void which
creates the JFrame that lets the next file run, "ClickerGame.java" an extended class of a JPanel that
runs the game and houses most of the logic, "Farm.java" an extended class of a JPanel which holds the
logic for creating a Farm cell in the farms tab and for farm revolts, and lastly "ShopItem.java" which
is also extends JPanel and holds the logic for making an item display in the shop and the getter and
setters for the button that tells the player the items cost and whether or not they can buy it with both
events of not being purchasable being accounted for. If you could not tell by how the project looks
and/or by the references towards JPanel and JFrame, this program's UI was made using the java library
Swing. Along with Swing, AWT was used for things such as the color, action event listeners, and
scrollable panels. Net was used to make it so I could put images in without an absurd amount of
try-catch methods. The big thing I took from this project is to always back up your files. I made the
horrible mistake of trying to use Copilot to fix a bug that was not immediately obvious, and it ended up
destroying my code, but I could not stop it, so I closed the program, which caused my recent work to
disappear. Luckily for me, File Explorer lets you view previous versions of files, so nothing was lost,
but from now on. I will make sure to push to Git Hub every time I finish something important and to back
up my files better. This was probably my favorite project from this year because it was very fun to work
on, and it taught me a lot about Java and managing my files.
If you want you can download the files for Nom
Clicker to see the code for your self.
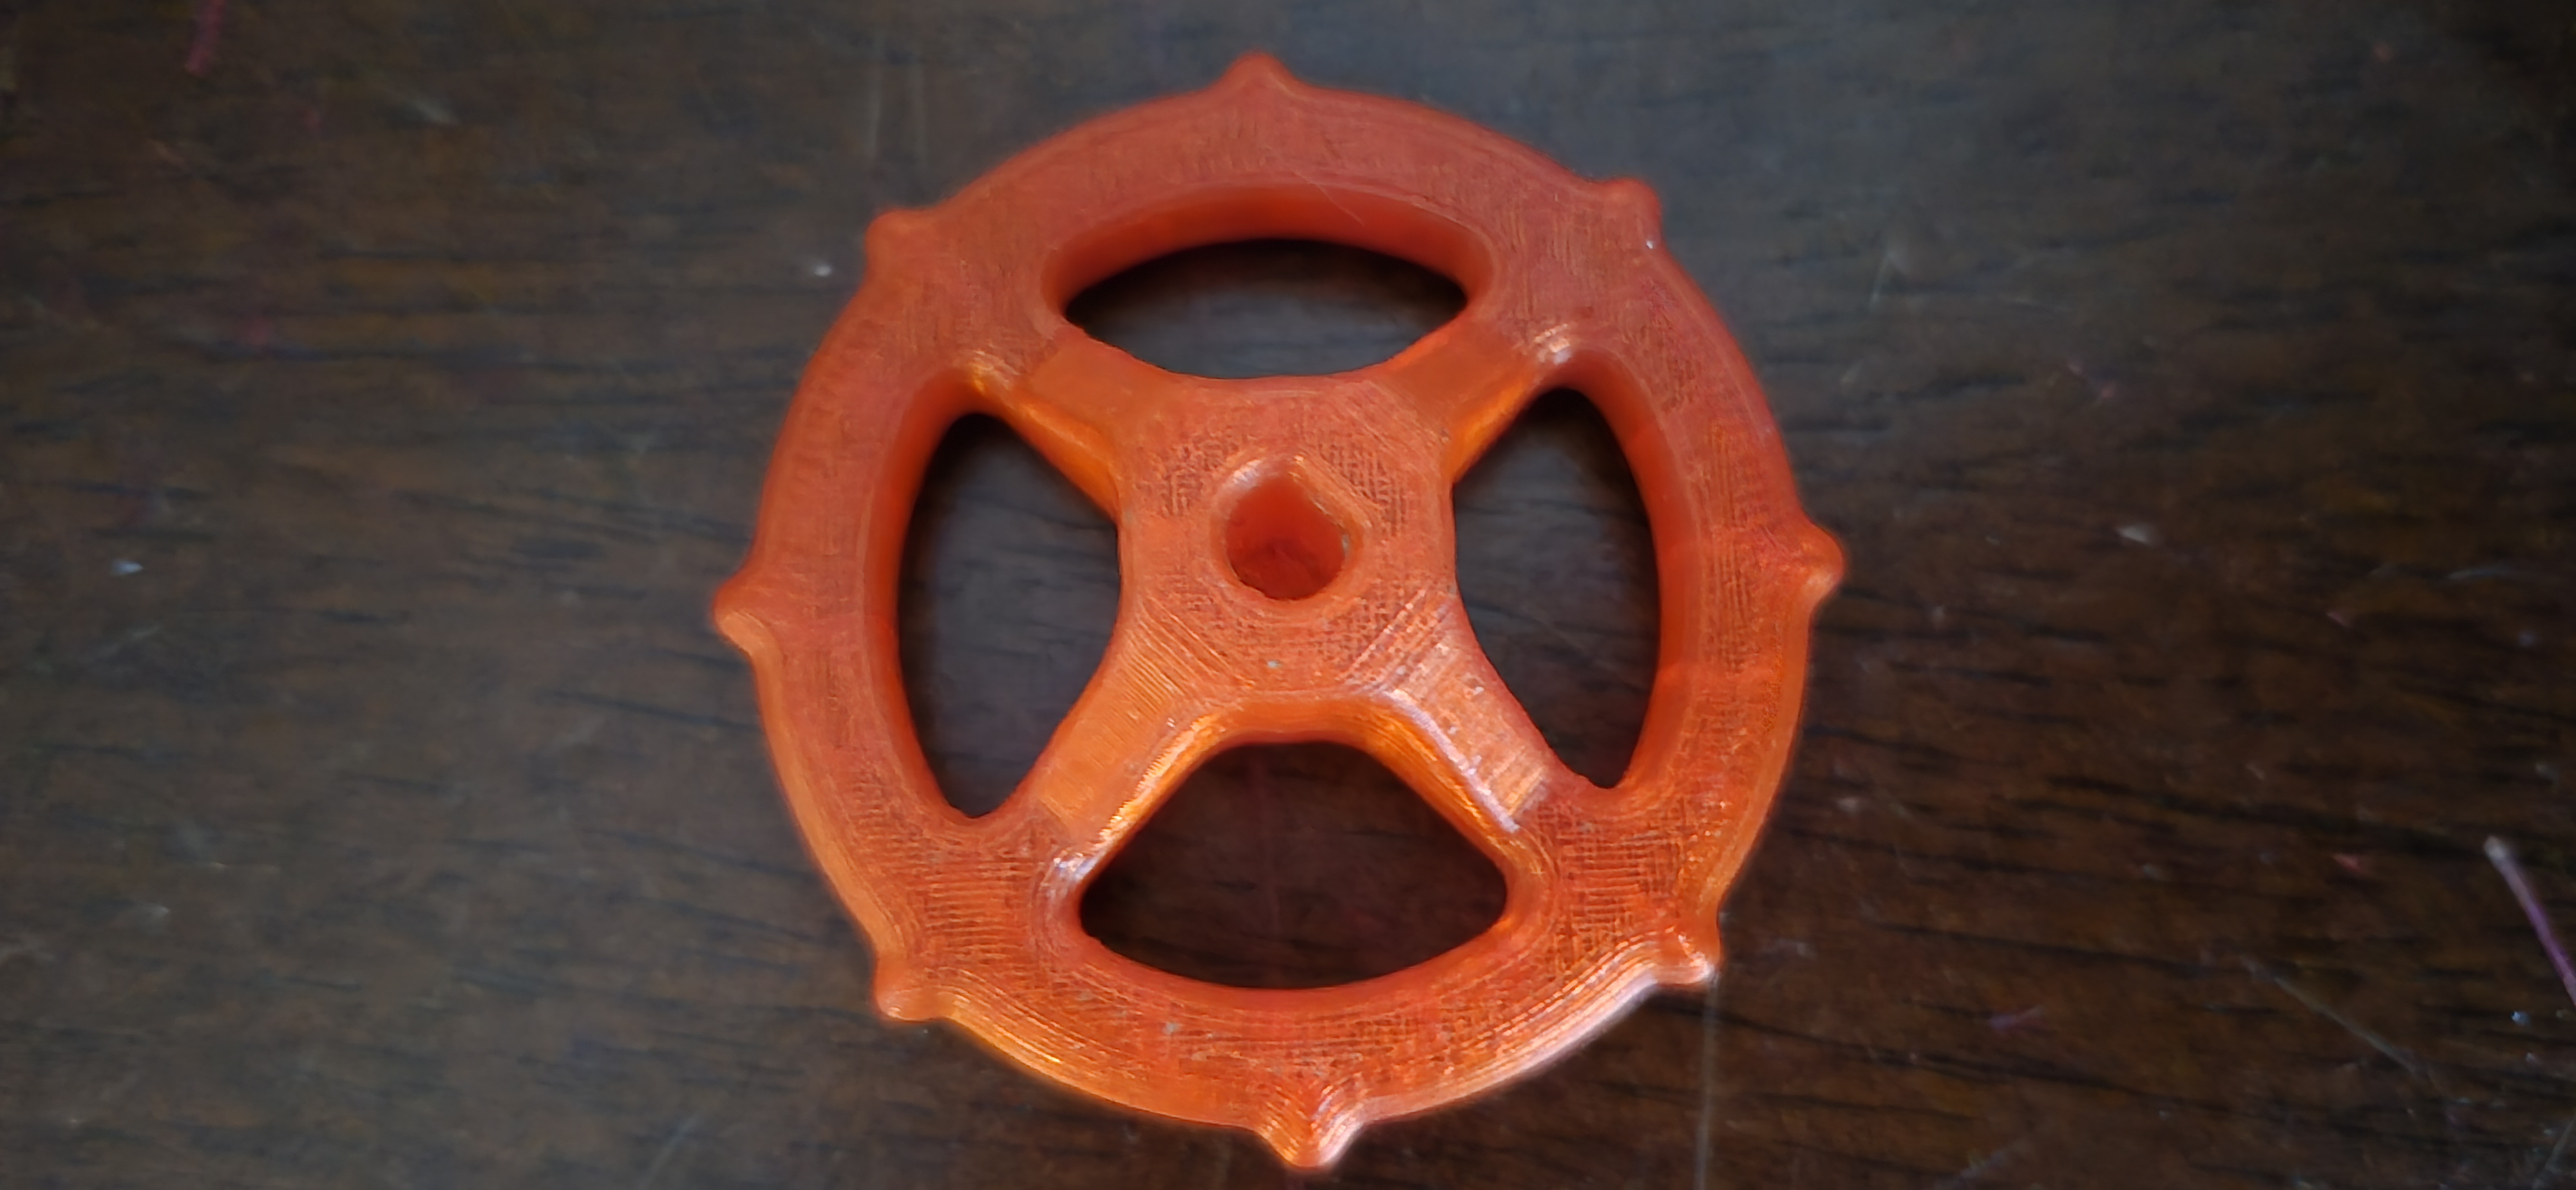
This is an old 3D print that was a pre-installed test print on my first 3D printer. I was looking at it and thought, "I could make this in SolidWorks."
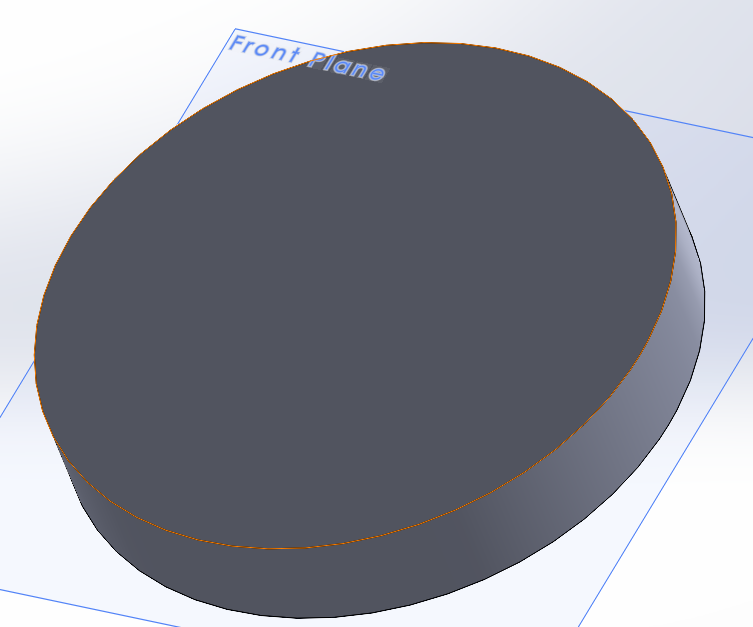
I start by creating a sketch of a circle with its center at the front pane's center and a diameter of 50mm. Then, using the sketch, I create a blind boss/base extrude that is 8mm tall.
Then I select the front face of the base and sketch a 14mm circle, then make another blind boss/base extrude that is 10mm tall. I select the new extrude and make a 50º daft.
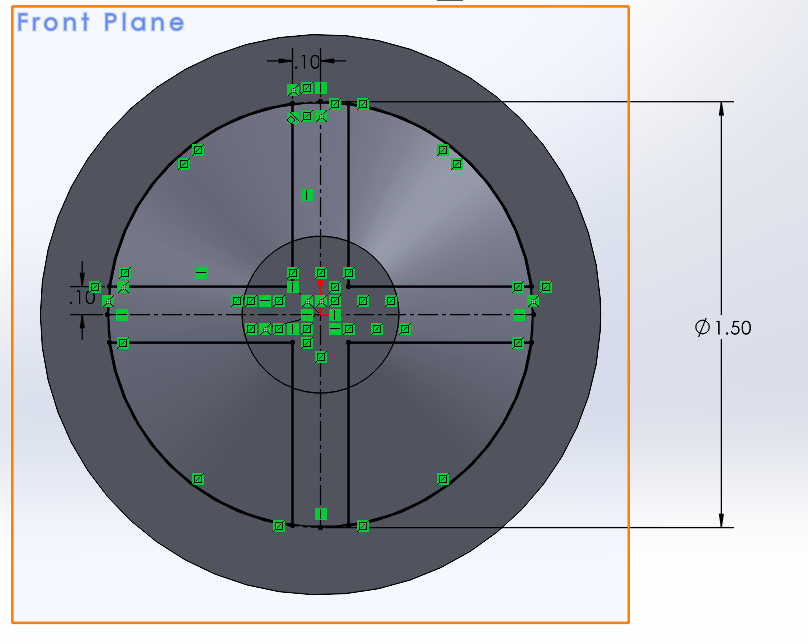
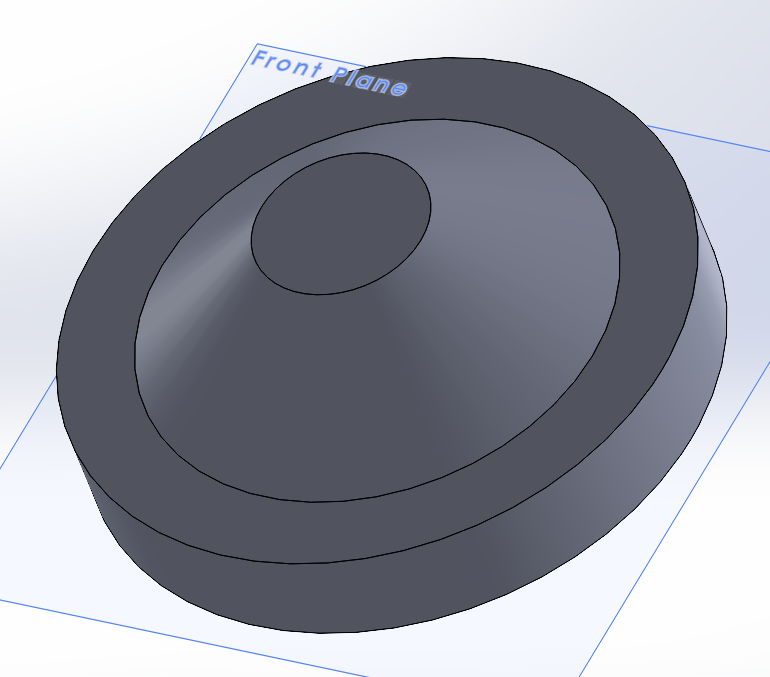
Then I select the front pane and draw a quarter circle whose radius matches the daft's radius. Using this sketch, I make a circular pattern of four. Once done the sketch is used to make a through all extrude cut.
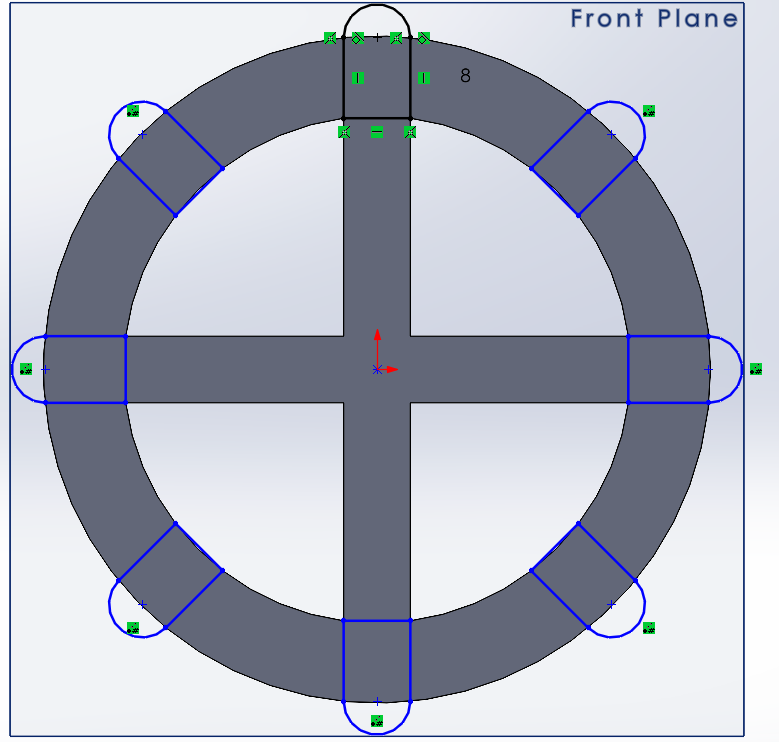
Looking at the 3d print, there are these little pirate wheel things. Selecting the front face of the base shape, I create a new sketch. First, I drew a 5mm line that is perpendicular and coincident to the top bar created by the through all extrude, then I drew two lines up to the border of the main circle. Draw a tangent arc across the two lines. After that, I selected the sketch and made a circular pattern of eight. After leaving the sketch, I made an 8mm blind base boss extrude.

After that, I selected the corners of each quarter-circle hole and made fillets. I was not sure what the diameter of the fillets was on the original, so I put the print up to the screen and zoomed in and out on the model until they were the same size and scrolled the diameter settings until they looked right. Feeling the print, there are small, round bumps in between the fillets. To replicate this, I copied the original circle sketch that made the daft and used it to make an 18mm blind boss/base extrusion. It was at this point that I realized the original probably used a square to make its daft, specifically one that was oriented like a diamond. Or it was an octagon.
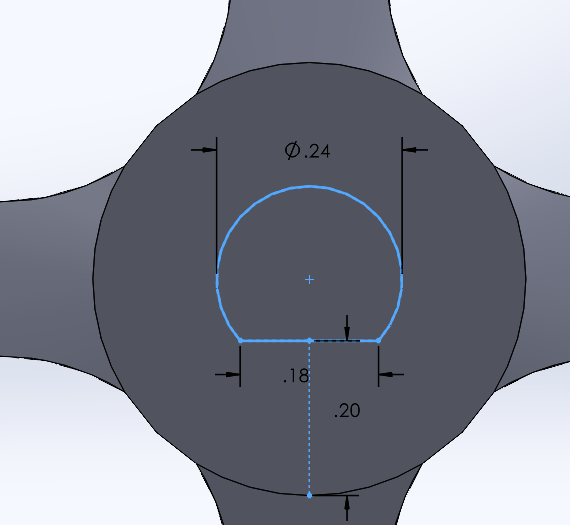
Clicking on the front of the model, I made a new sketch of a 6mm circle, then drew a straight line perpendicular to the bottom bar. I then dimensioned the line to be 4mm away from the edge of the circle, the hole is going to cut through. Selecting the circle and line, I click on the shaded sketch contours in the top bar (this combines them), then trim entities and trim the bottom of the circle, and cut off the remaining part of the line. After dimensioning the sketch, I make a 15mm blind extrude cut.
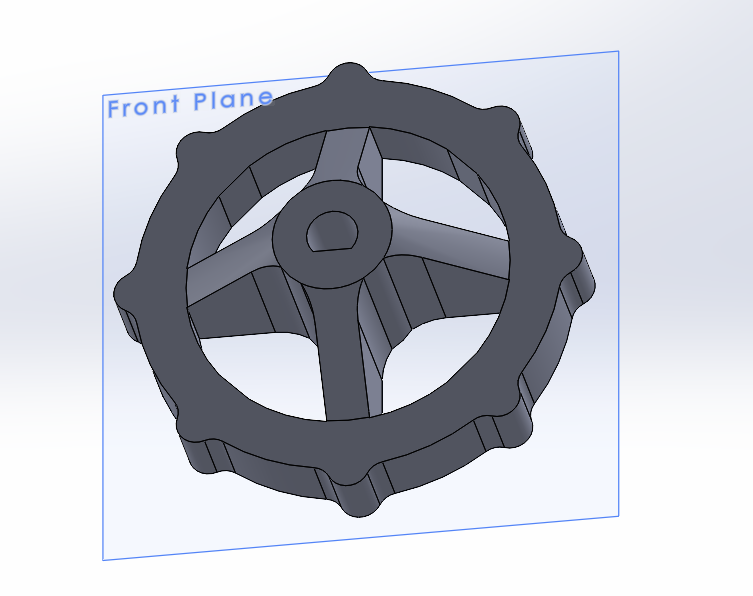
Feeling the print one last time, I notice that there are very small fillets on the edges of the pirate wheel things, so I added those. Now the model is complete.
While making the model, I made some mistakes. The obvious one is the shape of the center daft not being correct. I modeled the geometry in a way that made it so I could not put most of the fillets that the original model had because the geometry was too complex. I also accidentally had the flat side of the pirate things sticking out of the part and they were 0.04 inches too long. For the hole on the top, I eyeballed the diameter and the flat part because my calipers were too large to get exact measurements. The bars are supposed to have a flat part that is only 3mm long; I believe that because I used a circle instead of an octagon or square, the gap was never made. The order in which shapes were made could have been more efficient too.
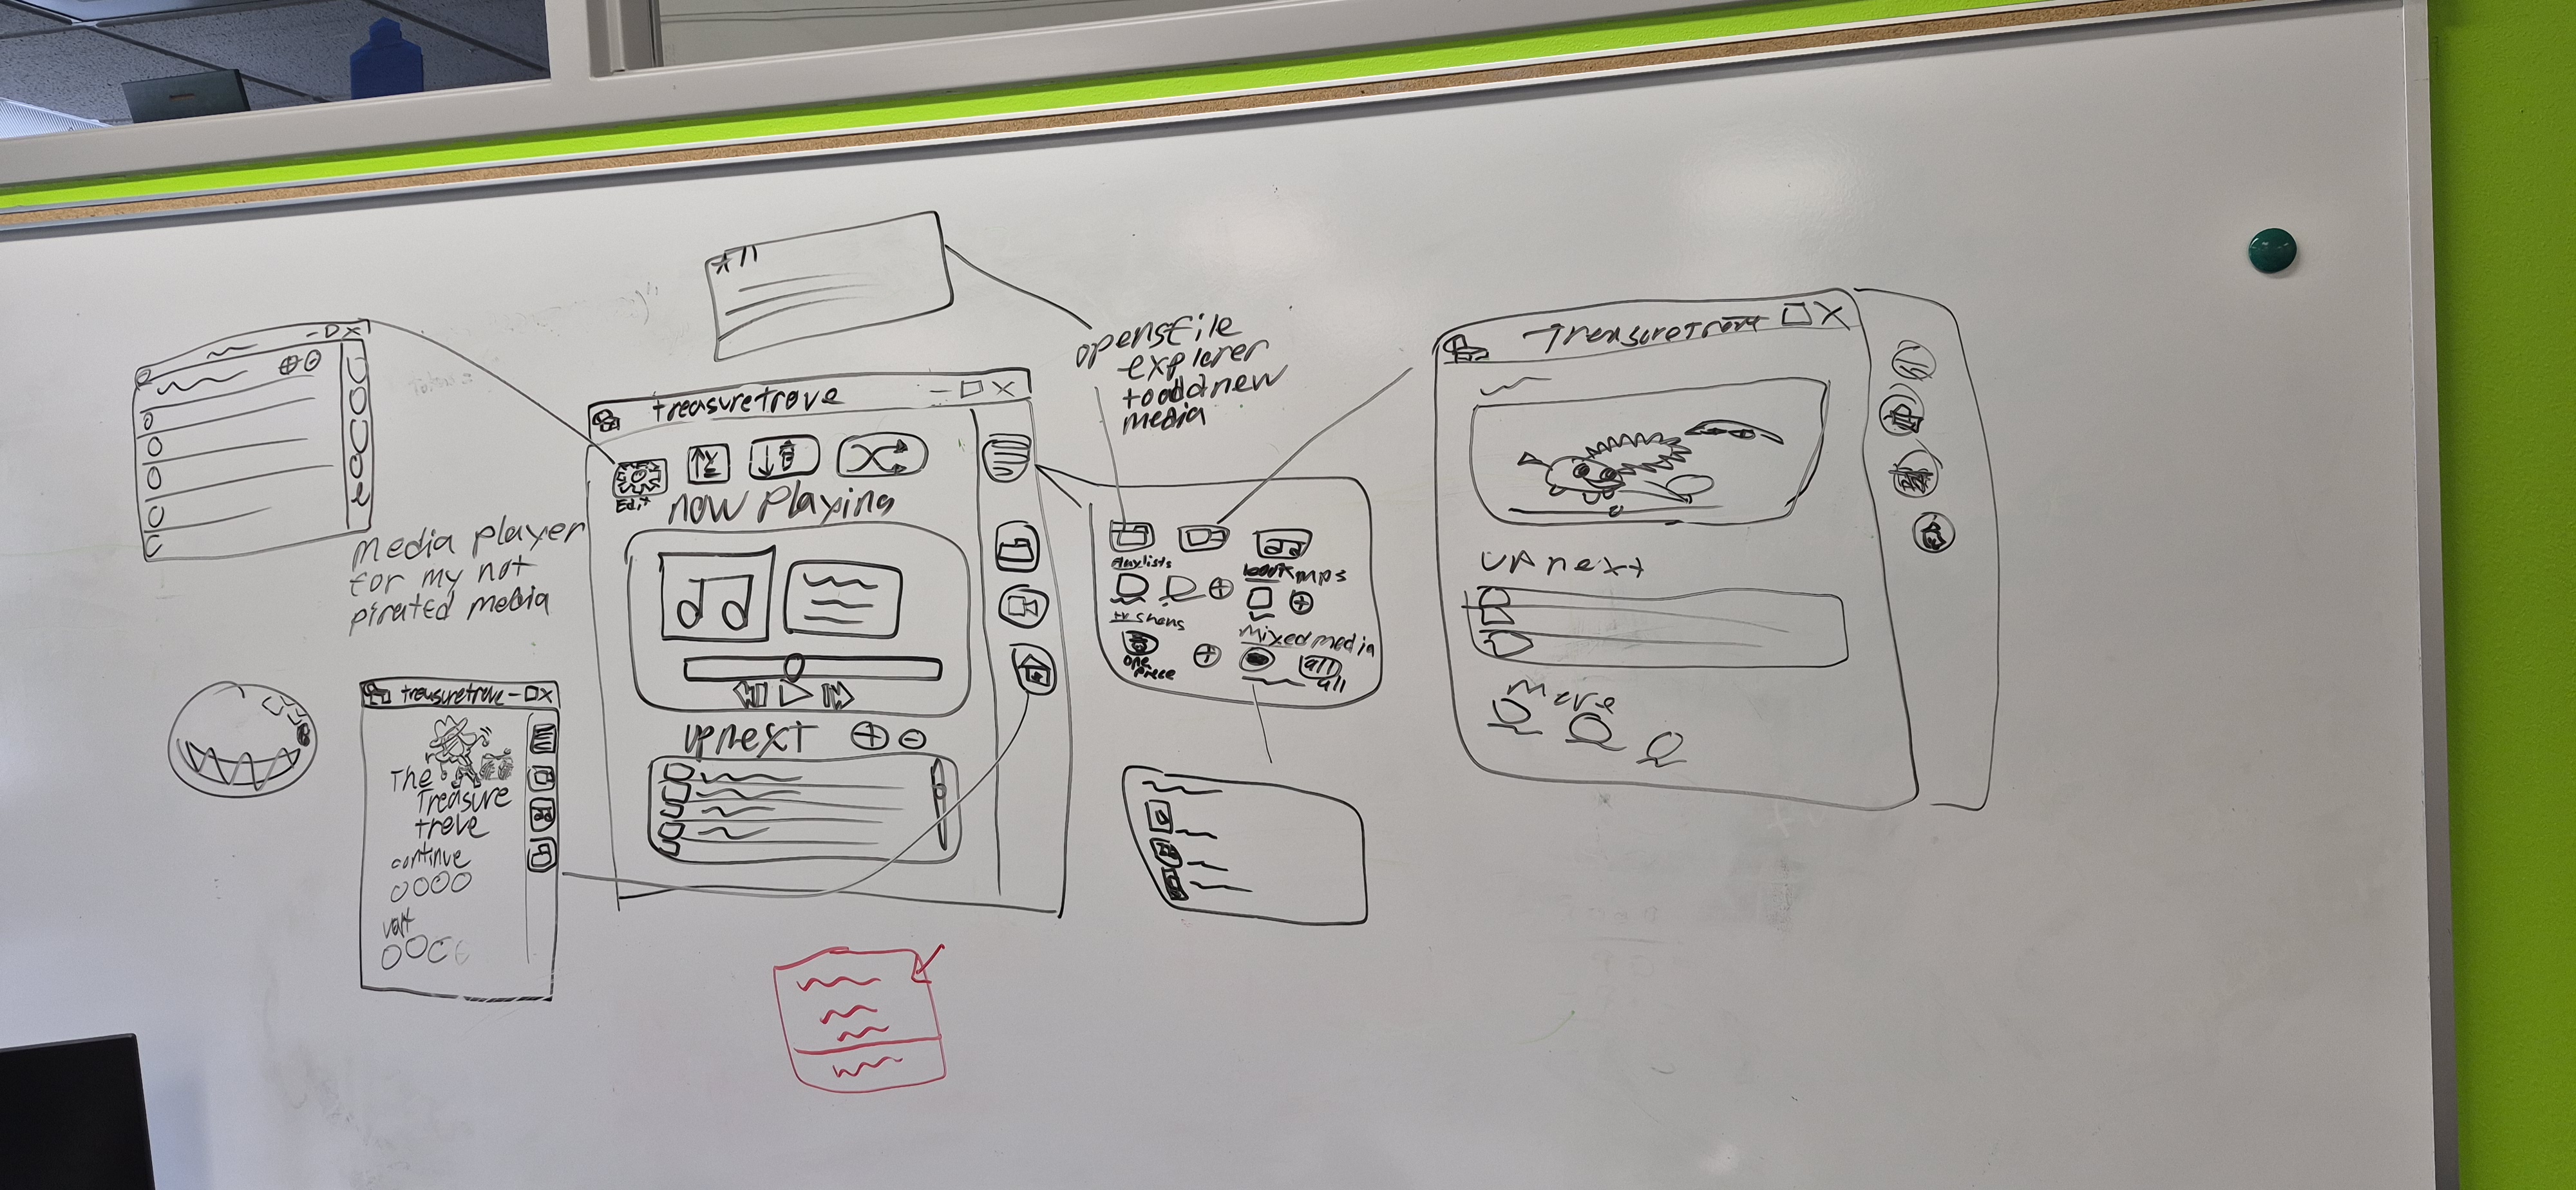
This is the wire frame for the media player program I am making. It is being programmed in Java, the UI
is going to be programmed with JavaFX, an open source Java library that lets the user build their UI and
style it with CSS. I am hoping to learn more about how to use and manage files using Java. The minimum
viable product for the program will be an mp3 player that allows the user to create playlists that can
shuffle, be played in order, or in alphabetical/reverse alphabetical order; each mp3 file should have
its cover image, artist, and album metadata visible to the user. Phase two is adding more file types,
such as MP4, PDF, and more. Even though this project isn't complete and does not have any meaningful
screenshots, it is here to show you that I am still working on stuff. I will continue to update this
section whenever I have time to.
*Working name for the project is "Treasure Trove", but anything pirate adjacent would work just fine (I
am open to suggestions).
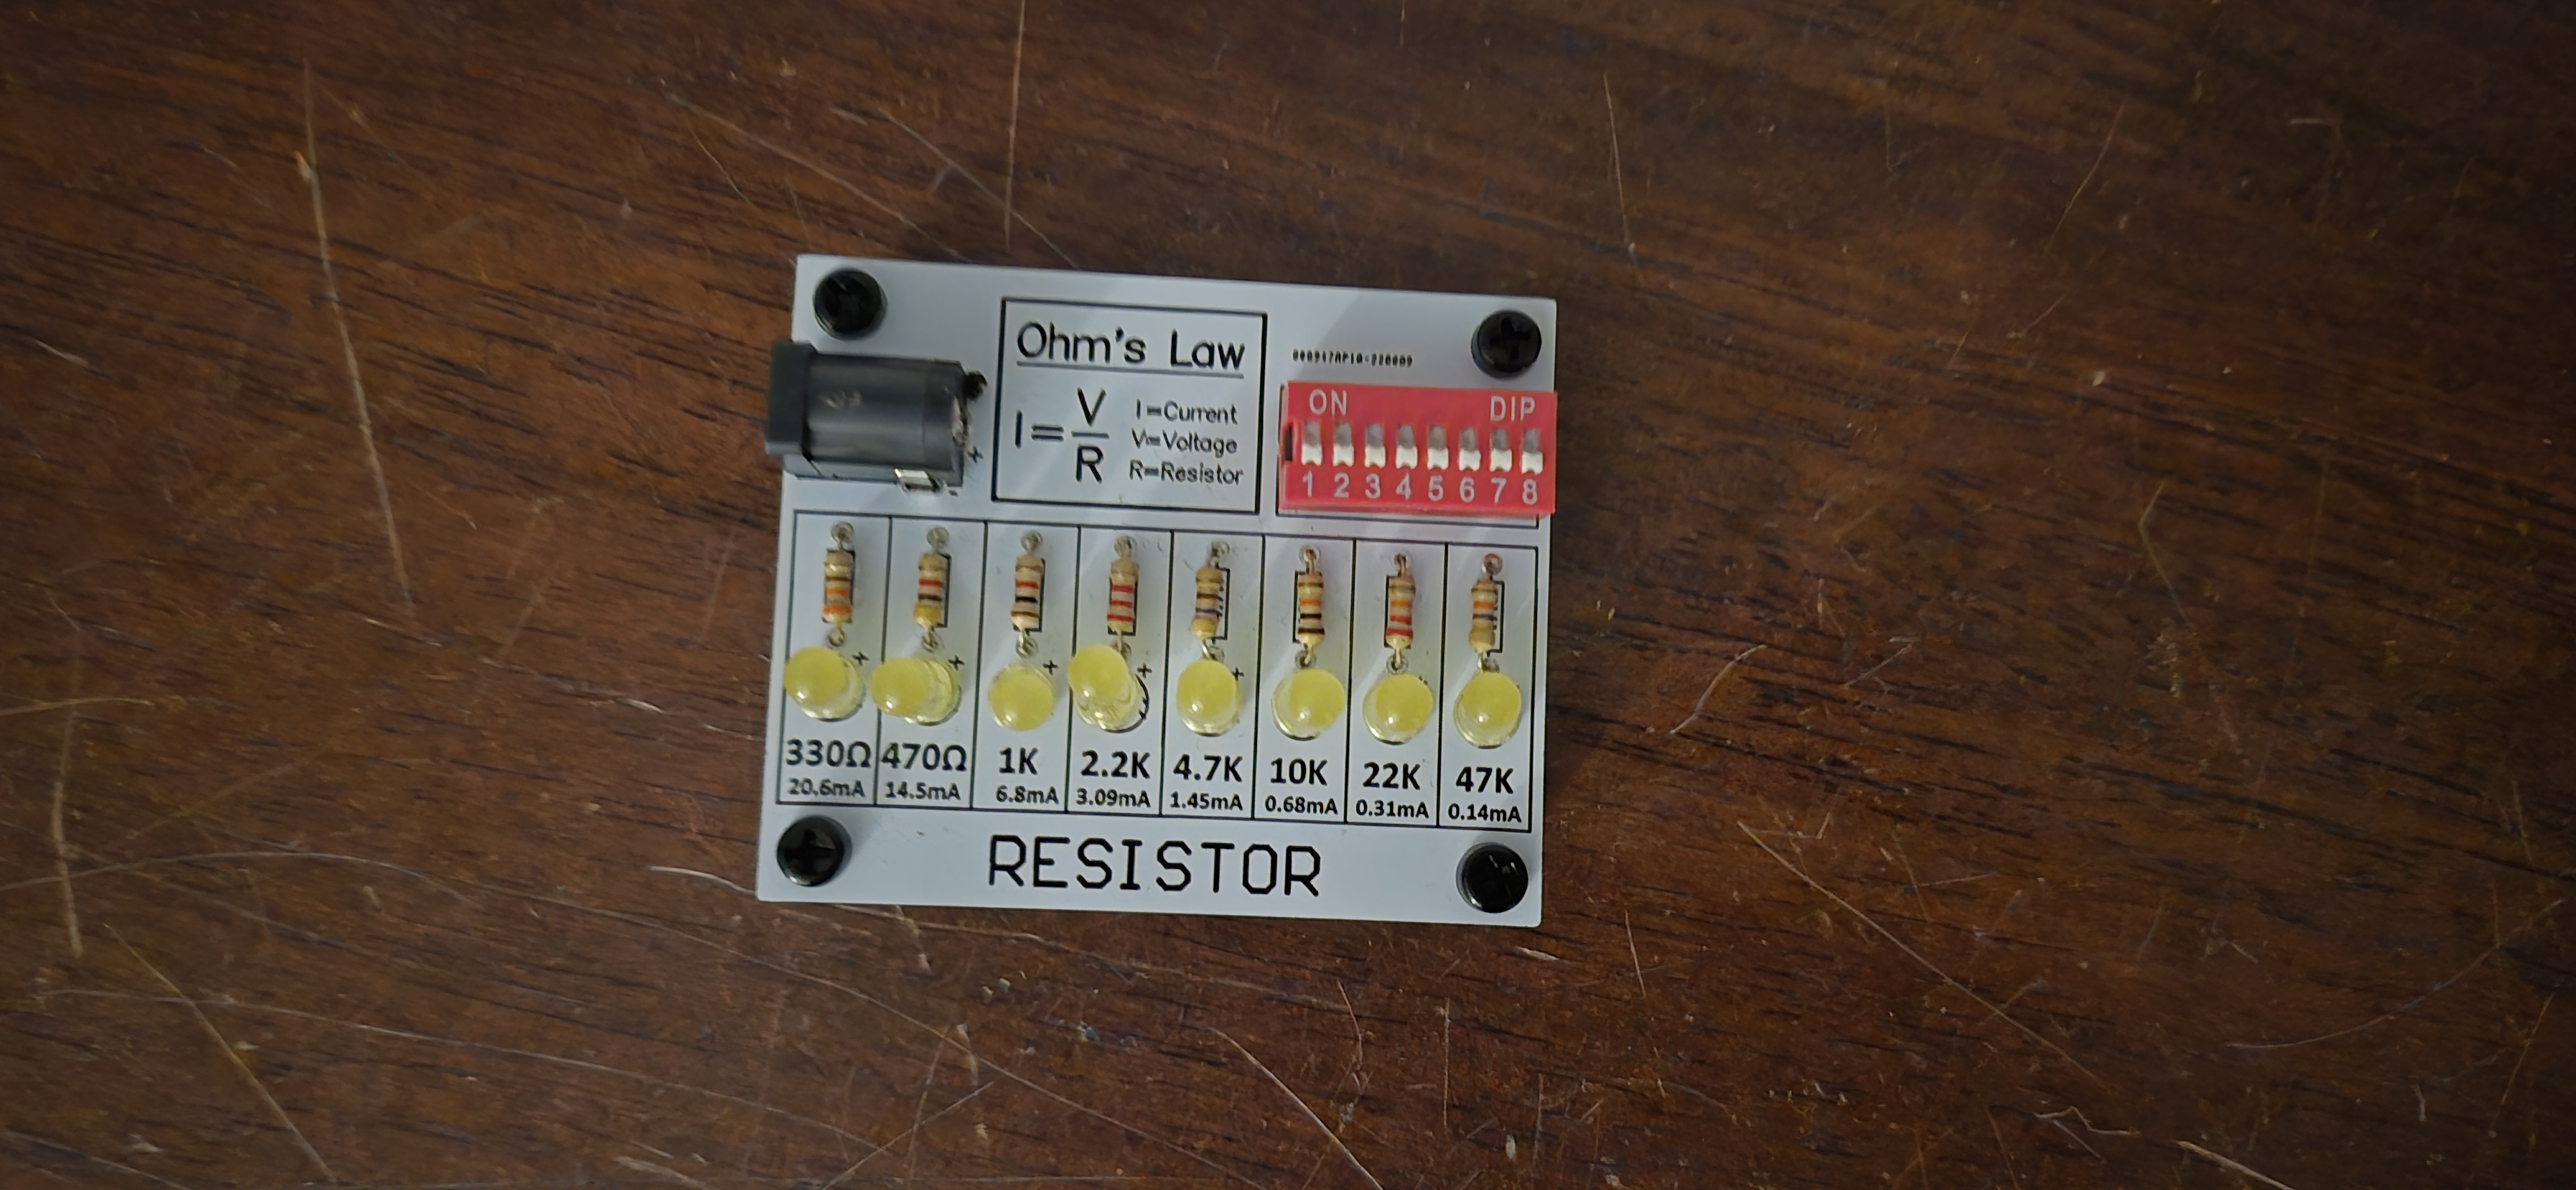
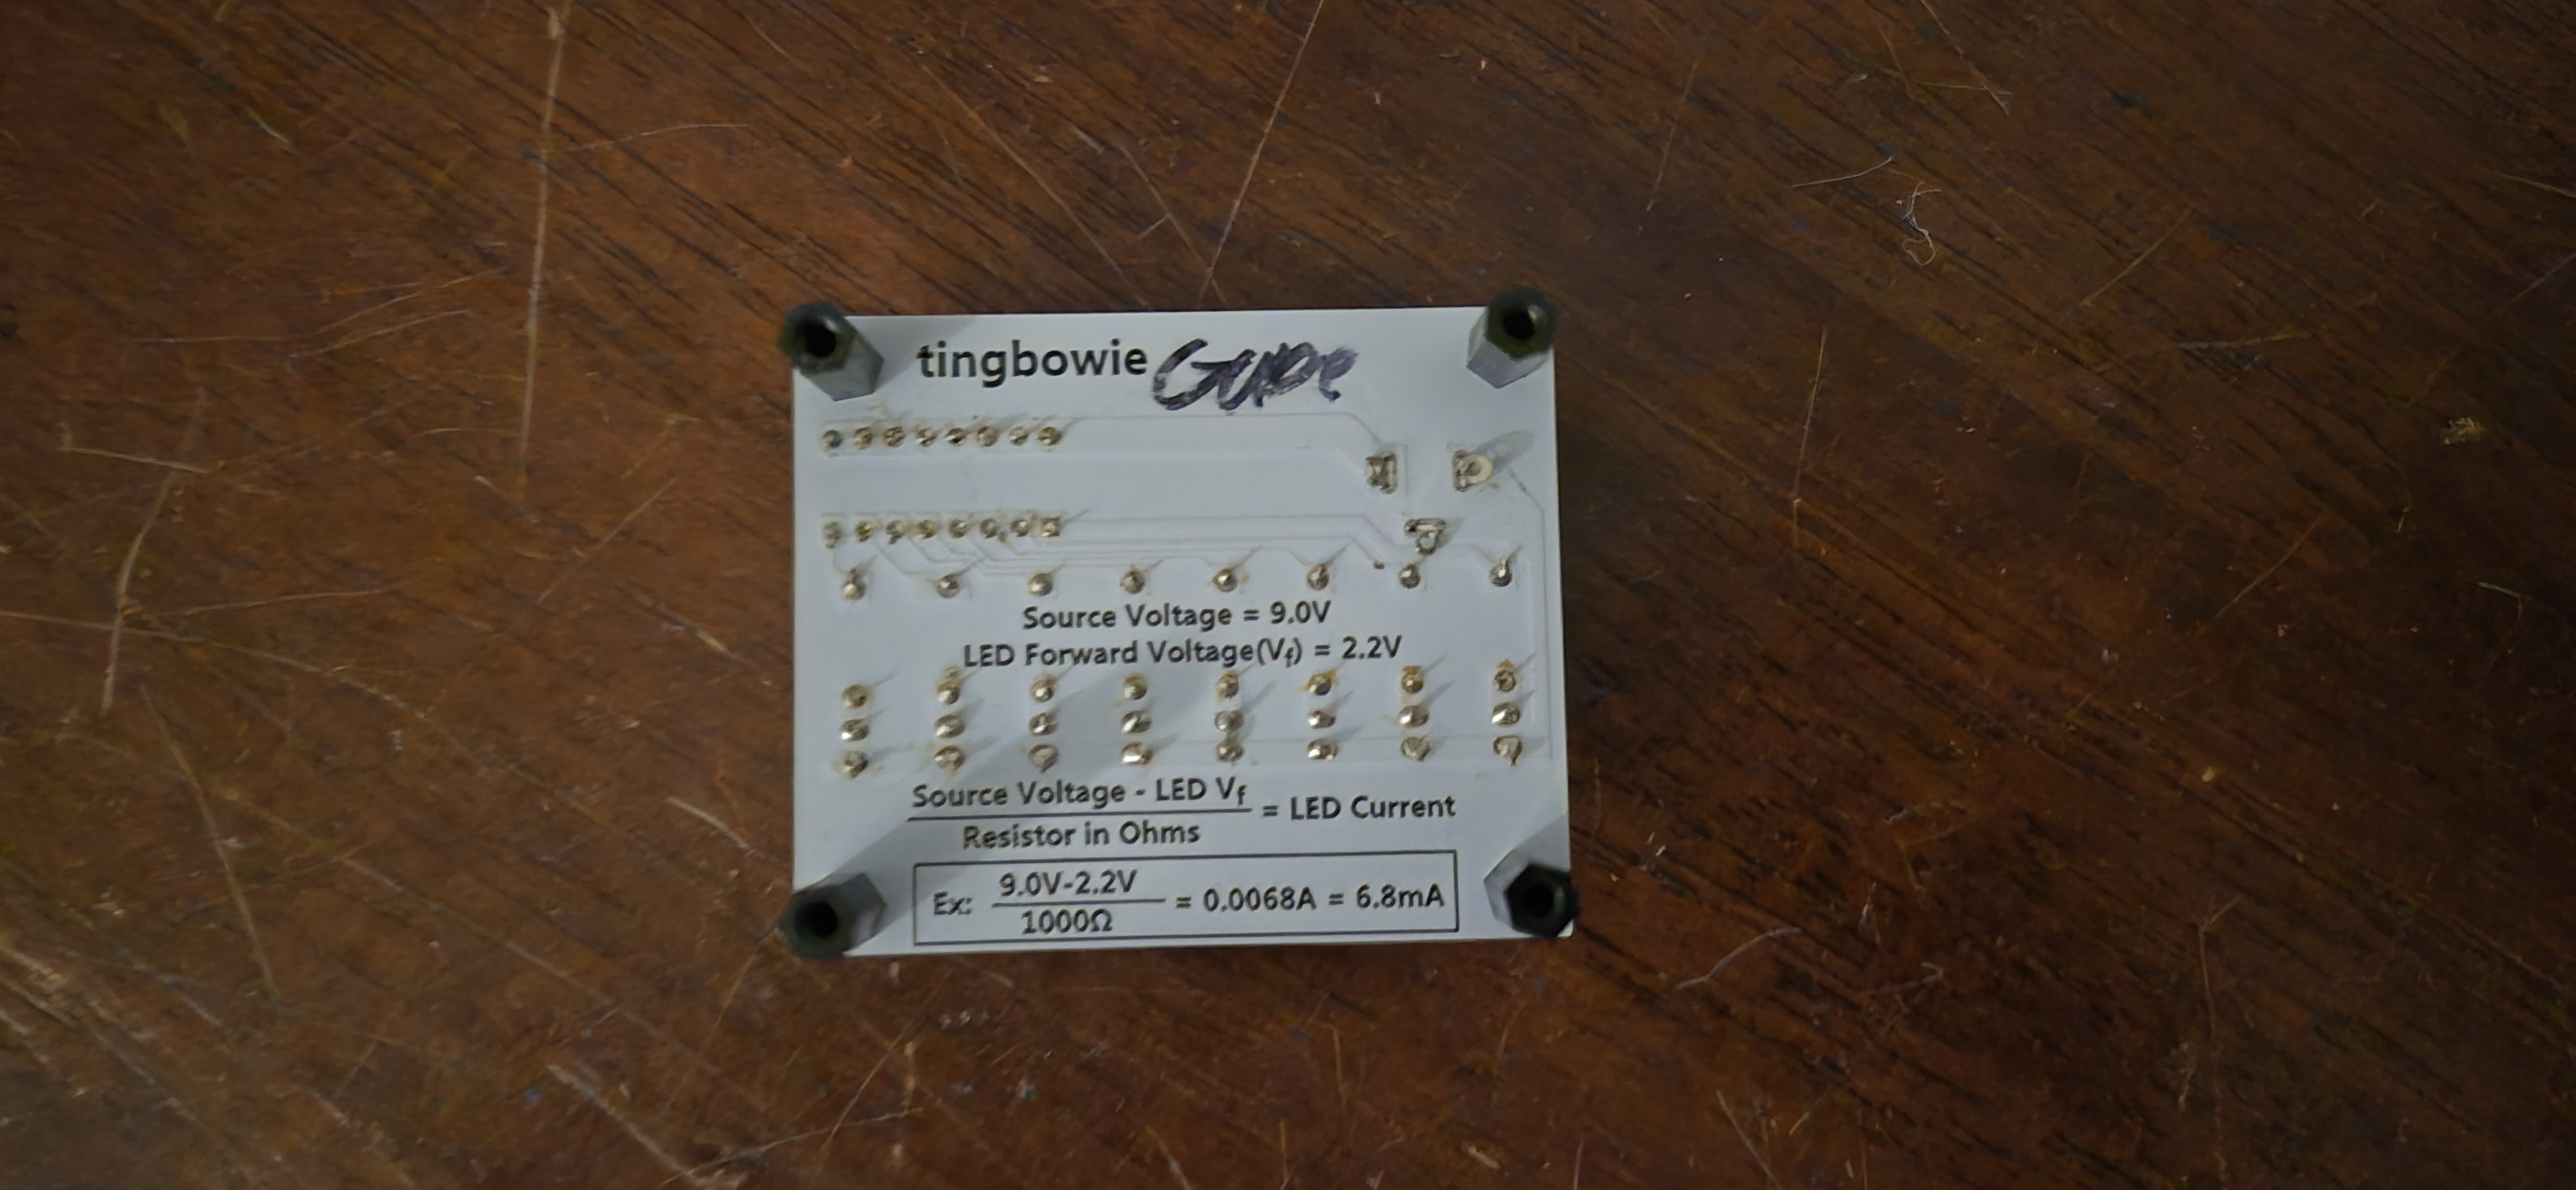
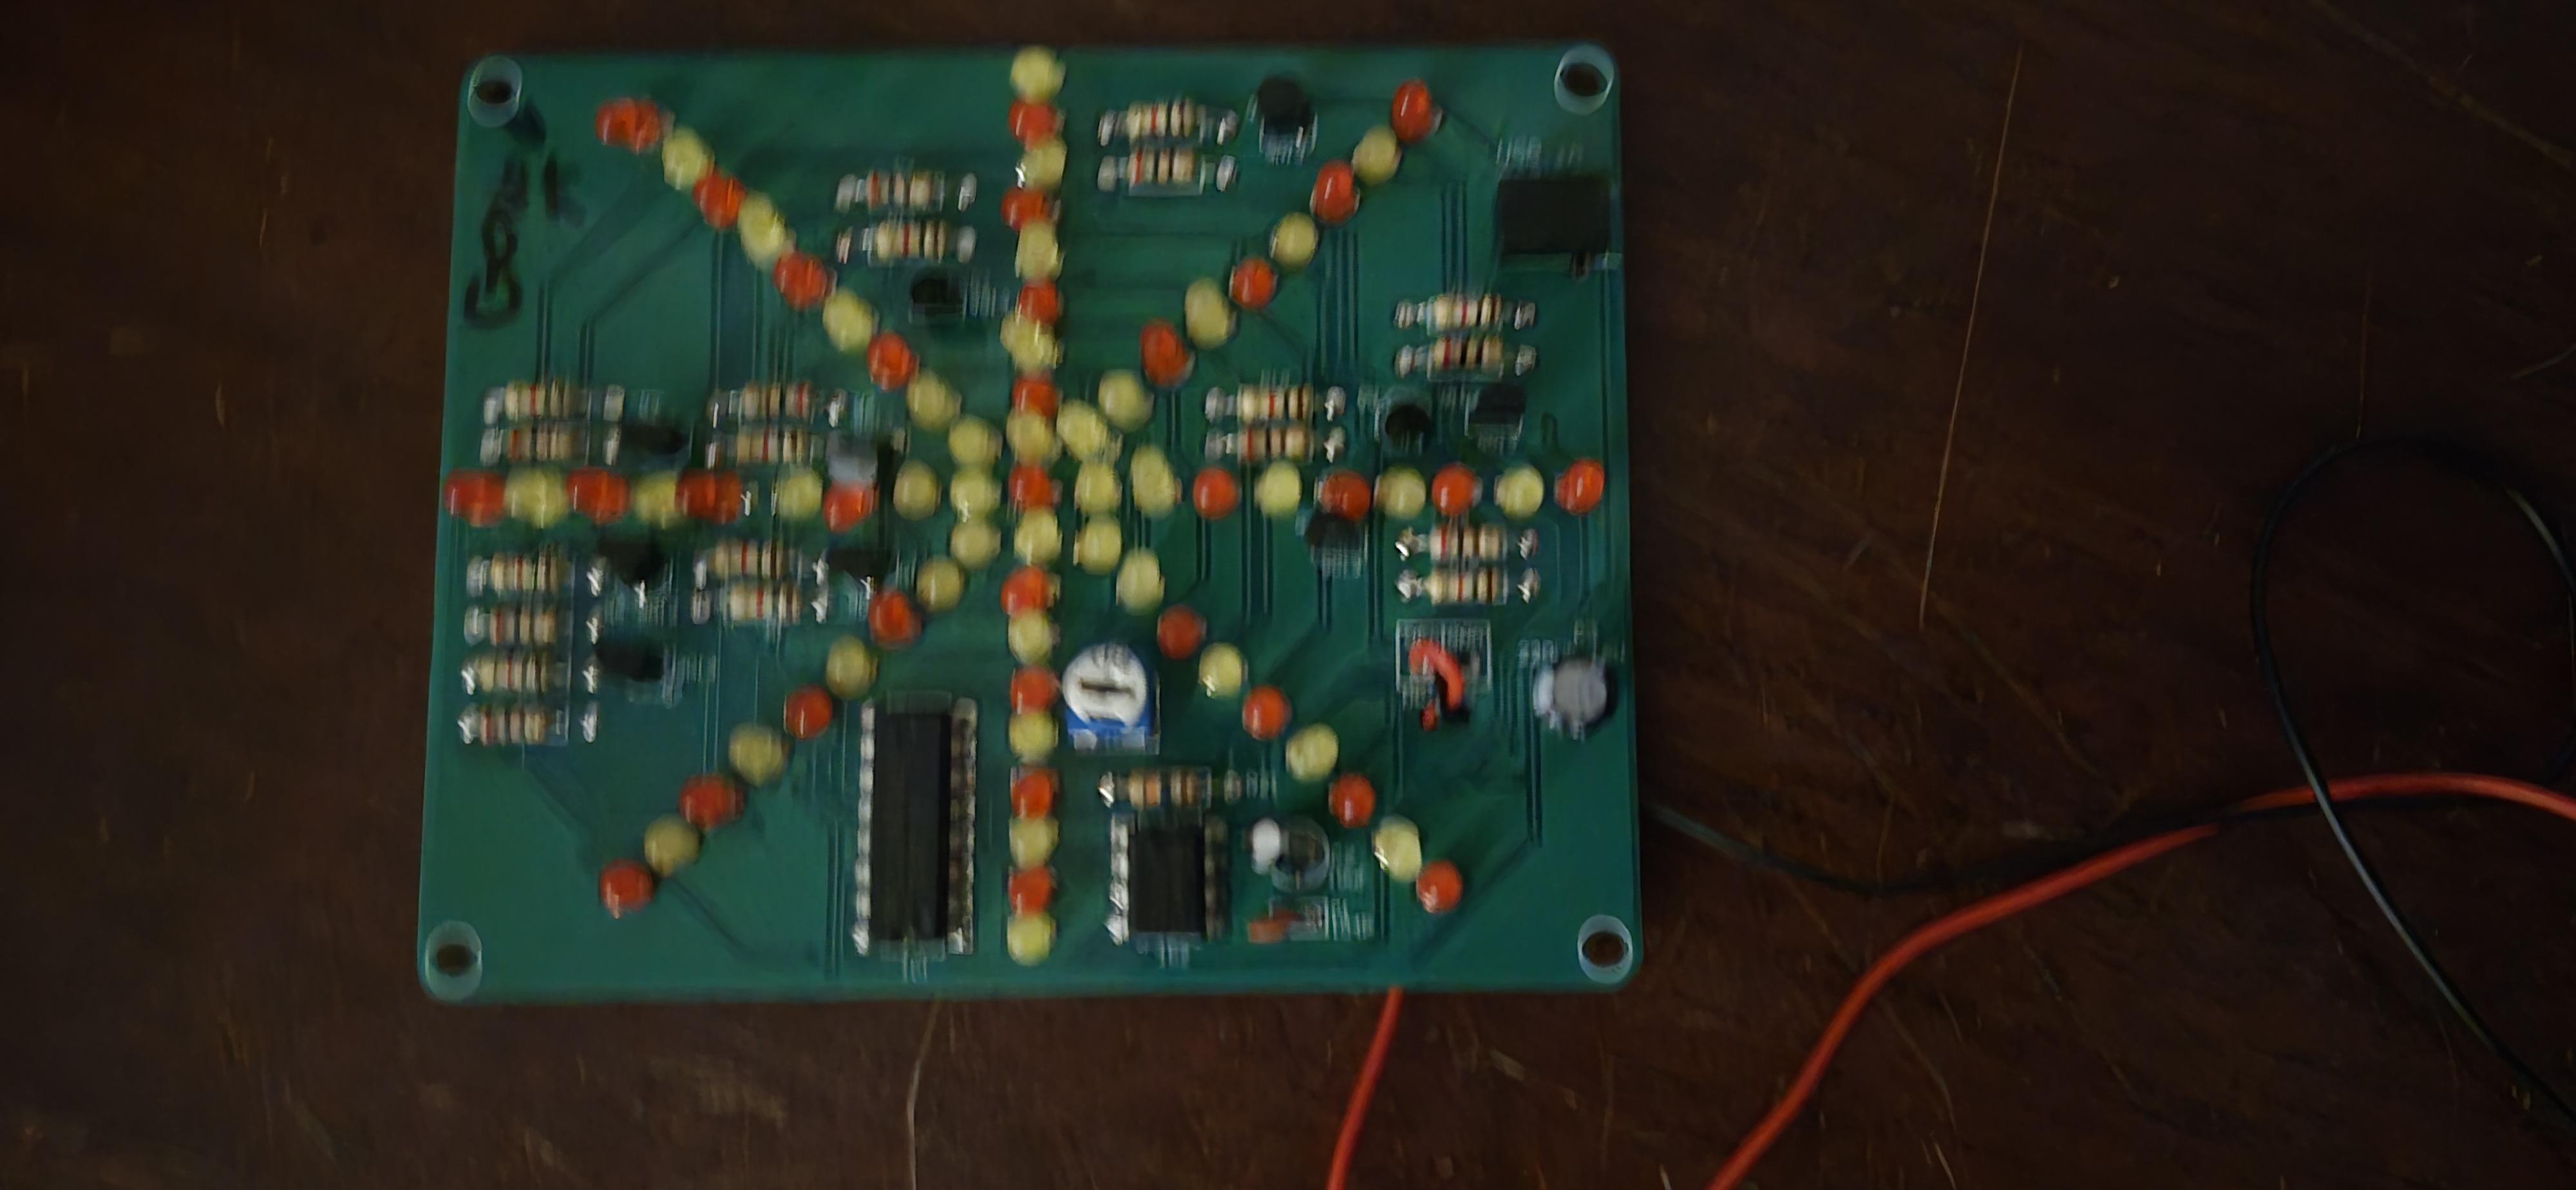
These examples are not really projects, but showcase some of my skills.
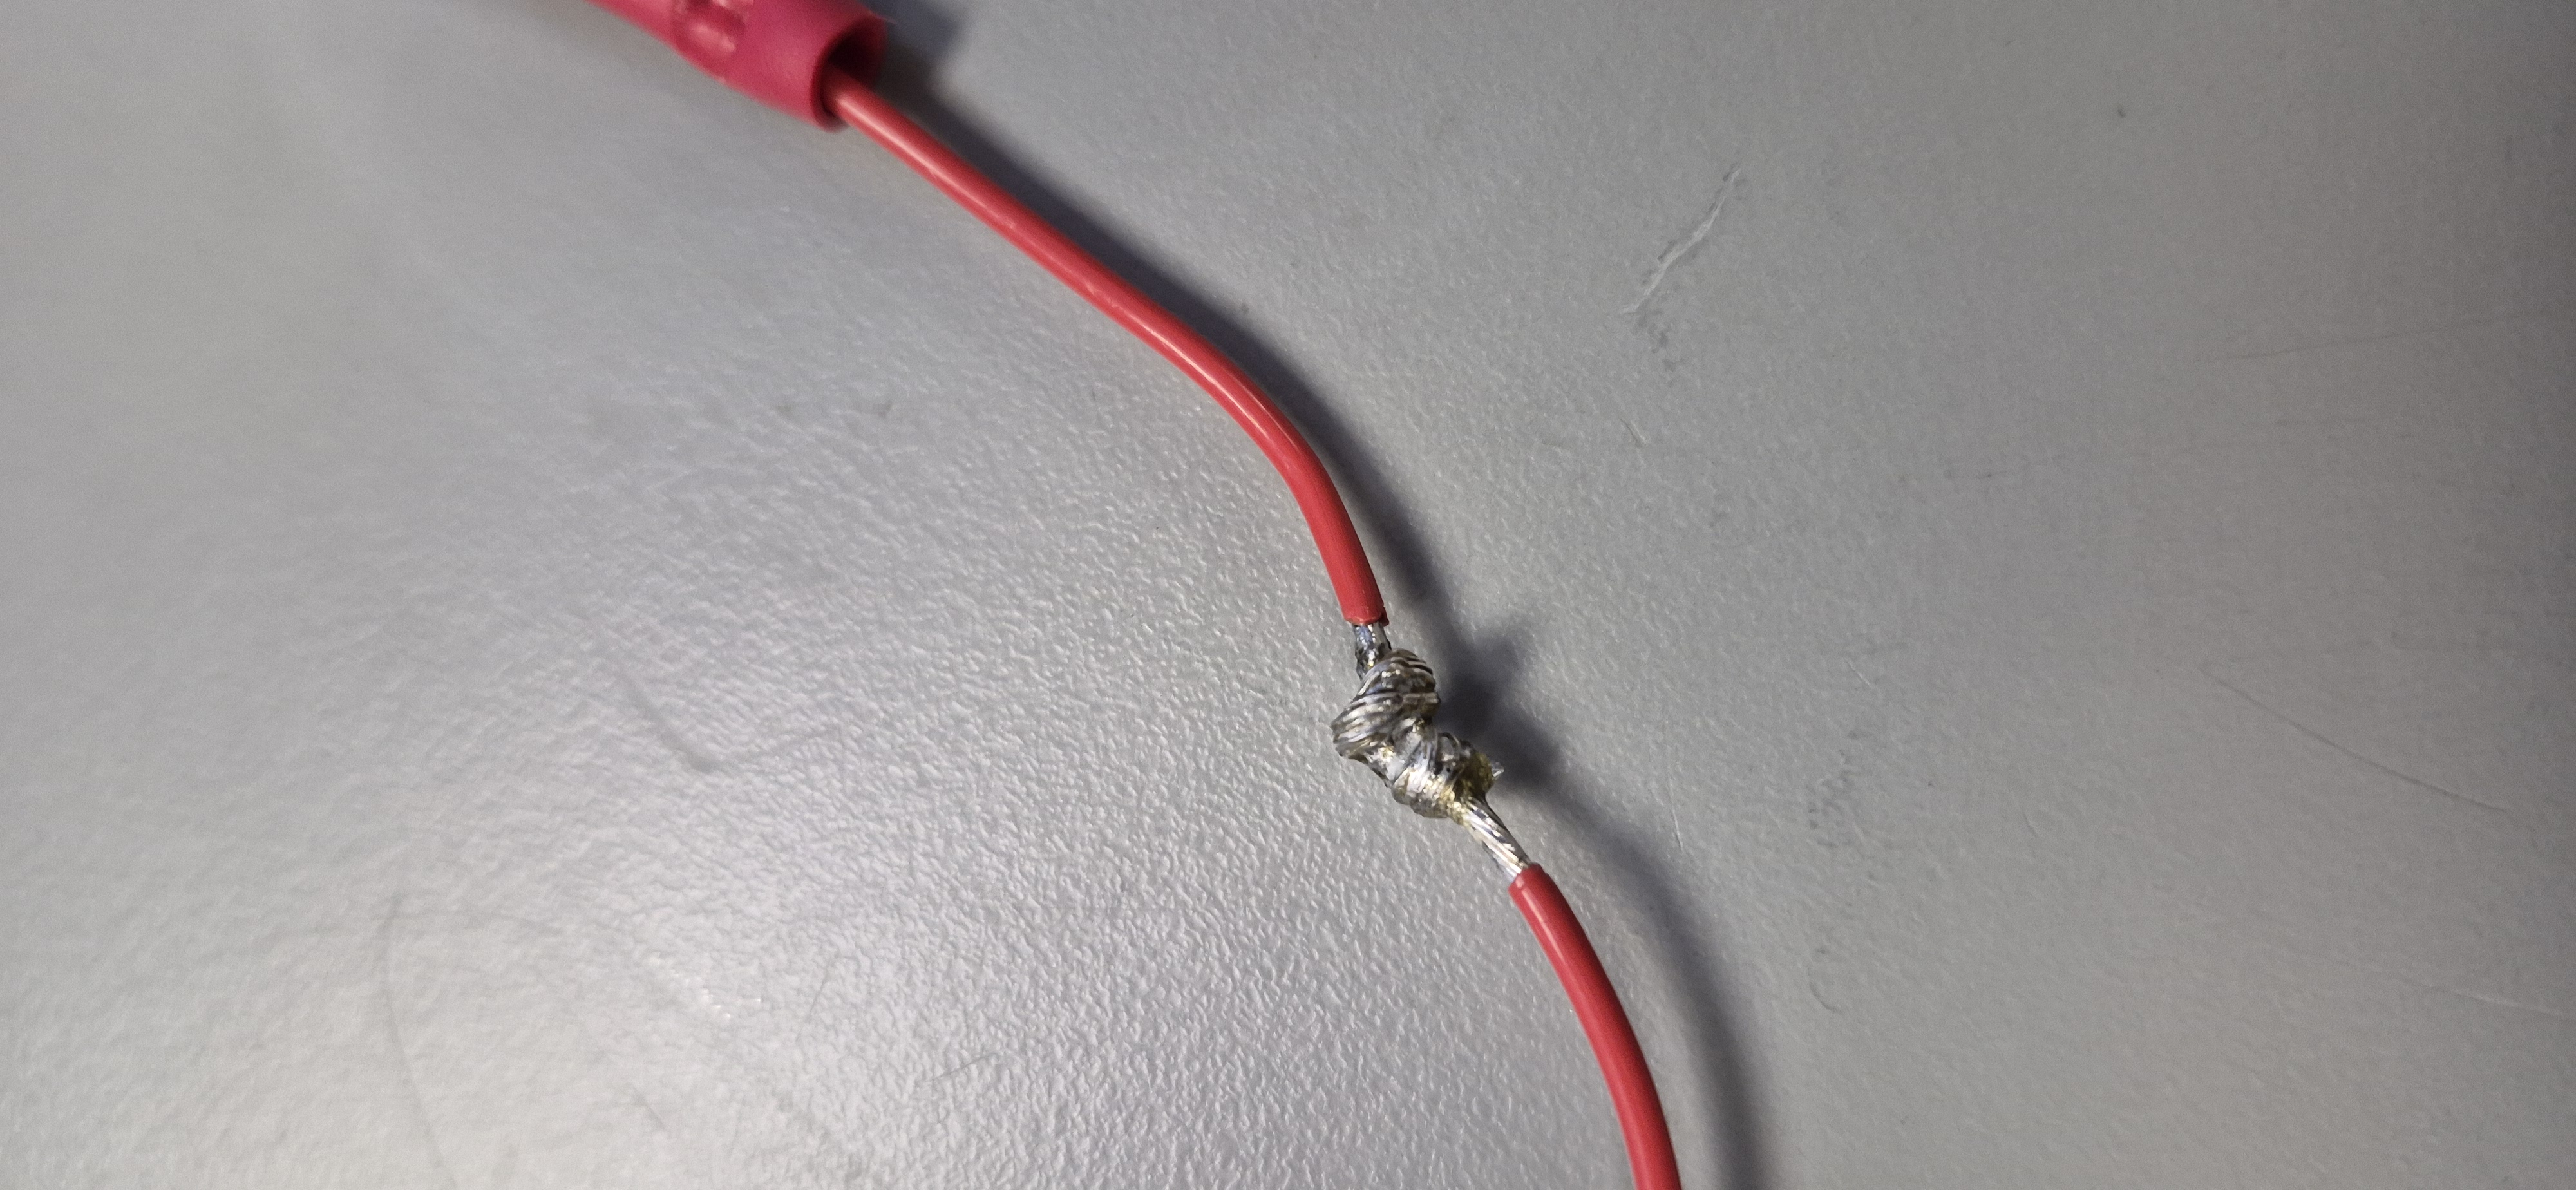
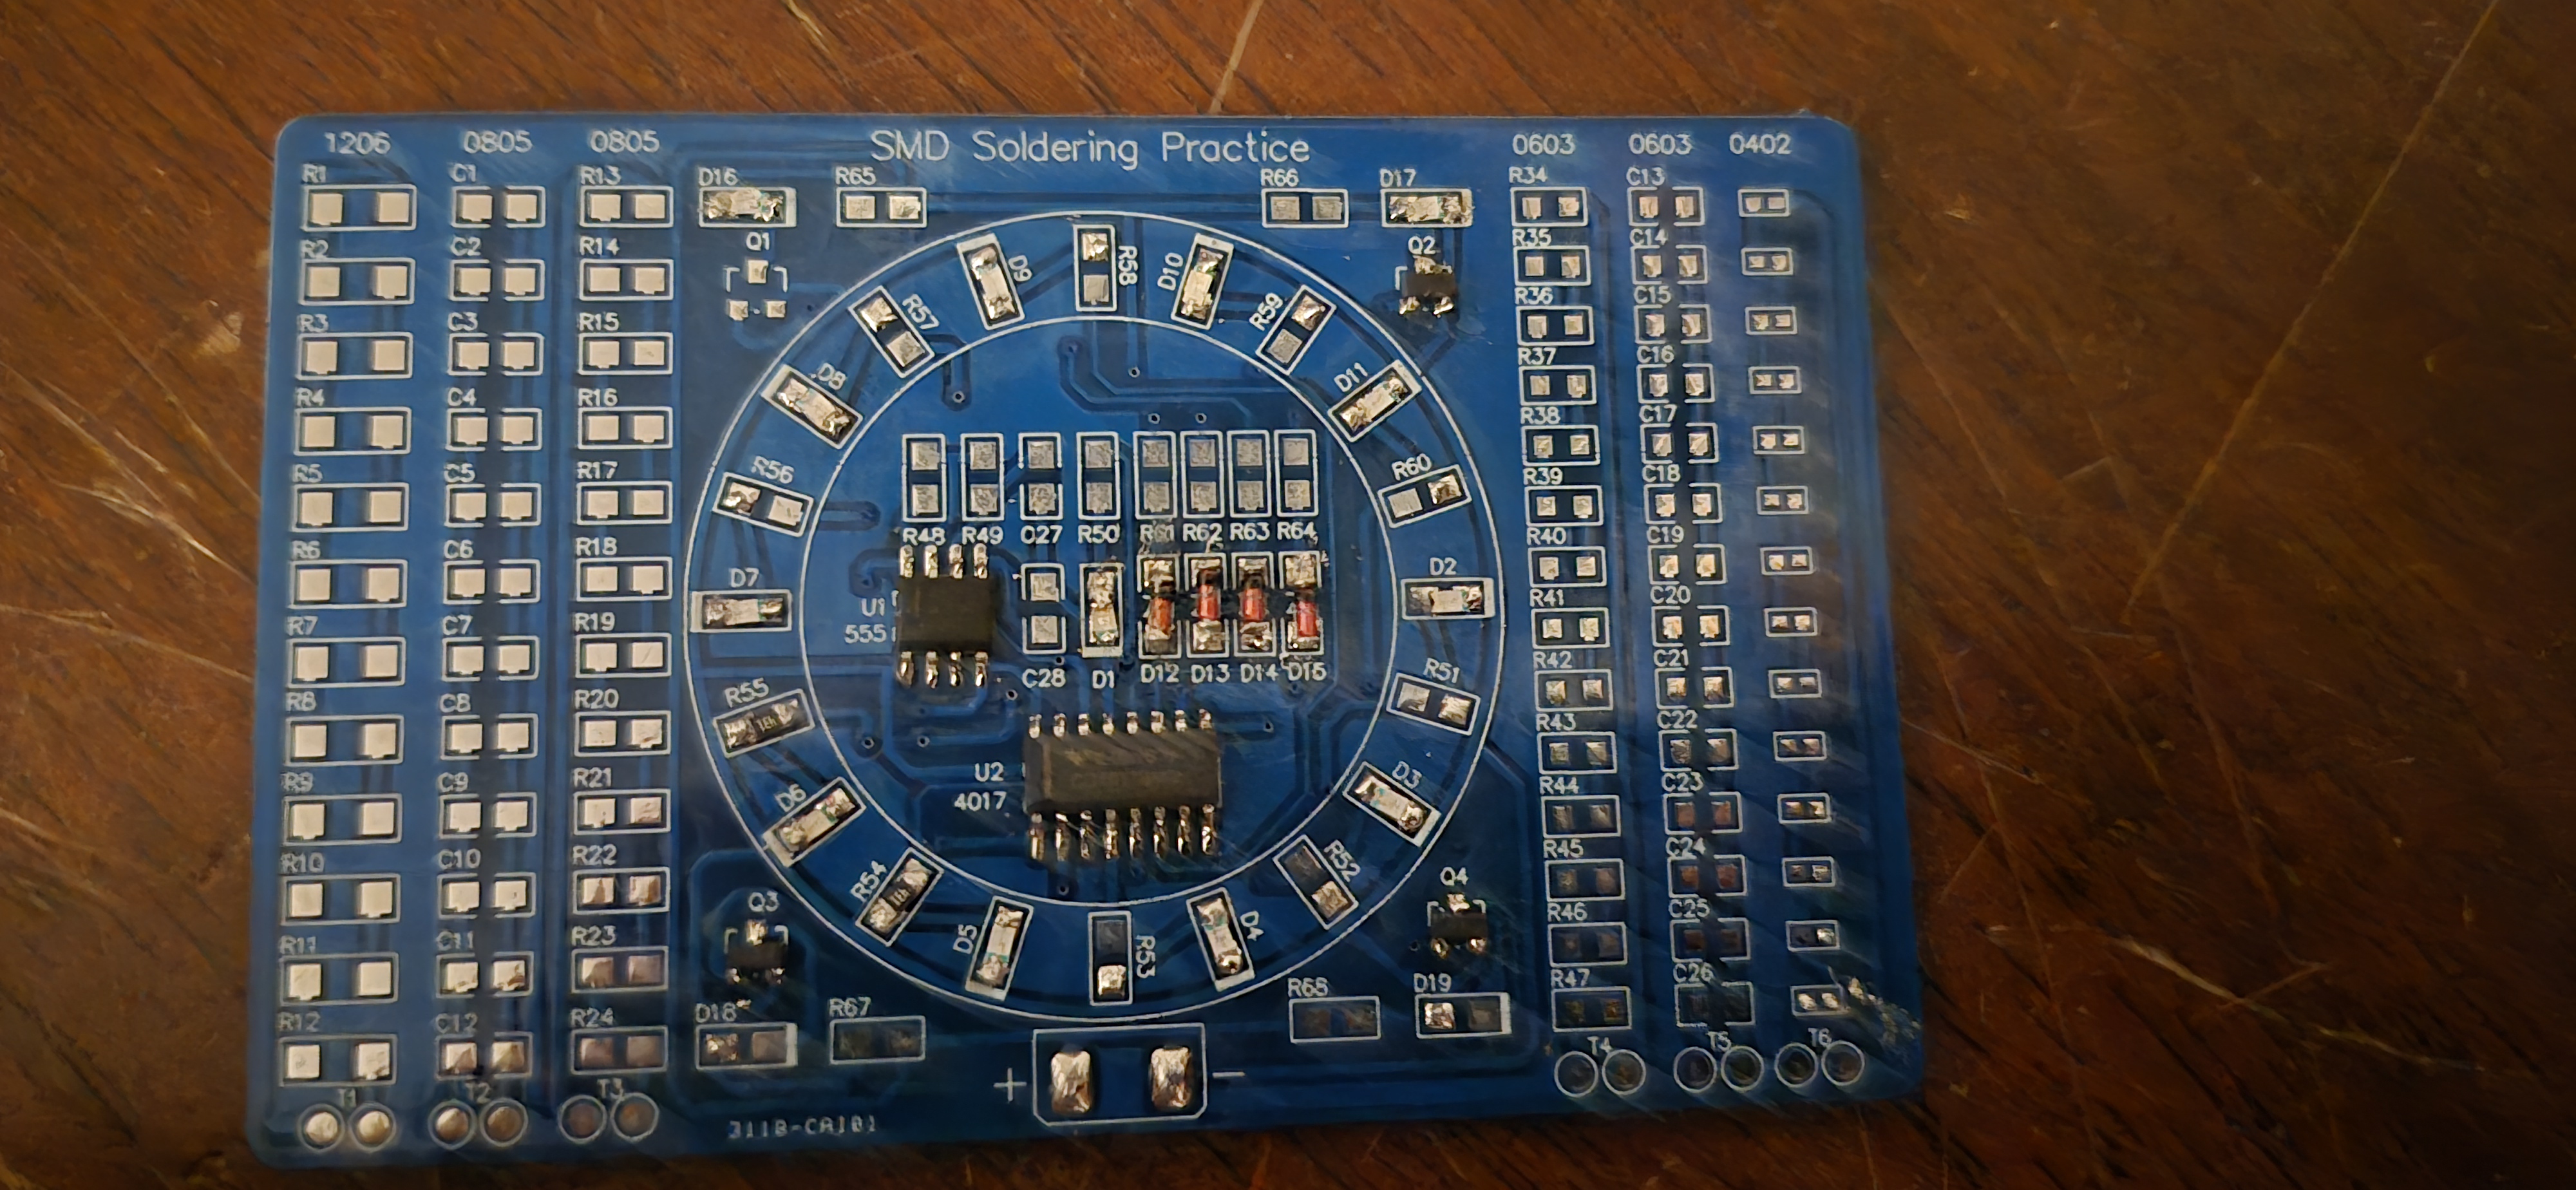
I have been learning how to solder for the past two years. These are some of my recent soldering projects. My soldering is not perfect, but it has been improving and will keep improving as time goes on, and I continue to practice.
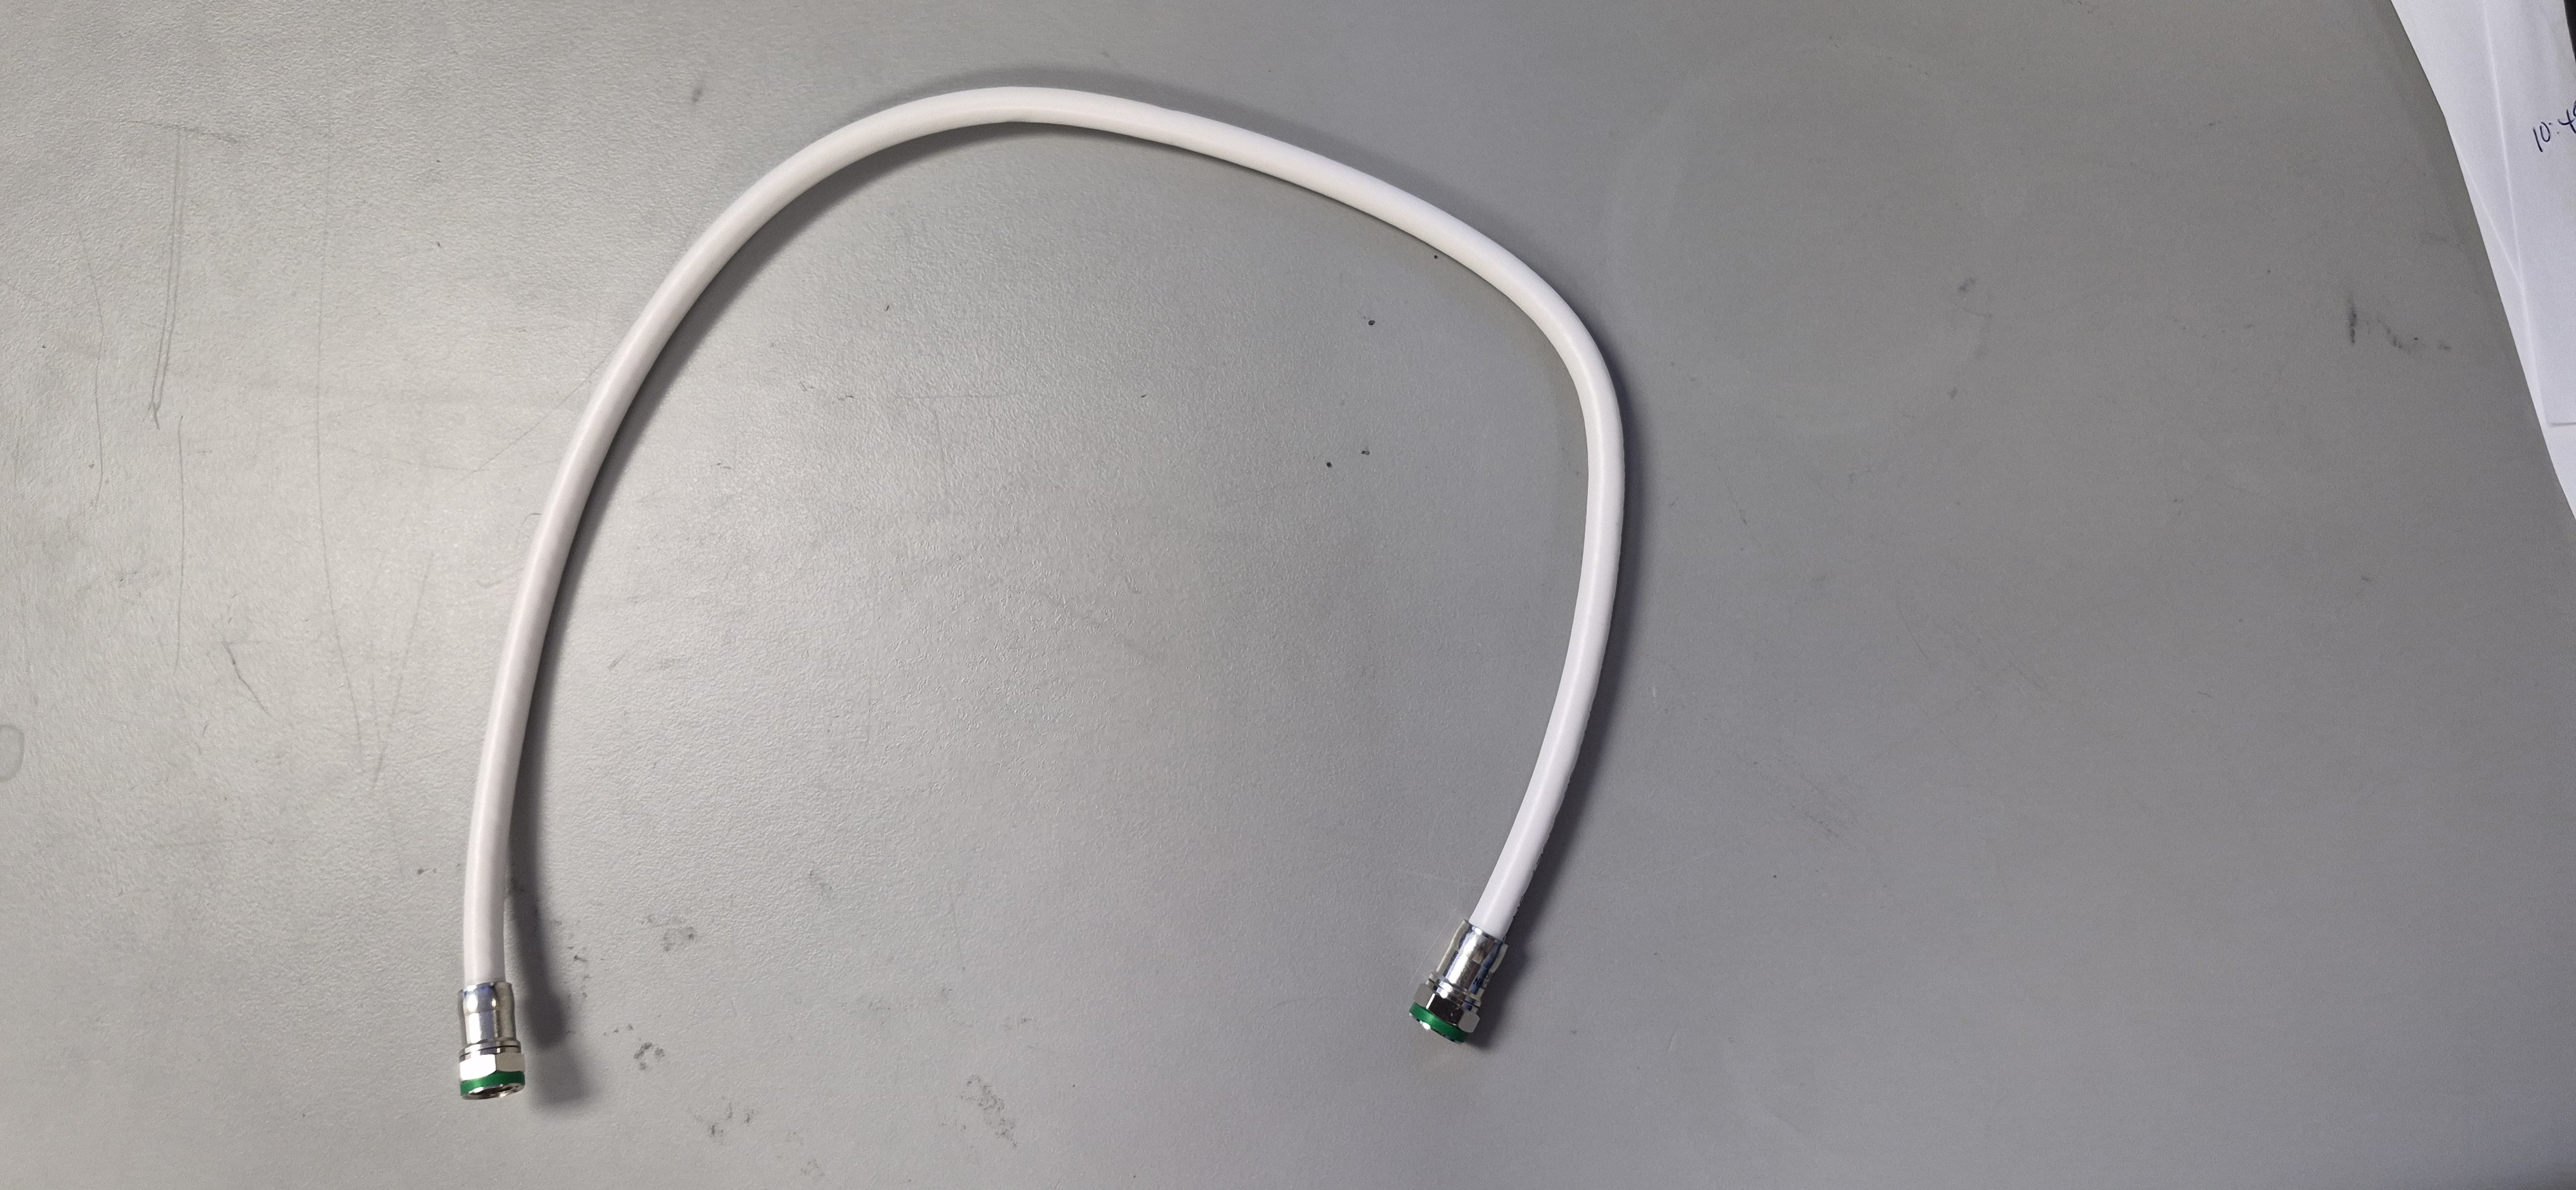
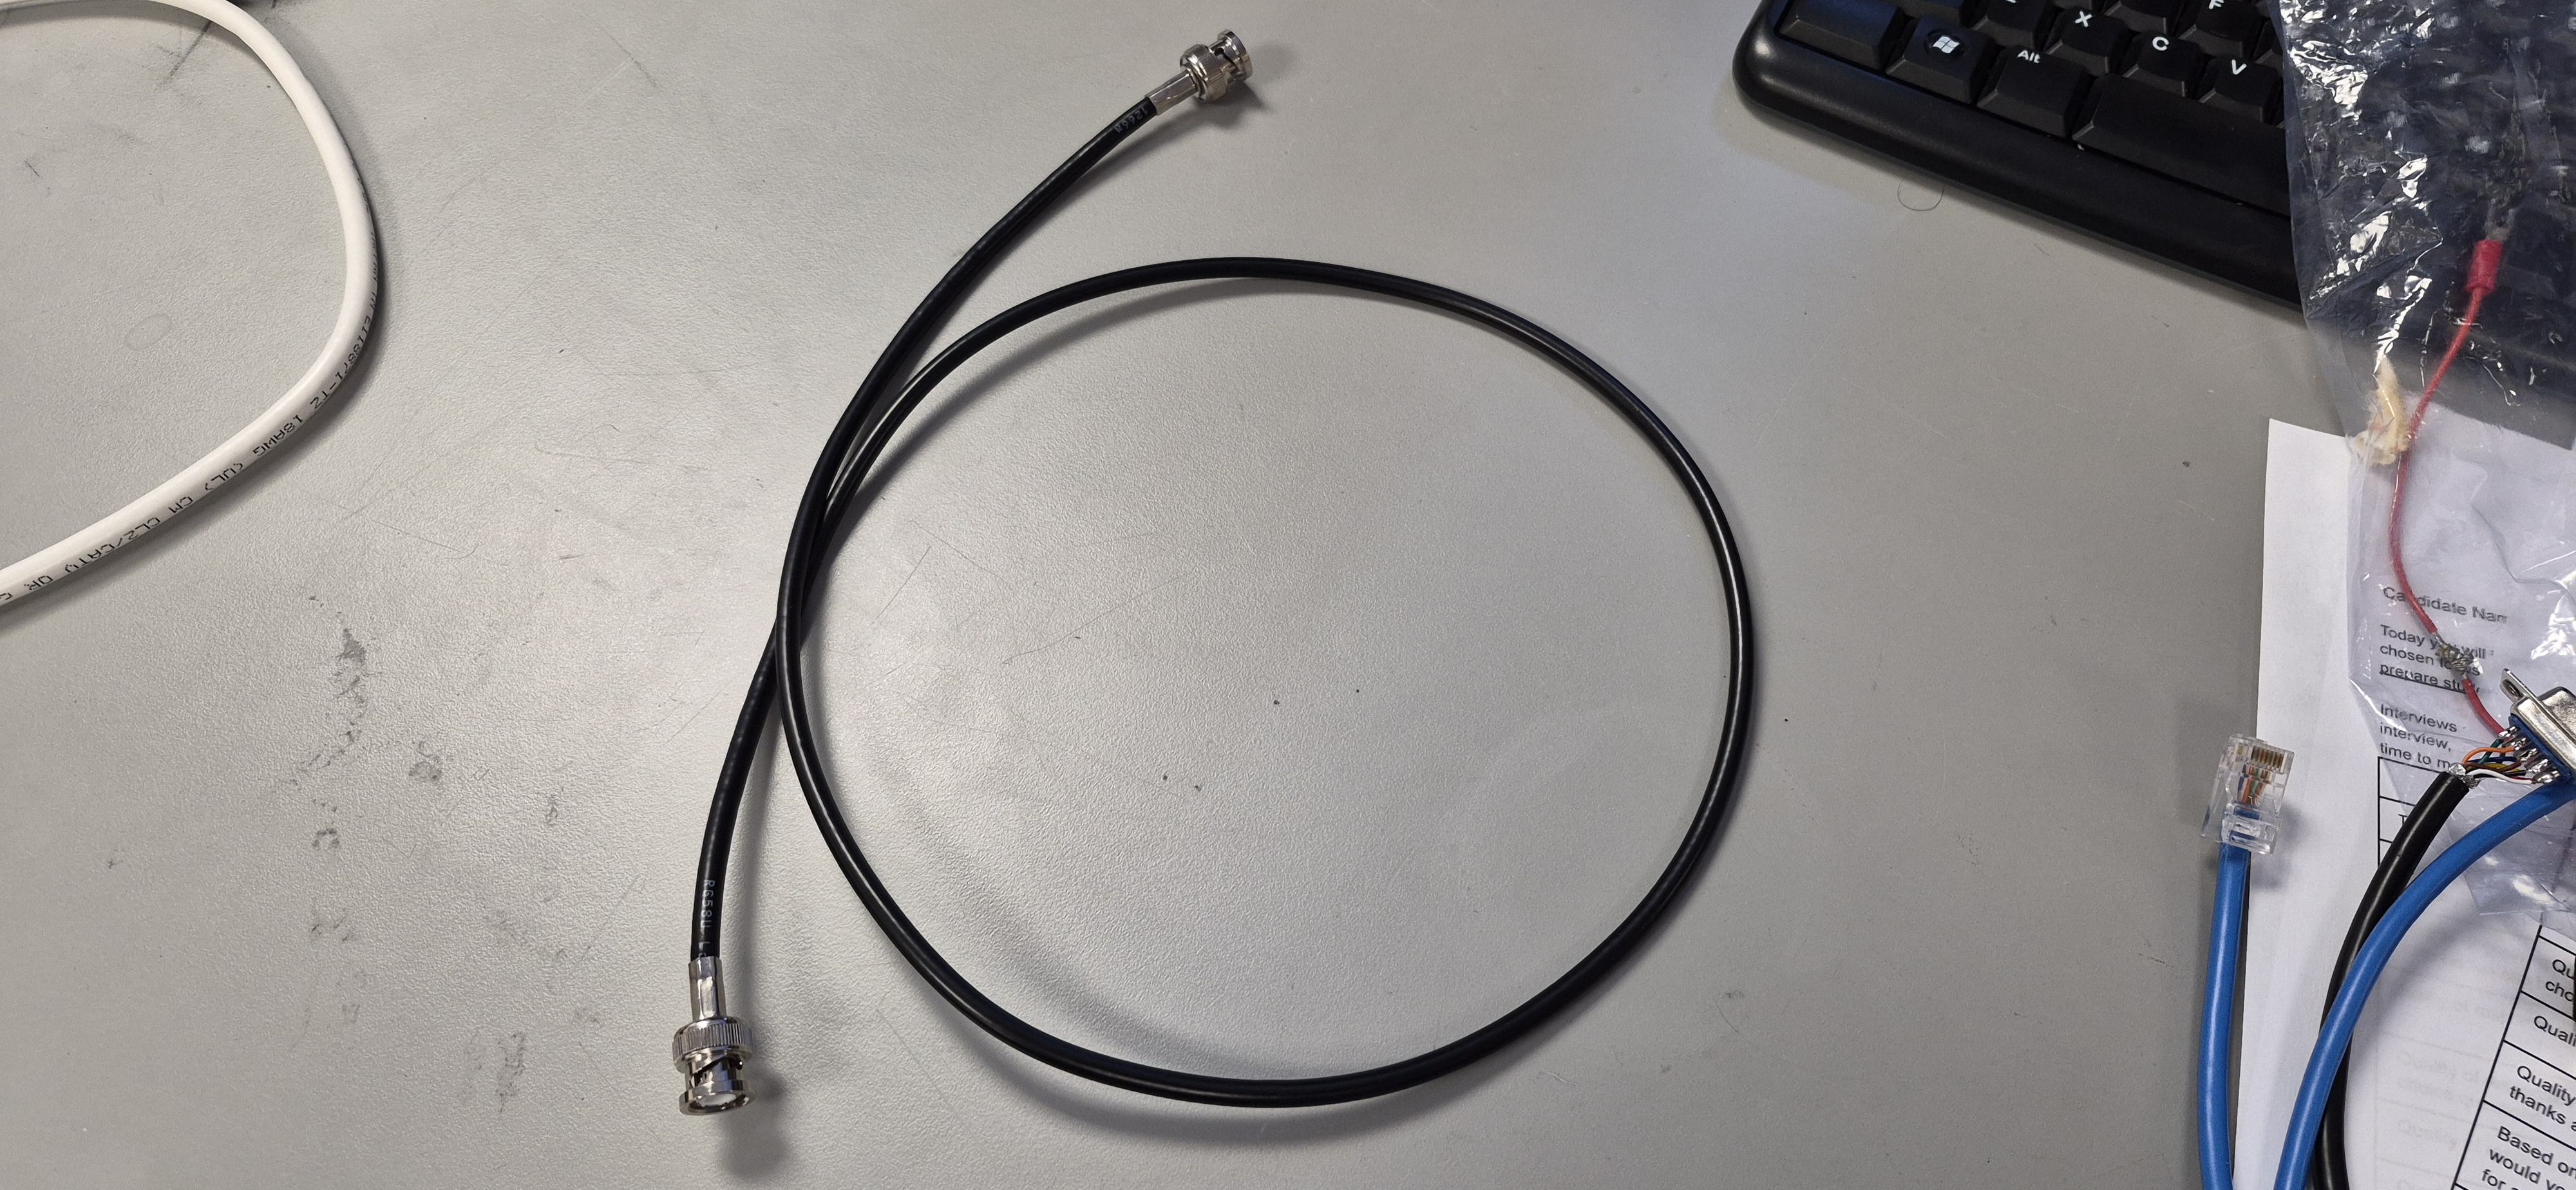
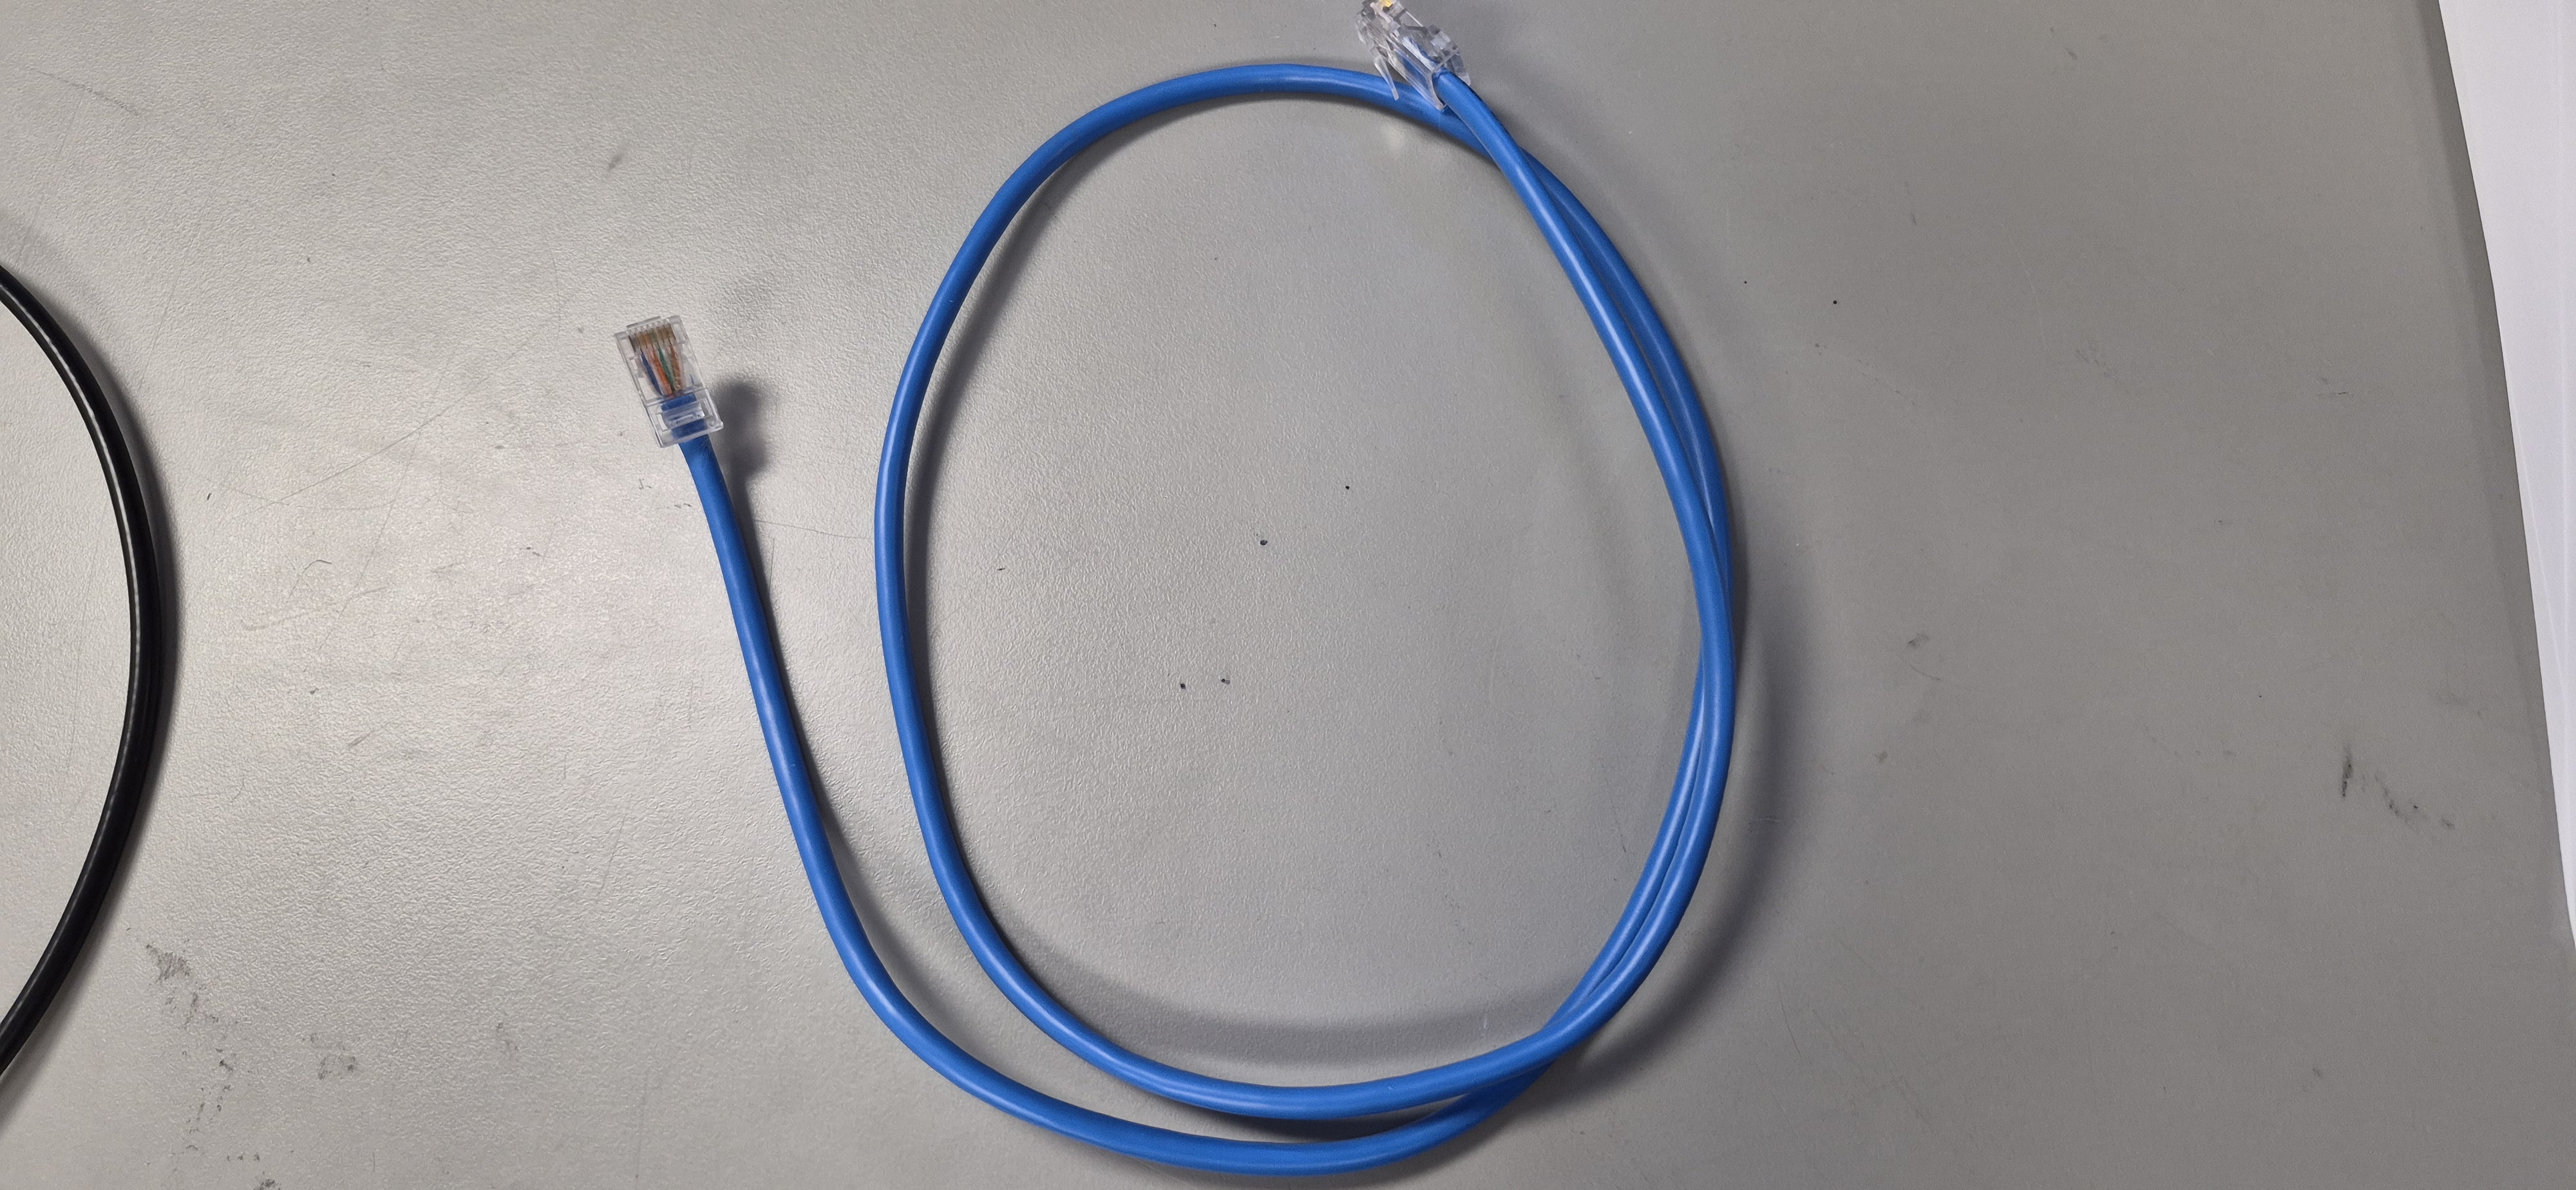
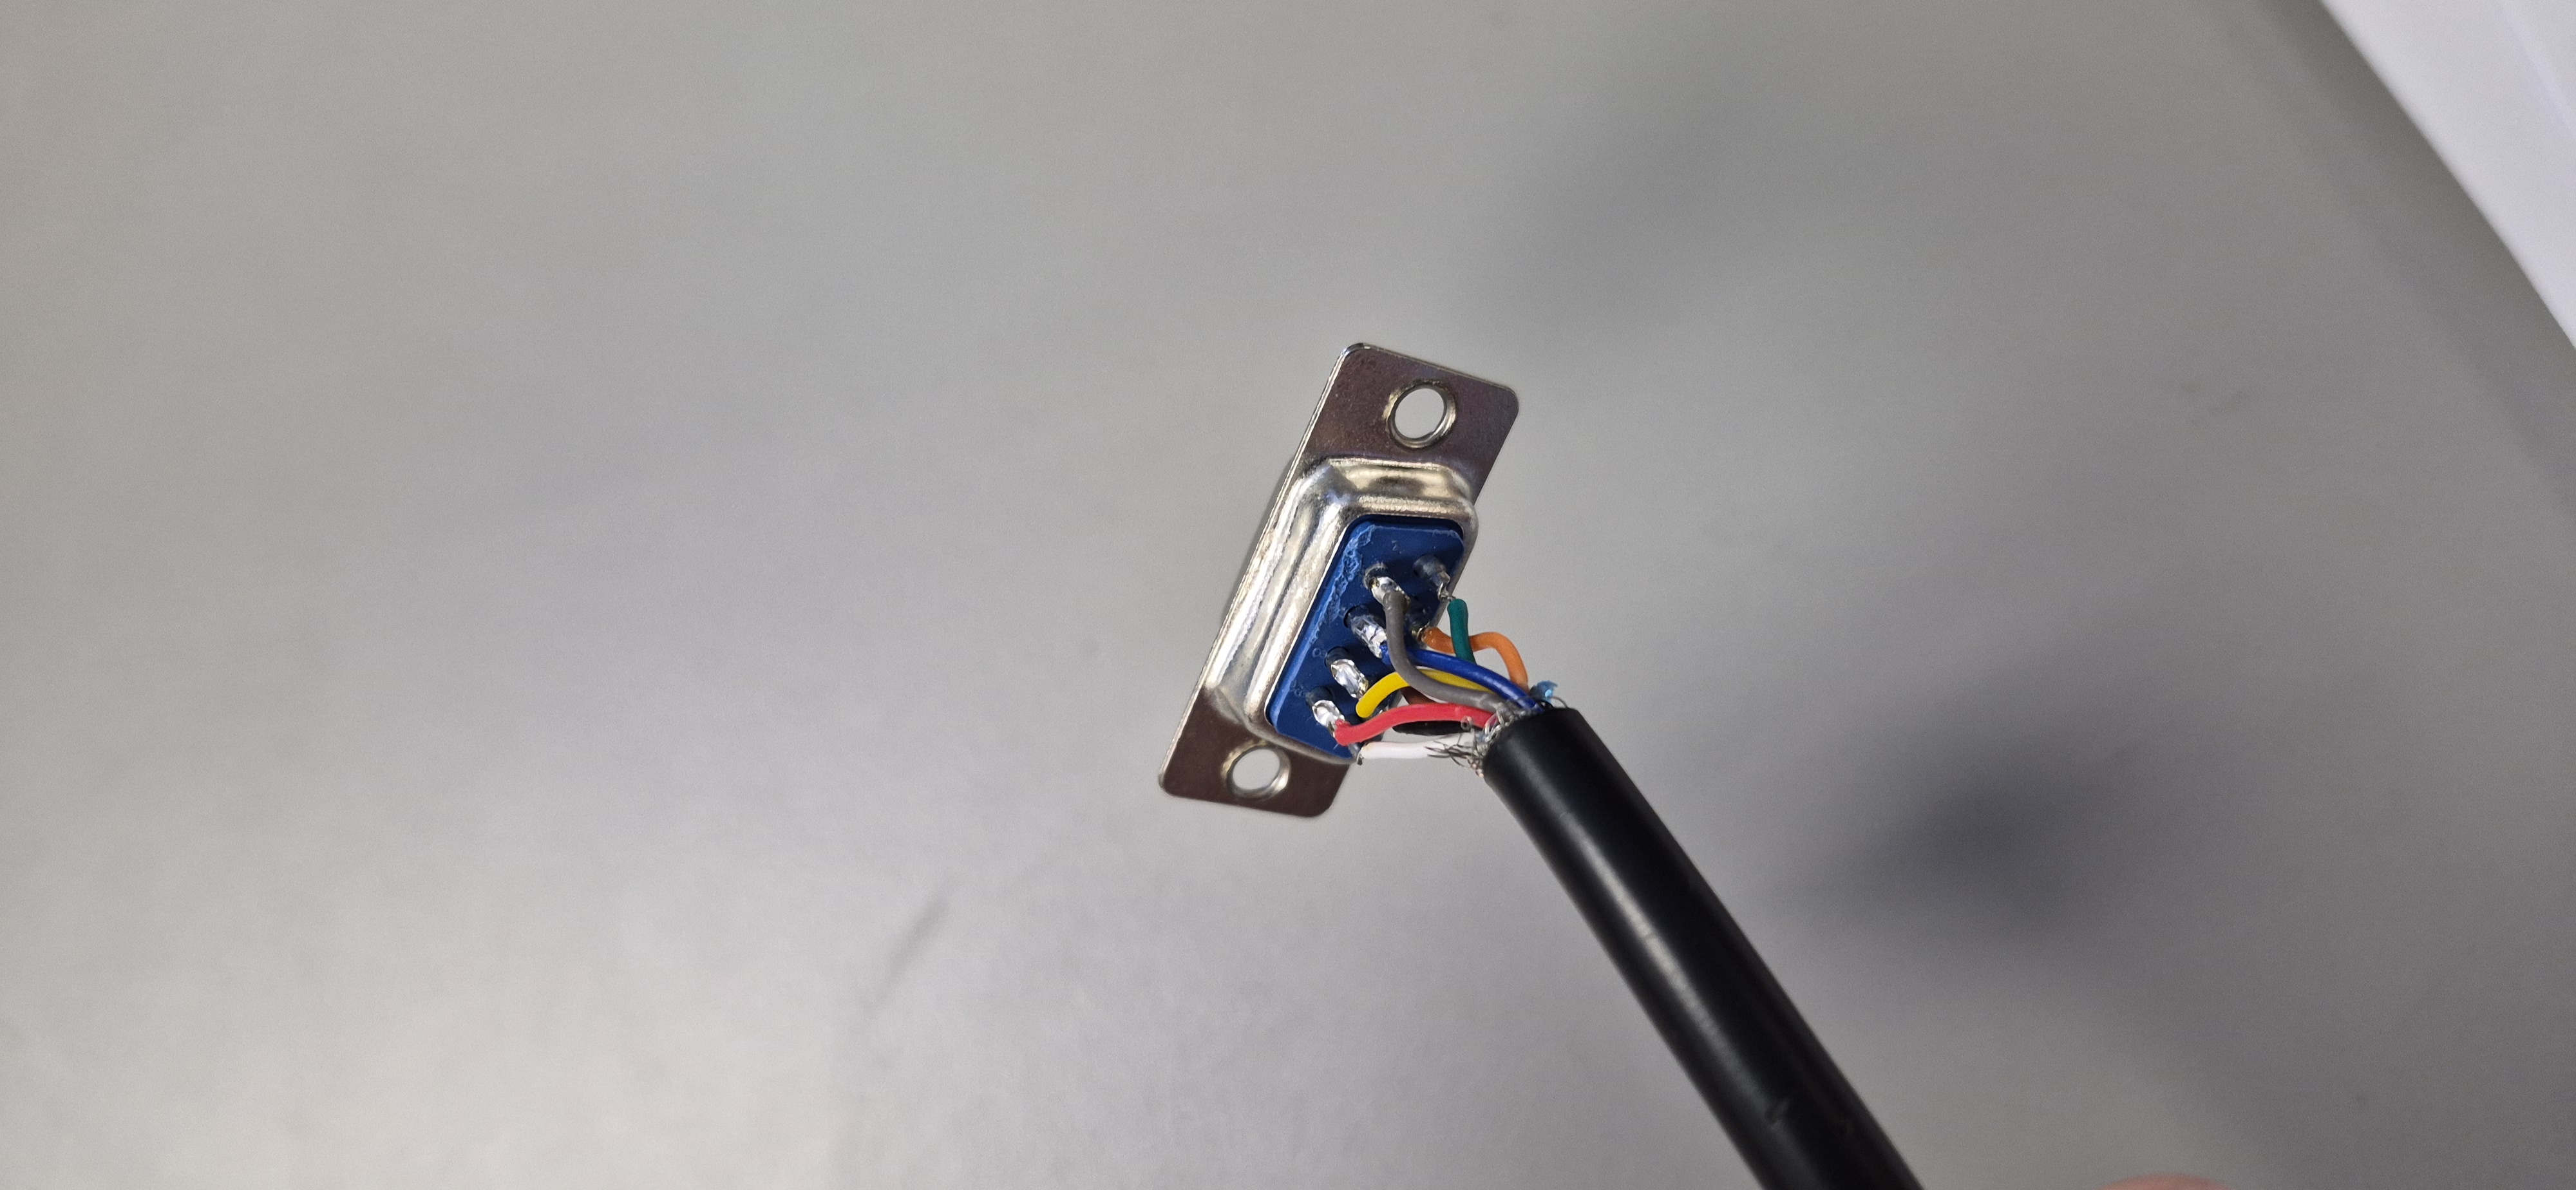
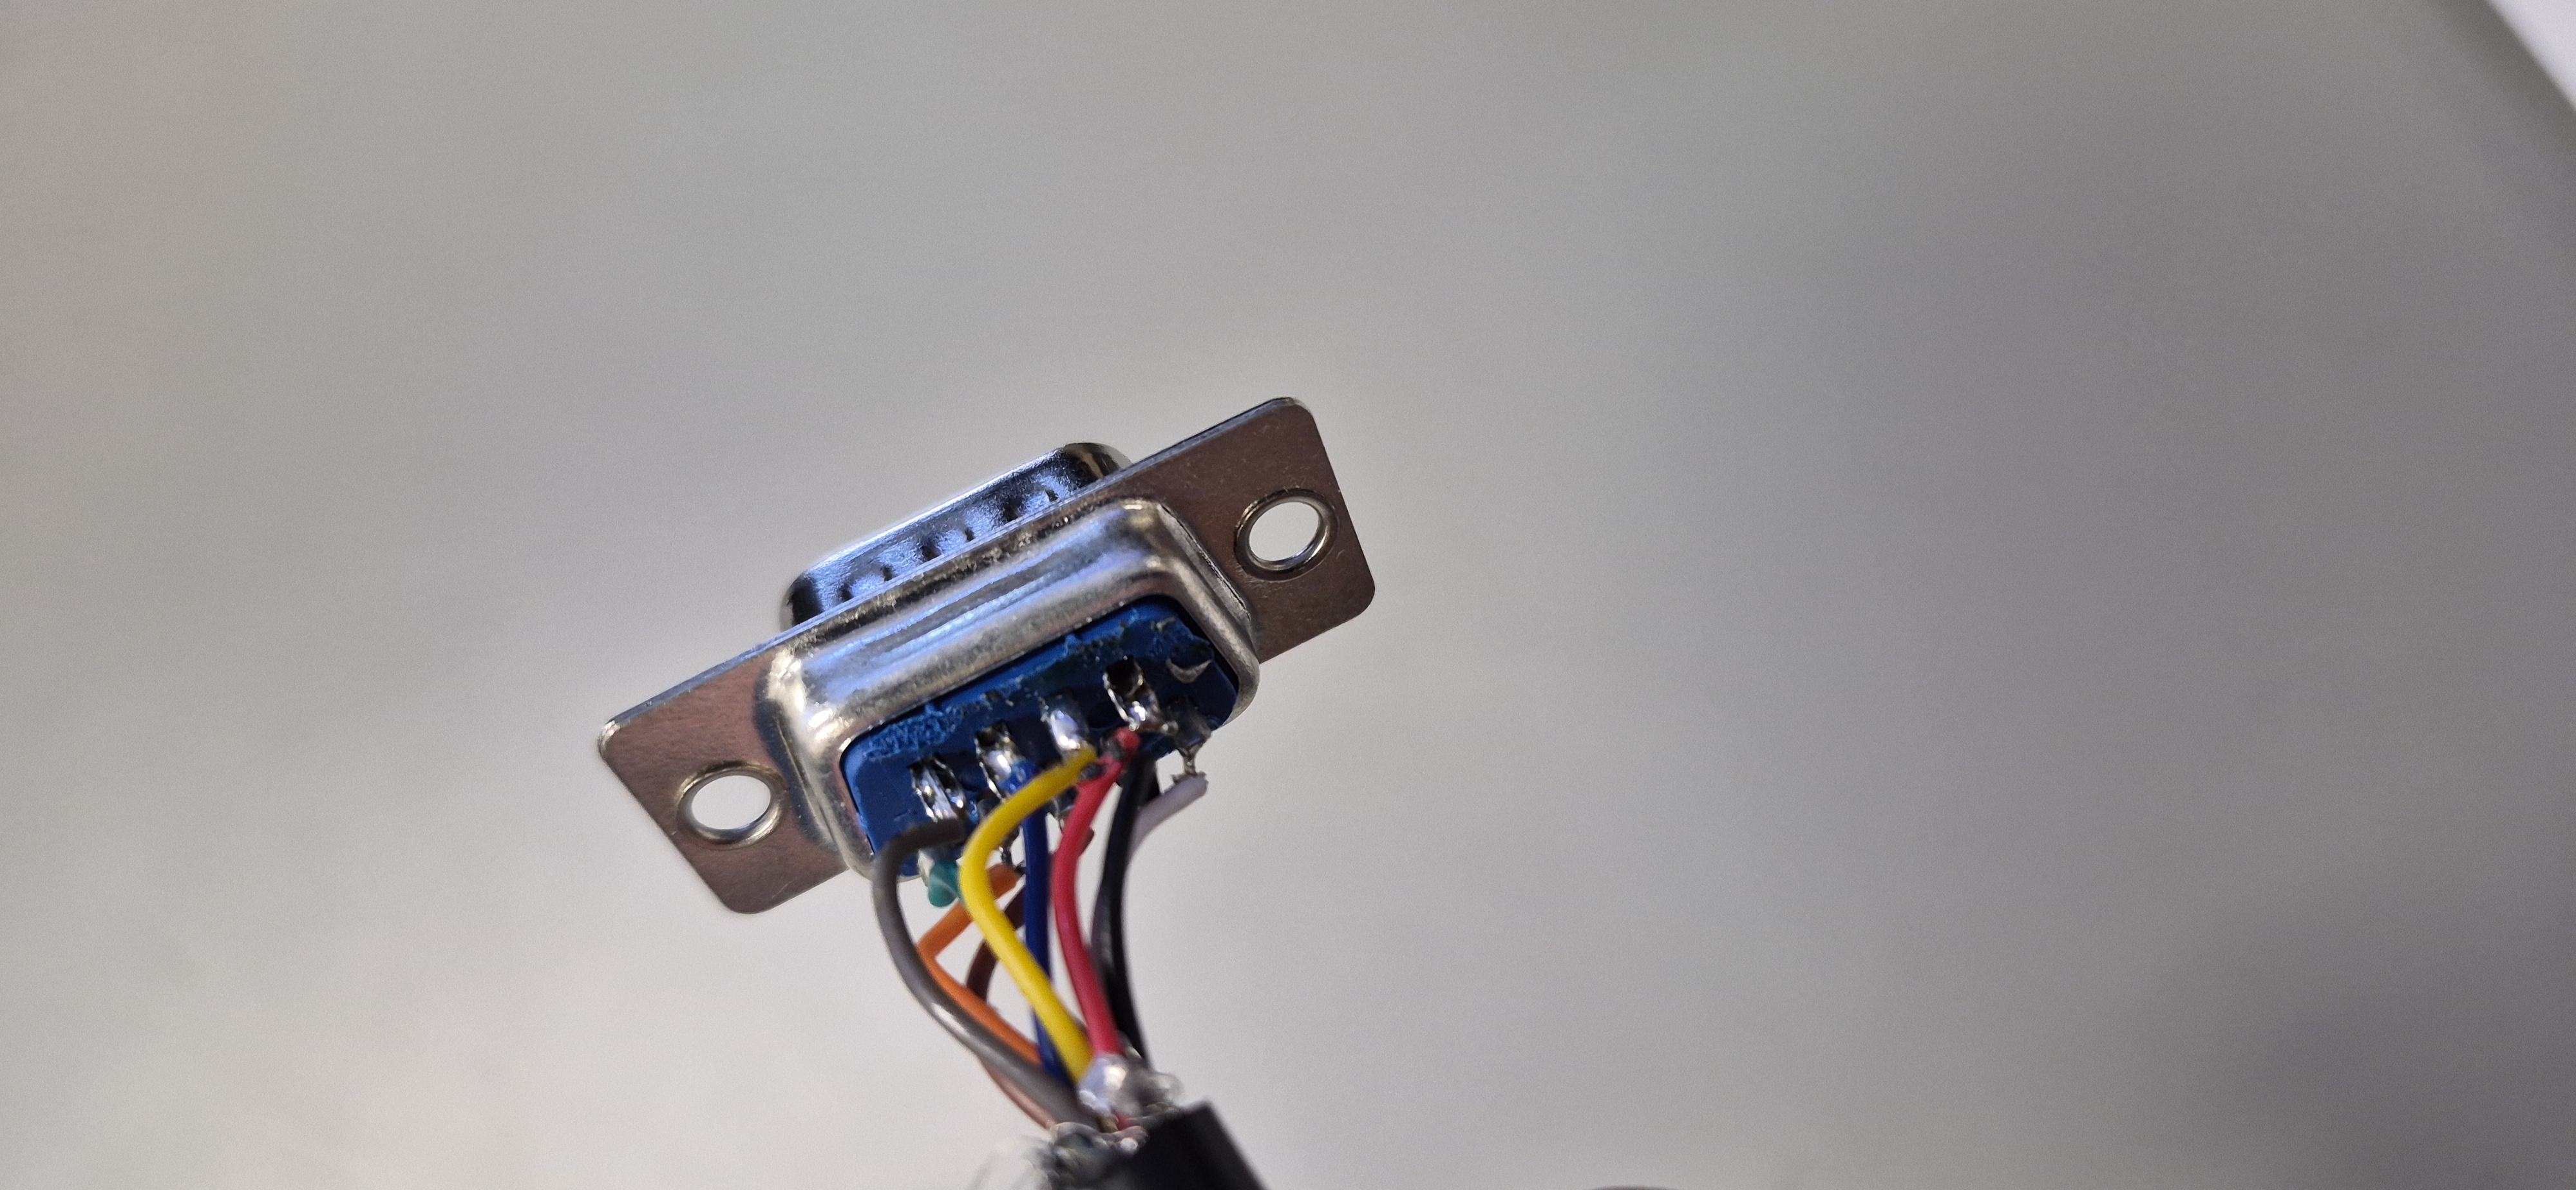
I am new to cable making, so far it has been fun.